


Valorant: 10 Best Omen Smokes For Icebox
Icebox is a map in Valorant that thrives on vertical gameplay, making it the perfect playground for Omen. As a Controller agent, Omen excels at leveraging the map’s unique layout, using his smokes to create advantageous one-way setups and obscure enemy sightlines. Combined with his teleportation ability, he can reposition across Icebox’s varying heights, setting up creative plays that other agents can’t match.
On a map like Icebox, with its numerous angles and sightlines, your survival is key. Omen’s rechargeable smokes give you the flexibility to adapt throughout the round. By staying mindful of your placement and timing, you can help your team secure key areas and create opportunities to take control of the match.
In this guide, we’ll explore the 10 best Omen smokes for Icebox, showing you how to maximize his potential and outsmart your opponents. Let’s dive in!
#10: Attacking B Site – Defensive Variation
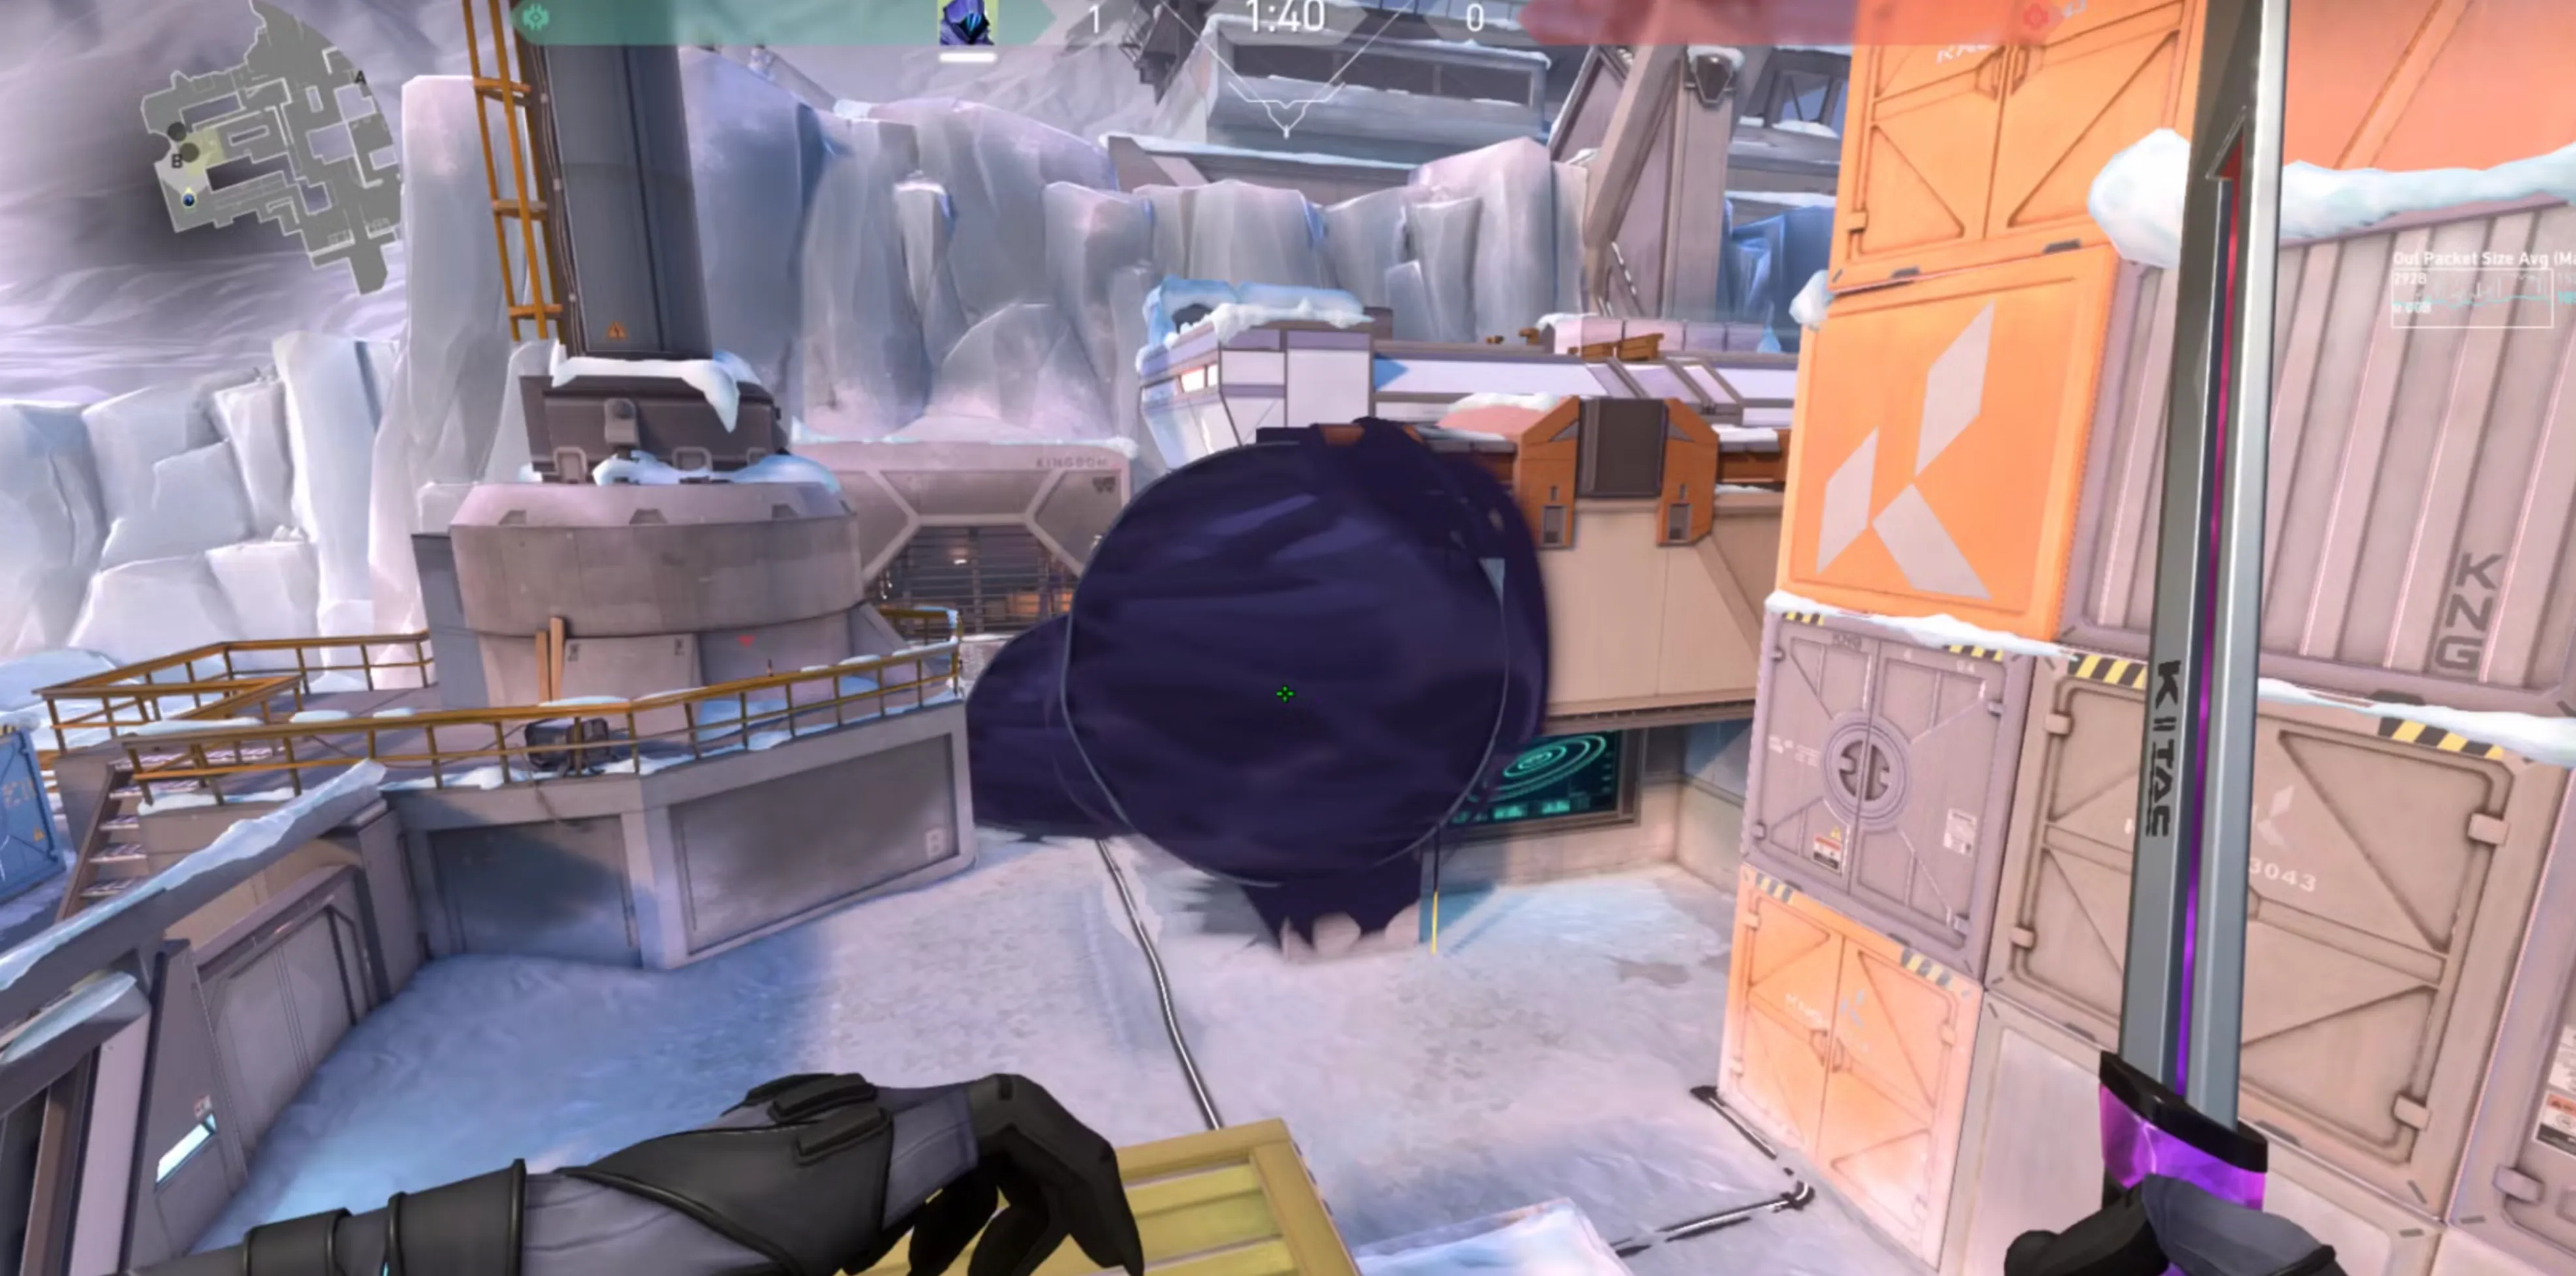
To execute this variation, place your first smoke further back to block visibility from Backsite and Snowman. Position your second smoke near Default, extending it deep into B site to cover Orange.
This setup is ideal if your team lacks another utility-heavy agent to contest critical sightlines. By obstructing these key rotation angles, you create a safer environment for planting the Spike or holding post-plant positions.
This smoke placement works particularly well for defensive Spike plants and when using close-range weapons like the Spectre. The reduced visibility forces enemies into tighter engagement areas, giving you the upper hand in close-quarters fights. This variation ensures better control of B site, even in the absence of additional utility.
#9: Attacking A Site

To take control of A Site effectively, place your first smoke at the entrance near Screens to block potential rotations. For your second smoke, aim for the right edge of Top Site, covering the window and obstructing key defender angles.
This setup simplifies the often-challenging task of attacking A Site by addressing multiple threats with a single smoke. By placing the smoke at the right edge of Top Site, you block three crucial positions: defenders at Backsite are forced into a one-way disadvantage, Rafters are obscured, and anyone holding the right side of Top Site is effectively blinded.
The second smoke near Screens ensures that rotations are cut off, allowing your team to push in more safely. Be sure to place this smoke deep enough to prevent defenders from using it to sneak onto the site. This coordinated use of smokes creates the space needed to secure A Site and set up a successful Spike plant.
#8: B Site Post-Plant Smoke Setup
For a strong post-plant defense on B Site, place your smoke on top of the yellow box, ensuring there’s a clear opening on the side facing the Spike.
This smoke placement is simple yet highly effective. If you’ve planted the Spike in the common hell position (underneath Nest), the smoke provides excellent opportunities for outplays. You can hide inside the smoke and peek as soon as you hear the defusal attempt, catching enemies off guard. Alternatively, use the smoke as a diversion and position yourself elsewhere, forcing opponents to divide their attention and constantly second-guess your location.
The success of this strategy lies in its versatility. Planting in hell is a popular tactic because it allows multiple vantage points for defending the Spike. With this smoke setup, you can maintain control of the site without resorting to risky or unconventional plant spots. It’s a reliable option for securing post-plant rounds on B Site.
#7: B Site Attack – Defensive Smoke Variation
When your team lacks utility-heavy agents to contest sightlines, this defensive smoke setup for B Site is a great alternative. Start by placing one smoke further up to block visibility from Backsite and Snowman. Position your second smoke near Default, extending it deeper into B Site to obstruct angles from Orange.
This setup allows your team to safely secure the site by covering key rotation points and reducing the risk of being flanked. It’s especially effective for defensive Spike plants and works well when using close-range weapons like the Spectre, as it funnels enemies into tighter engagements.
By focusing on controlling these critical angles, you can create a safer environment for planting the Spike and defending it in post-plant scenarios, even with limited utility.
#6: Defending A Site – Rafters and Nest
To effectively defend A Site, place a smoke on the left edge of Nest at the start of the round. This placement serves two key purposes: blocking attackers pushing through Belt and cutting off their line of sight from Nest.
This smoke can be used strategically depending on your positioning. If you choose to hold the Belt angle, stay on Top Site and monitor the edge of the smoke. Attackers trying to push past it will have to swing wide, making their movements more predictable and giving you an opportunity to secure easy picks.
Alternatively, the smoke can serve as a cover for setting up an ambush. Hide within or near the smoke and surprise attackers as they approach. This setup not only disrupts the attackers’ coordination but also gives you control of key sightlines, making it a valuable defensive tactic for A Site.
#5: Attacking Middle

Controlling the middle of Icebox is critical for disrupting the defenders’ setup and splitting their rotations. Start by placing your first smoke on top of Boiler to block the most common sniping angle and allow your team to advance safely. The placement of your second smoke will depend on your intended site.
If your team is attacking B Site, use the second smoke to block the elbow leading toward A Site, preventing defenders from rotating freely. If your team is focusing on A Site, position the second smoke beneath Tube to eliminate the risk of being flanked or shot from behind.
Regardless of the chosen site, it’s often a good idea to send one or two teammates up Tube to contest Kitchen. Holding Kitchen cuts off a central rotation path for defenders, giving your team a significant strategic advantage. Effective use of these smokes and positioning will secure map control and open up opportunities for a successful site push.
#4: Defending B Main
To effectively defend B Main, place your smoke on the edge of Green at the start of the round. This setup creates a one-way smoke that blocks attackers’ visibility from Upper Green and B Main, giving you and your team better control of the area.
From Yellow or other vantage points on B Site, this smoke forces attackers into predictable positions, allowing you to punish any careless movements. The one-way effect makes it easier to spot and eliminate opponents who try to push through.
Pairing this smoke with your Paranoia ability adds another layer of disruption, disorienting attackers and halting their advance before it gains momentum. This combination not only delays their push but can also secure early picks, making it a powerful defensive strategy for B Main.
#3: Defending A Site Orb
To deny attackers access to the Ultimate Orb near A Site, place a smoke on the left edge of Pipes, covering the area beneath Nest. This strategic smoke not only obstructs the attackers’ view but also makes them wary of collecting the orb, as it creates the constant threat of you emerging from Pipes to contest it.
Attackers who attempt to grab the orb will leave themselves vulnerable, as their legs and lower body remain visible through the edge of the smoke. This gives you a significant advantage, allowing for easy picks on overconfident opponents.
Additionally, this smoke provides valuable protection for teammates positioned on Top Site by blocking the sightline from Nest. By using this setup, you effectively control a critical resource while maintaining defensive pressure on A Site.
#2: Defending B Site with Tube Smoke
When the opposing team is down to a few players, placing a smoke on top of Tube is an excellent strategy for maintaining control. This smoke can be used to your advantage by creating opportunities for surprise plays. Peek through the smoke periodically to spot enemies, and since their vision is obstructed, you can bait them into firing first, revealing their position.
For optimal use, position the smoke so that there’s a small slit near the upper edge of Tube. This opening provides a vantage point for peeking while minimizing your exposure. If you prefer a safer approach, use the smoke to detect rotations. By waiting for enemies to fire into the smoke, you can identify their location and plan your next move accordingly.
This setup not only disrupts enemy strategies but also helps you maintain defensive pressure on B Site in clutch situations.
#1: Securing Middle on Defense
Defending Middle is crucial for maintaining map control and preventing enemy flanks. Start by placing a smoke near the Middle entrance to obstruct attackers’ sightlines. This setup makes it harder for enemies to sneak through and catch your team off guard.
Coordinate with a teammate to contest Middle from under Tube while keeping an eye on potential pushes. The initial smoke forces attackers to expend utility to clear the area, giving you the opportunity to maintain pressure.
If the attackers manage to advance past the first smoke, deploy a second smoke slightly deeper to block off Tube’s entrance and the bottom of Boiler. This layered defense ensures that Middle remains a challenging area for the enemy to breach, giving your team a significant strategic advantage.
Conclusion
Omen’s smokes are a game-changer on Icebox, a map that rewards strategic utility and precise placement. By mastering these top 10 smoke setups, you can effectively control sightlines, disrupt enemy strategies, and create opportunities for your team to succeed. Whether you’re attacking or defending, Omen’s versatility allows you to adapt to any situation, giving your team the edge on this vertically dynamic map.
With proper coordination and timing, these smokes will not only help you secure key objectives but also outmaneuver opponents in crucial rounds. Practice these placements to elevate your Icebox gameplay and unlock Omen’s full potential as a tactical powerhouse.
Posted On: January 30th, 2025
Recent Articles


💬 Need help?
Our 1v9 support team is available 24/7 to help you with any questions or issues you may have.
support@1v9.gg
Loading...
1v9.gg is not endorsed or affiliated by any game developers or publishers.
2025 1v9, All Rights Reserved, Created By NightDev