


Rainbow Six Siege: 10 Best Tips For Defending
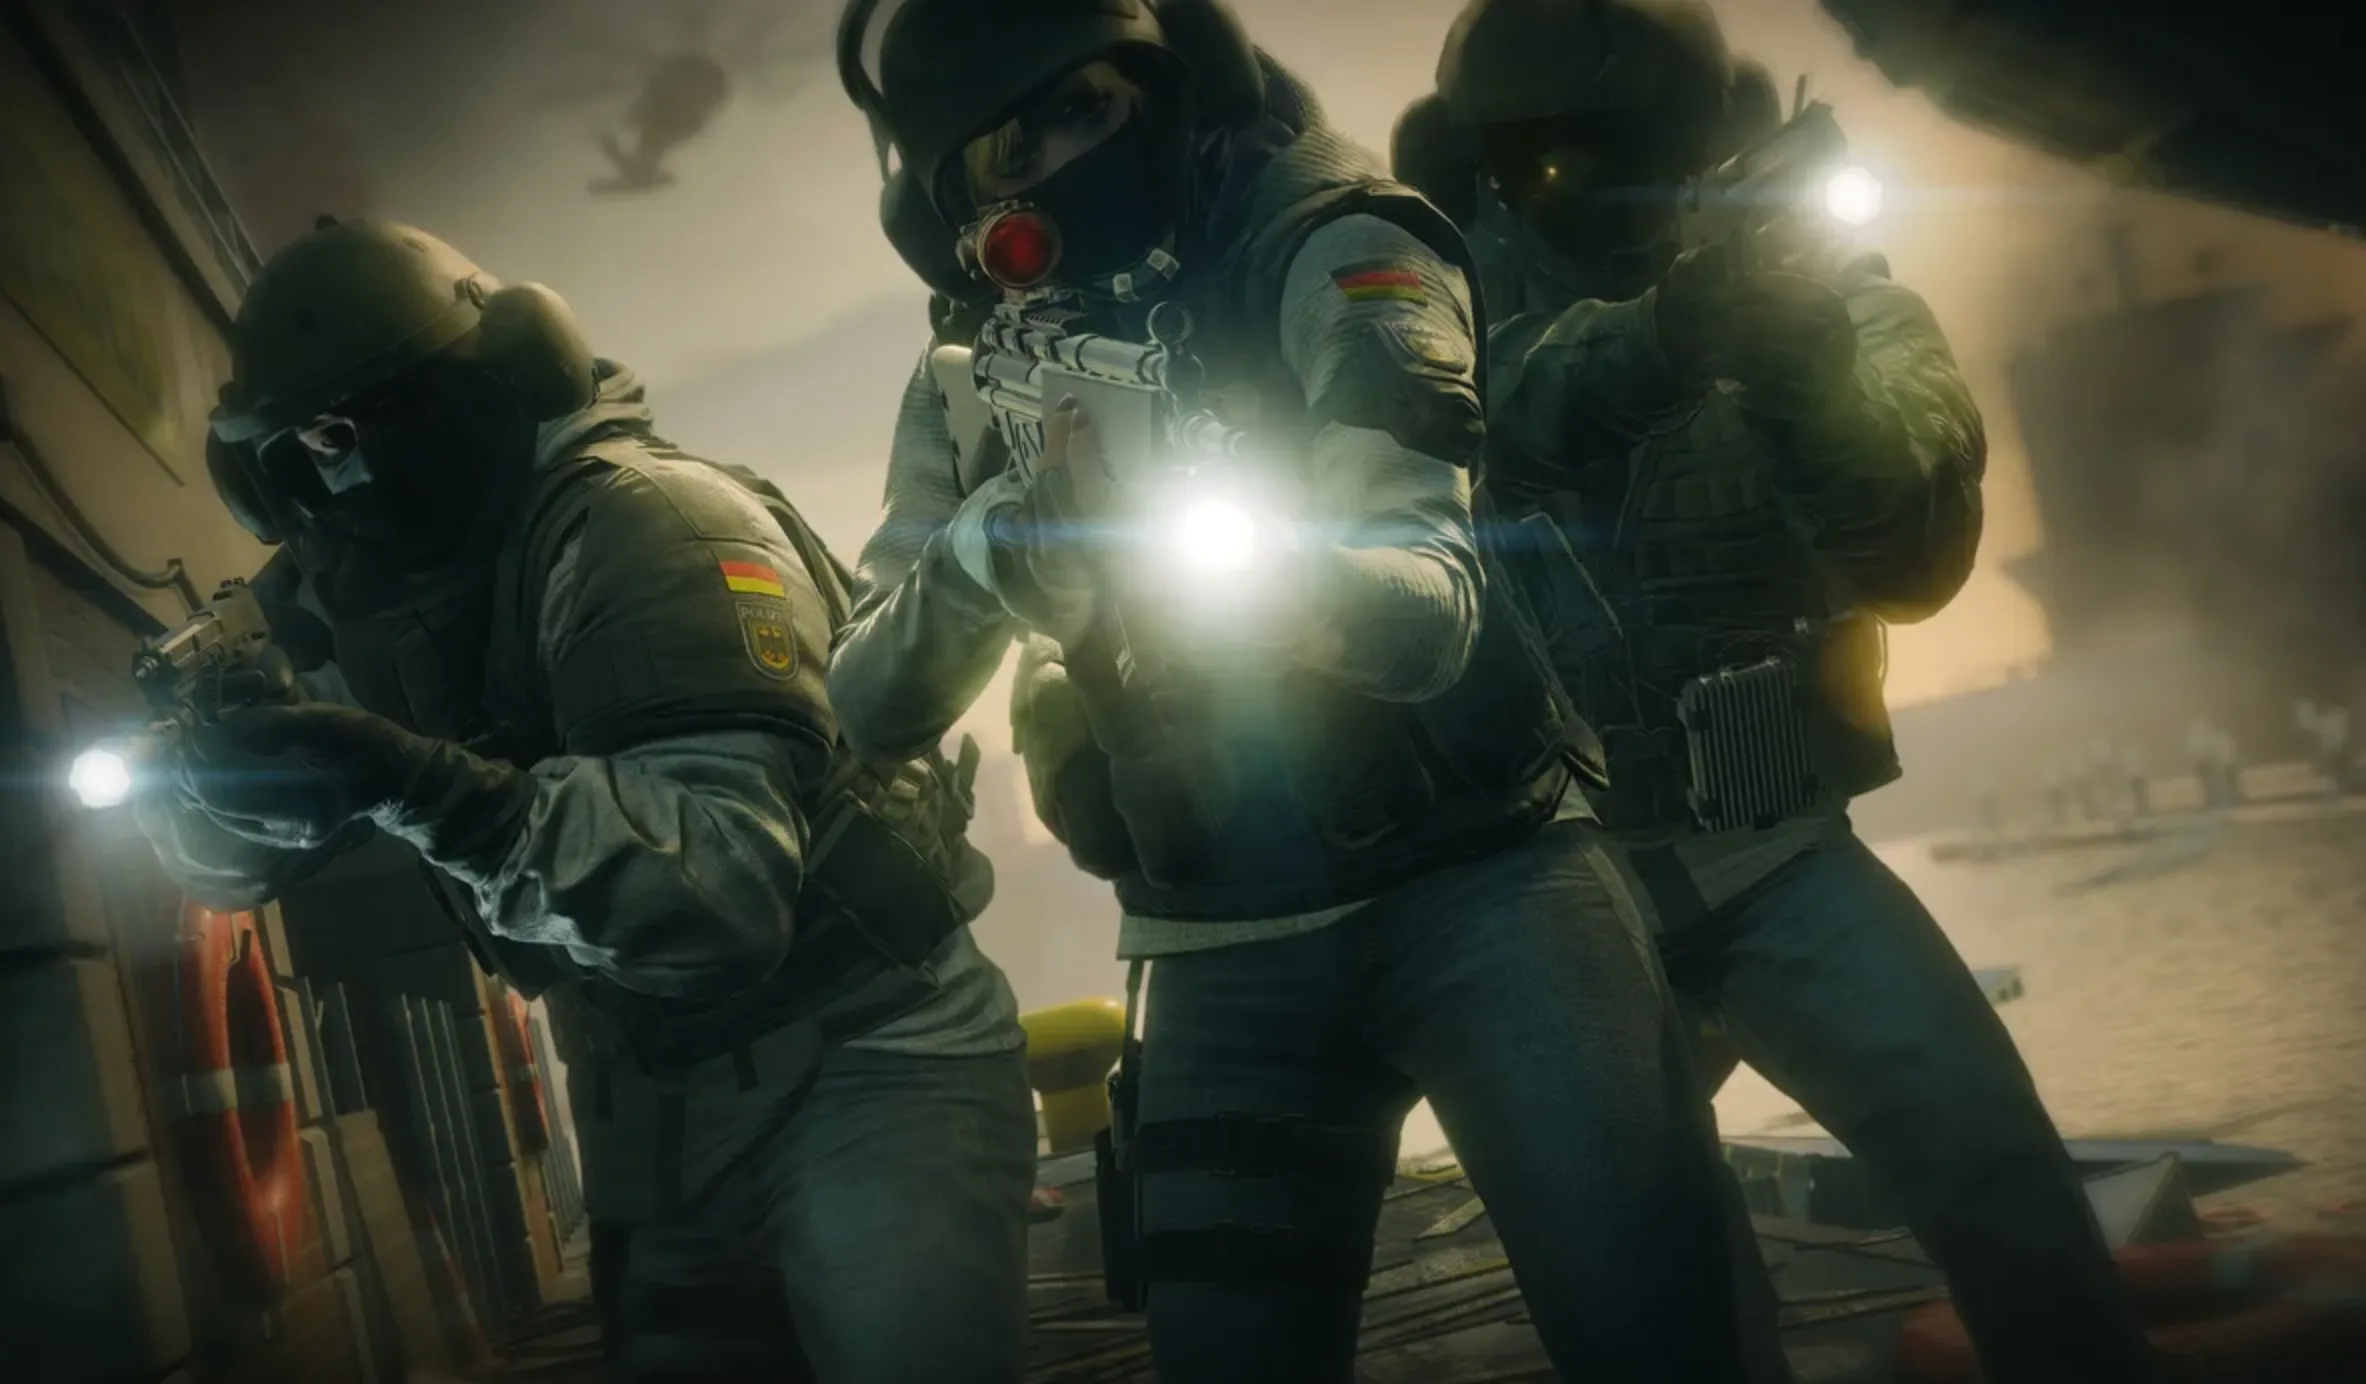
Rainbow Six Siege is a game that balances strategic positioning with sharp FPS skills. As a Defender, your primary objective is to protect the asset that the Attackers are after—whether it’s a Bomb, a Secure Area, or a Hostage. Success often hinges on coordination, preparation, and smart decision-making. While there are countless strategies to defend effectively, some universal tactics can greatly increase your team’s chances of victory. In this article, we’ll explore the 10 best tips to master defense in Rainbow Six Siege and help you outsmart even the most aggressive attackers. Let’s dive in!
#9: Anchors: hold the crucial objective sight-lines
Anchors play a critical role in defense by maintaining control over the objective site and safeguarding key sightlines. Their primary responsibility is to create a defensive wall that prevents attackers from easily breaching the site. By holding strategic positions, Anchors can delay the attackers’ progress, giving Roamers the time they need to flank and disrupt enemy plans. Their steadfast presence and ability to deny entry make them an essential part of any defensive strategy.
#8: Have a plan with reinforcements
Having a strategic approach to reinforcements is just as important as selecting the right Operators. Not all objective sites benefit from being completely sealed off; some areas are better left partially open to enhance defensive options, especially when utilizing Operators like Mira. For instance, on the map Border, while defending the Server Room/Workshop, leaving the ceiling hatch above the Server Room open can provide an advantageous angle to counter attackers approaching the hallway entrance. Thoughtfully planning your reinforcements can strengthen your team’s overall defensive strategy and keep attackers guessing.
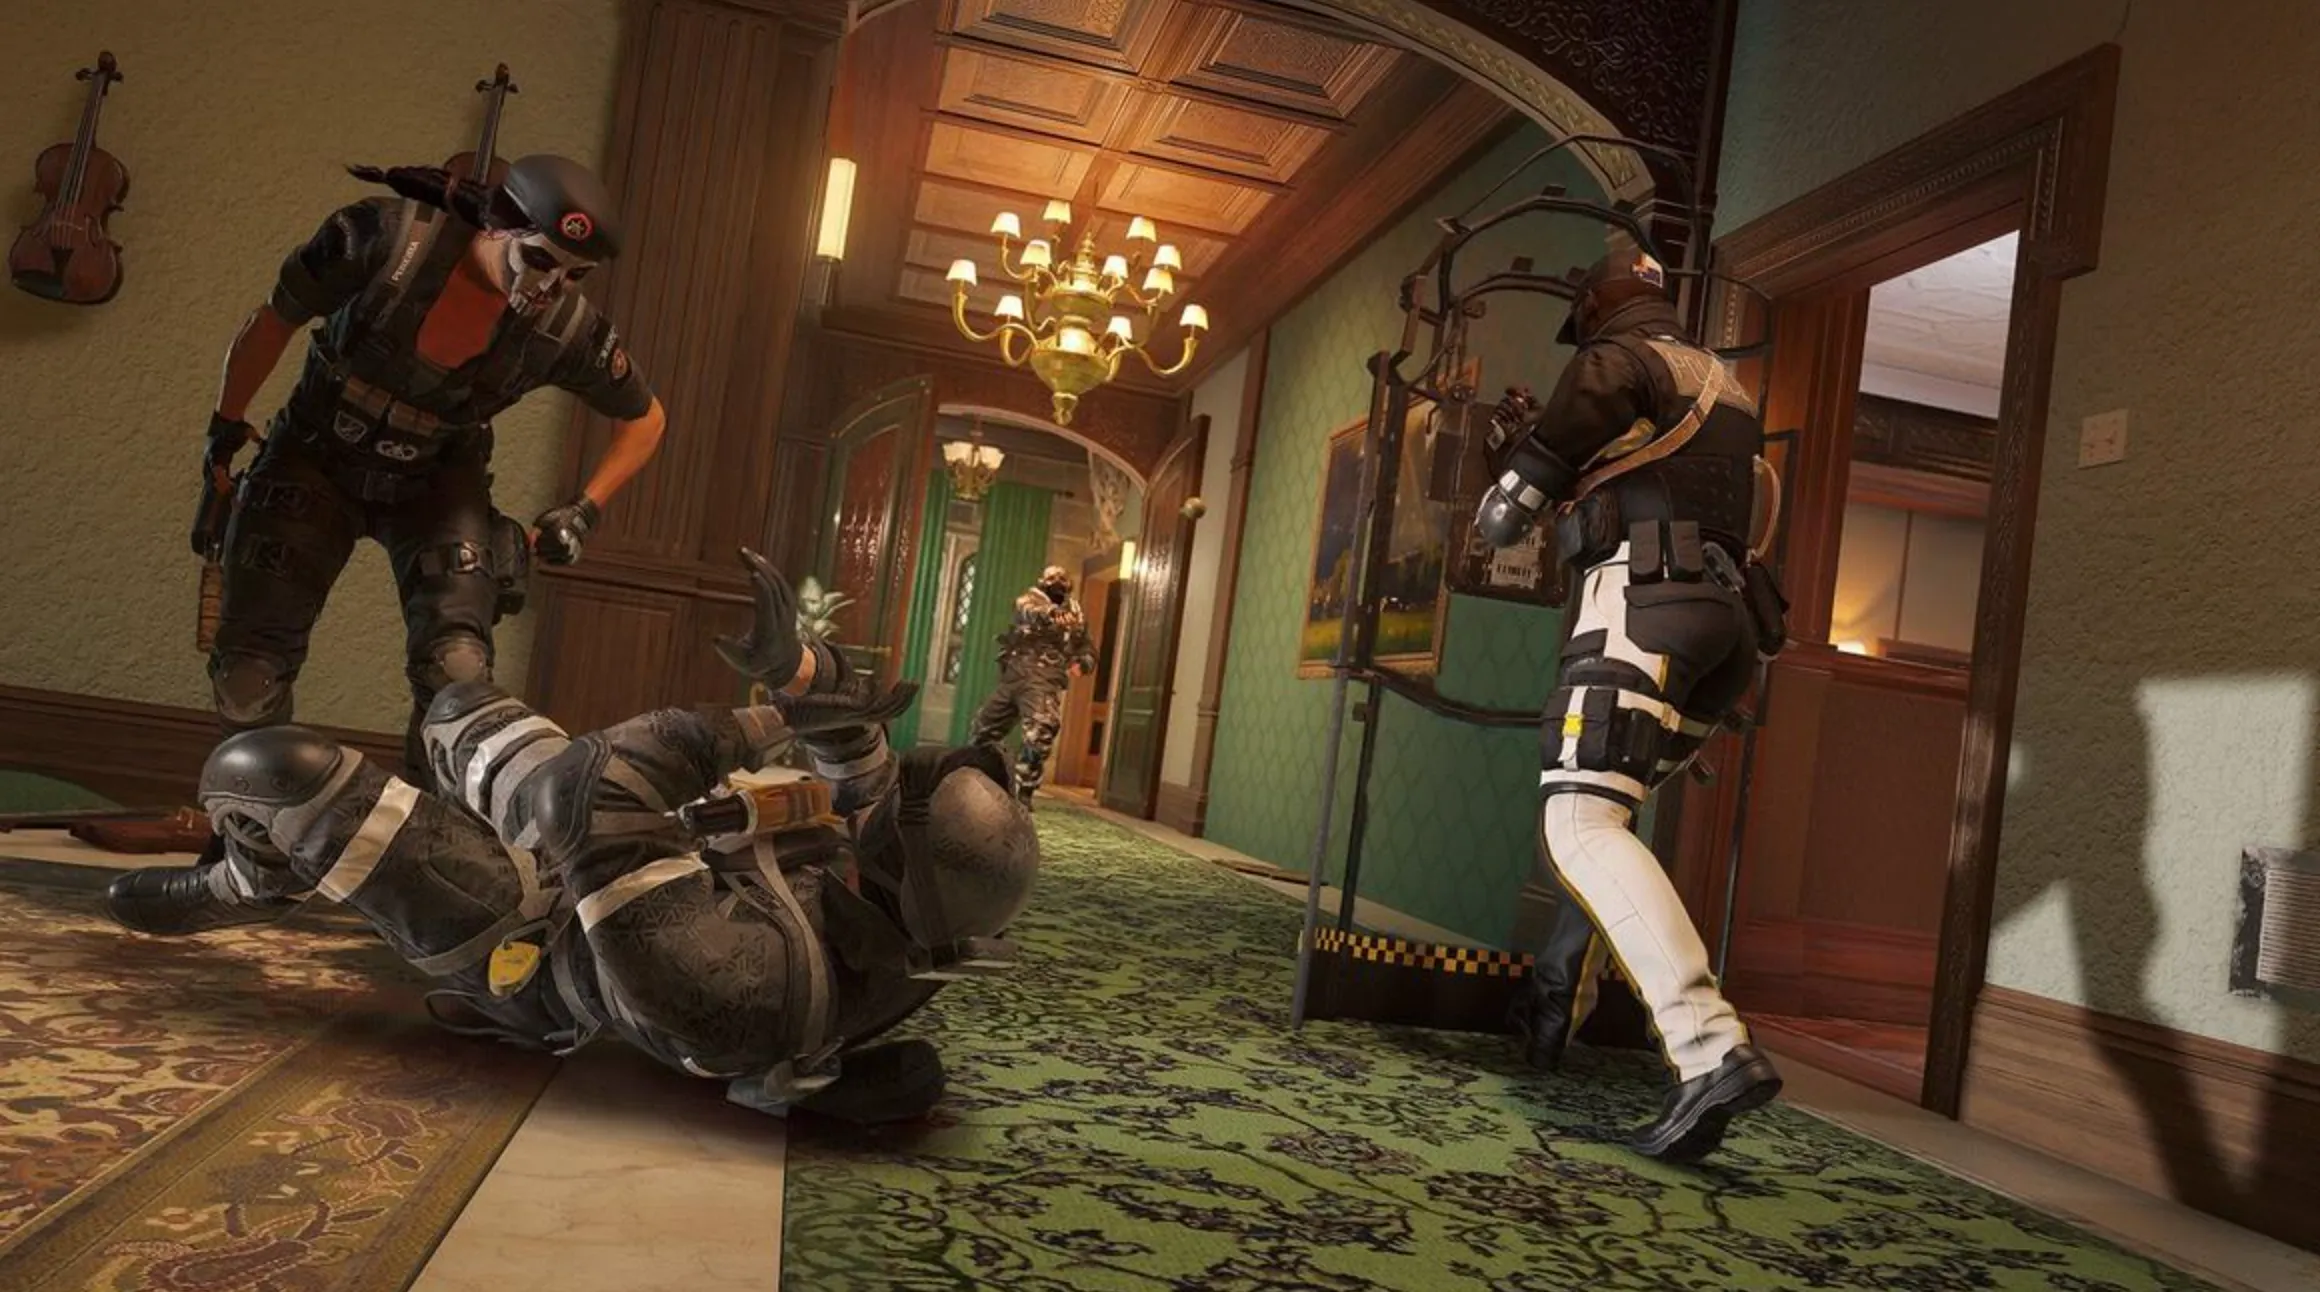
#7: Roamers: keep on the move
As a Roamer, staying mobile is often the key to success, especially in the early stages of a round. Constant movement makes it significantly harder for attackers to corner you, while also increasing your chances of surprising and eliminating unsuspecting enemies. While there are moments when holding a specific position or sightline is advantageous—such as when anticipating an attacker’s approach—it’s generally more effective to use rotation routes throughout the map. This unpredictability allows you to maintain the upper hand, disrupt the attackers’ plans, and create opportunities for your team to capitalize on.
#6: Play the whole map
A common mistake among new players is sticking too close to the objective site without a clear strategy, regardless of the Operator they’re playing. While protecting the objective is vital, clustering near it isn’t always the most effective approach—especially if there are already teammates holding key positions within the site. Instead, consider spreading out and leveraging the entire map to your advantage. Position yourself in unexpected locations to catch attackers off guard and disrupt their plans. This approach not only enhances your team’s defensive strategy but also creates opportunities to control the pace of the match and secure critical kills.
#5: Pick certain operators for certain objectives
When selecting an Operator, it’s crucial to consider the specific objective site your team is defending. While versatile Operators like Jager or Lesion are effective on nearly any site, others are more situational. For instance, Mira excels in enclosed spaces where her Black Mirrors provide invaluable intel and sightlines, but she can be a liability in objective sites with easy access to long attacker sightlines from the outside. The same principle applies to many Operators, making it essential to tailor your choice to the map and objective at hand. Picking the right Operator for the right situation can greatly enhance your team’s defensive strategy and increase your chances of success.
#4: Attackers acog advantage
Attackers typically have the upper hand in long-range engagements due to their widespread access to ACOG sights, which provide better precision and visibility at a distance. While some Defenders also have access to ACOGs, the majority do not, giving Attackers a clear advantage in mid- to long-range gunfights. This doesn’t mean you should avoid engaging altogether, but it’s important to be mindful of this disparity. Try to position yourself in closer-range encounters where the ACOG advantage is minimized, and leverage your knowledge of the map to surprise and outmaneuver attackers before they can line up their shots.
#3: Spread out/diversify sightlines
It’s rarely beneficial for two Defenders to focus on the same sightline. If you and a teammate are in the same room, prioritize covering different entry points, especially since most rooms in Rainbow Six Siege have multiple access routes. In scenarios where covering the same area is unavoidable, make sure to position yourselves at different angles to avoid clustering. This approach minimizes the risk of being taken out by a single enemy in quick succession and ensures you maintain diverse coverage, making it harder for attackers to push through unnoticed or capitalize on grouped defenders.
#2: Concise communication
Effective communication is crucial in Siege, but excessive chatter can be just as detrimental—if not more—than silence. When sharing information with your team, keep it clear, concise, and focused. Avoid rambling or providing unnecessary details that take more than a few seconds to relay. Siege heavily relies on sound cues like footsteps or gadget noises, and excessive talking can mask these vital audio clues, potentially costing your team the match. Prioritize brevity and relevance to maintain a strategic advantage.
#1: Know your rotation lanes/holes
Understanding and utilizing rotation lanes and openings is a critical skill for any Defender, even for anchors. This knowledge comes primarily through experience, but it can significantly impact your effectiveness in a match. Knowing the quickest and safest paths to move around the map allows you to reposition efficiently, predict potential Attacker movements, and set up unexpected flanks. By mastering rotation routes, you can outmaneuver Attackers, catch them off guard, and secure crucial eliminations—all while maintaining control over the objective. Map knowledge is key, and investing time to learn these pathways will pay off in every game.
Conclusion
Defending in Rainbow Six Siege requires a mix of strategic planning, precise communication, and adaptability. By mastering roles like Anchors and Roamers, efficiently using reinforcements, and maintaining map awareness, Defenders can create a stronghold that’s difficult for Attackers to penetrate. Remember to keep communication concise, switch up tactics to stay unpredictable, and leverage rotation lanes to gain the upper hand. With these tips, you’ll be better equipped to protect objectives and secure victories in Siege.
Posted On: February 1st, 2025
Recent Articles


💬 Need help?
Our 1v9 support team is available 24/7 to help you with any questions or issues you may have.
support@1v9.gg
Loading...
1v9.gg is not endorsed or affiliated by any game developers or publishers.
2025 1v9, All Rights Reserved, Created By NightDev