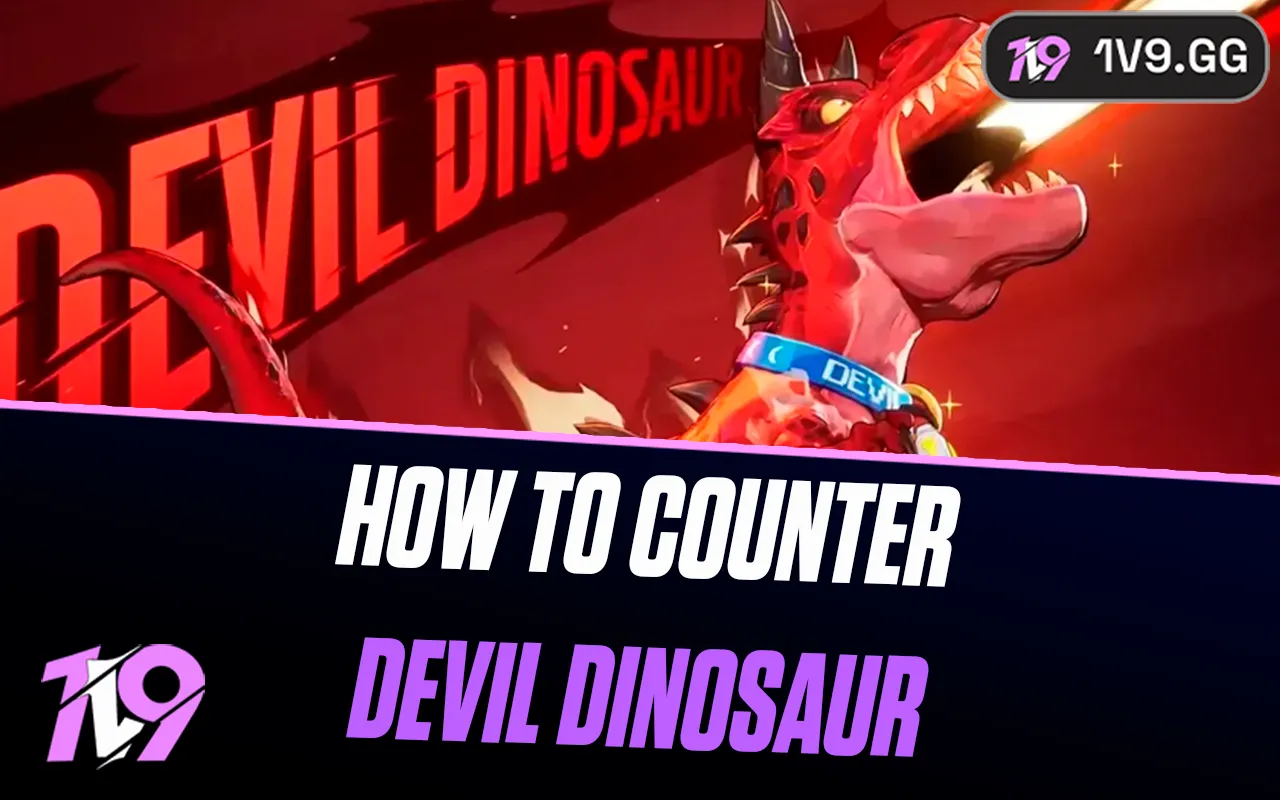


The best current counters to Devil Dinosaur in Marvel Rivals are Squirrel Girl, Phoenix, and The Punisher. All three can pressure his enormous model without accepting the close-range fight he wants. Cyclops is another strong ranged answer, while Jubilee is the most useful Strategist pick when your team needs healing, speed, and a coordinated damage window.
Last verified: August 25, 2026 · Marvel Rivals Season 9.5 · Official hero values checked after the August 7 balance update. Matchup data is a current signal, not a permanent tier list.
Why Devil Dinosaur is hard to counter in Season 9.5
Devil Dinosaur is an 850-health Vanguard built to win a front-to-back brawl. Primal Bite and Impact Beam apply Bleed, Apex Advantage converts Bleed damage into Bonus Health, and Frenzied Feast deals extra max-health damage to bleeding targets while generating more Bonus Health. The August 7 patch raised Frenzied Feast's percentage damage to 8% on each of its first four bites and 12% on the fifth.
His durability also changes normal targeting rules. Prehistoric Plating reduces the headshot damage he takes by 60%, prevents launch-up, knock-back, and other displacement effects, and reduces the Ultimate Energy enemies gain from damaging him by 40%. Headshots still connect, but forcing difficult critical hits gives less extra value than it does against most heroes.

If you want the full kit from the other side of the matchup, the Devil Dinosaur abilities and playstyle guide covers his Bleed loop, defensive tools, and Team-Ups. This page stays focused on beating him.
Best heroes to counter Devil Dinosaur
The list below combines current kit interactions with community-tracked Season 9.5 matchup data. Counterwatch's August 24 snapshot rated Squirrel Girl, Phoenix, The Punisher, Cyclops, and Jubilee among Devil Dinosaur's hardest matchups. That evidence helps identify useful picks, but the percentages can change with rank, mode, balance patches, and sample composition.
| Hero | Role | Why the pick works | Main limitation |
|---|---|---|---|
| Squirrel Girl | Duelist | Bouncing explosive pressure punishes his large model and can work around awkward angles without standing in bite range. | Buddy Barrier absorbs careless spam, and she is vulnerable if Savage Predation reaches her escape path. |
| Phoenix | Duelist | His size makes Spark stacking and follow-up explosions consistent. Telekinesis Burst adds a stun and slows to control his approach. | Cosmic Flames begins losing damage after 10 meters, so Phoenix must manage a useful mid-range rather than hiding at maximum range. |
| The Punisher | Duelist | Adjudication's sustained fire is easy to keep on a huge target, while Culling Turret can shred a committed push from a prepared angle. | A stationary turret is an invitation to dive. Set up beside cover and preserve a retreat route instead of planting directly on the objective. |
| Cyclops | Duelist | Reliable beam pressure, two Ricochet Force charges, and self-repositioning make it hard for Devil Dinosaur to cross open space cleanly. | Propulsion Burst cannot displace Devil Dinosaur. Use it to move yourself and apply the slow, not to knock him away. |
| Jubilee | Strategist | Dazzling Detonation can Blind and apply Vulnerability, while Blooming Ball and ally-side Detonation help the team survive and kite his commit. | She enables the counter rather than soloing it. Save movement and a defensive orb instead of spending everything on damage. |
| Wolverine | Duelist | His claw attacks scale with the target's maximum health, so he remains a practical tank shredder when your composition must fight up close. | Devil Dinosaur's displacement immunity reduces Feral Leap's isolation value, and Wolverine must enter the brawl where Bleed and Frenzied Feast are strongest. |
Squirrel Girl: safest general counter
Play one angle away from your frontline and bounce Burst Acorns through the space Devil Dinosaur must cross. The aim is not to shoot the barrier forever. Force it, move to a second angle, and keep your mobility for Savage Predation. Her pressure is especially valuable on objectives with walls and door frames that let the acorns keep working while you break line of sight.
Phoenix: best at converting his large hitbox
Devil Dinosaur gives Phoenix a reliable Spark target, but do not drift into bite range while chasing a third stack. Hold medium distance, use Telekinesis Burst where he must walk, and reposition as soon as he turns toward you. His current Impact Beam no longer knocks down, but its 17-meter reach and slow still punish a predictable flight path.
The Punisher: best sustained ranged damage
Track Devil Dinosaur's body instead of gambling on constant headshots. Adjudication can maintain pressure while you strafe around cover; Culling Turret is the stronger commitment only after his dash is used or another teammate can stop him reaching you. If your tracking is inconsistent, first fix a comfortable setup with the Marvel Rivals mouse sensitivity guide rather than changing settings between matches.
Cyclops: best for pressure plus self-peel
Use Optic Ascent and Propulsion Burst as movement tools. Their displacement will not move Devil Dinosaur, but the distance they create can deny Primal Bite and Frenzied Feast. Ruby Rage also includes max-health damage, making a clean ultimate valuable against a committed Vanguard; do not fire it into Buddy Barrier without a plan to break the shield.
Jubilee: best Strategist response
Jubilee turns your team's focus fire into a cleaner punish window. Use enemy-side Dazzling Detonation when Devil Dinosaur is exposed and allies are ready to shoot; use the ally version when a threatened teammate needs health and speed to escape. The current Jubilee Season 9.5 guide explains both Detonation choices and Blooming Ball charge management.
Devil Dinosaur cooldowns and punish windows
A counter pick helps, but cooldown tracking wins the matchup. Call the ability, not a vague “focus tank” instruction.
| What Devil used | Current value | Your response |
|---|---|---|
| Buddy Barrier | 450 health; up to 6s; 12s cooldown | Stop feeding low-value shots. Change angle, pressure a visible teammate, then return damage when the dome ends. |
| Savage Predation | 10s cooldown | Create distance immediately. Without the dash, he cannot correct an overcommit or chase a second angle quickly. |
| Impact Beam | 3.3s duration; 17m range | Break line of sight or step beyond range. Re-peek after the channel instead of standing in its Bleed and slow. |
| Frenzied Feast | 8s cooldown; stronger against Bleeding targets | Do not trade in melee. Denying bites denies both max-health damage and the Bonus Health he needs to extend the fight. |
How each role should play the matchup
Duelist: maintain two usable angles
One Duelist pressures from the main lane while the other takes a safe side angle. If both stand together, Buddy Barrier blocks the same line and Savage Predation threatens both. If the side angle is too deep to receive healing, it is not a counter angle—it is a feed.
Vanguard: protect space instead of trying to throw him
Prehistoric Plating makes displacement-based peel unreliable. Body-block his route, shield the teammate he selected, and occupy the enemy Duelists so they cannot follow his engage. Your job is often to delay his support, not to win a solo tank duel against percentage damage.
Strategist: move before the dash lands
Stand one piece of cover behind the frontline and keep an exit that does not cross Devil Dinosaur's path. When Bleed is applied, prioritize stabilizing the target and breaking his line of sight. Save speed, invulnerability, Blind, or defensive control for the commit rather than spending every tool on poke.
If your group struggles to recognize these windows in replays, you can compare one-to-one Marvel Rivals coaching for structured feedback. A hero swap can improve a matchup, but positioning and cooldown timing still decide the fight.
How to survive Devil-Beast Rampage
Devil-Beast Rampage increases Devil Dinosaur's movement speed by 70%, creates repeated stomps in an eight-meter radius, applies Bleed, launches enemies, and reduces the cooldowns of Frenzied Feast and Savage Predation. The current official ability page does not list a separate shield granted by the ultimate; Buddy Barrier remains his dedicated shield ability.
- Spread before contact. Do not let one eight-meter stomp zone hit the entire team.
- Move across his path, not straight away from it. A 70% speed boost wins a simple footrace.
- Use height and hard cover. Corners, ledges, and separate rooms waste more ultimate time than shooting into the middle of the effect.
- Save one defensive cooldown. Mobility, invulnerability, speed, or a protective ultimate is worth more after he commits.
- Re-engage when it ends. His size and forward position often leave him exposed after the speed window disappears.
Common mistakes when countering Devil Dinosaur
- Treating Iron Man as a free counter. Flight helps create angles, but Impact Beam reaches 17 meters and slows. Iron Man must still respect range and cover.
- Fishing for headshots instead of landing damage. His passive reduces headshot damage taken by 60%, so missed critical attempts are especially costly.
- Using knockback as the peel plan. Devil Dinosaur is immune to displacement. Use slows, non-displacement control, barriers, and self-mobility instead.
- Shooting Buddy Barrier from one angle. The six-second maximum duration is short enough to rotate or pressure another target.
- Brawling after Bleed is applied. Bleed enables Savage Predation's grab and Frenzied Feast's extra damage. Break contact before he converts it.
- Focusing him at every moment. If his barrier is active and his Strategists are exposed, cutting support can be a better decision than feeding his mitigation.
Devil Dinosaur counter FAQ
Who is the best Devil Dinosaur counter?
Squirrel Girl is the safest general recommendation, with Phoenix and The Punisher close behind. Current community-tracked Season 9.5 data also rates Cyclops and Jubilee positively. The best choice is one you can execute while preserving range and cover.
Can Devil Dinosaur be knocked back?
No. Prehistoric Plating makes him immune to launch-up, knock-back, and other displacement effects. A movement ability can still move your own hero away from him, and non-displacement control may still interrupt or slow his approach.
Do headshots work on Devil Dinosaur?
They register, but Prehistoric Plating reduces the headshot damage he receives by 60%. Consistent body damage is usually better than missing several shots while forcing a critical hit.
Should your team focus Devil Dinosaur first?
Focus him when Buddy Barrier is down, Savage Predation has been used, or he is separated from healing. If the barrier is active and an enemy Strategist is exposed, switch pressure rather than attacking the strongest part of his defense.
What changed for Devil Dinosaur in the August 7 patch?
Frenzied Feast's max-health percentage damage increased from 5% to 8% on each of the first four attacks and from 10% to 12% on the fifth. His Surf & Turf Team-Up with Jeff also gained a longer maximum duration and stronger ally healing.
Bottom line
Pick Squirrel Girl, Phoenix, or The Punisher when you want a direct damage answer, and use Cyclops or Jubilee when movement and team utility fit your lineup better. Then win the matchup through the same repeatable sequence: hold range, force Buddy Barrier, call the dash, and focus together during the open window.
Devil Dinosaur is designed to punish an unplanned brawl. Make him cross open space twice, and the matchup becomes much more manageable.
Sources and update policy
Ability values come from NetEase's live hero page and official balance notes. Matchup rankings use a dated community-data snapshot and may move as the patch develops. This guide is reviewed after material Devil Dinosaur or counter-hero balance changes.
- Official Devil Dinosaur hero page
- June 12 balance changes
- July 10 balance changes
- August 7 Season 9.5 balance changes
- Counterwatch Season 9.5 matchup data (snapshot updated August 24, 2026)


-a6d5b3e156bb.webp)