- Home
Games
 League of Legends
 Valorant
-a6d5b3e156bb.webp) Fortnite
Fortnite Call of Duty
 Clash of Clans
 Counter-Strike 2
 Roblox
 Rainbow Six Siege
 Clash Royale
 Minecraft
 Rocket League
 Dota 2
 Genshin Impact
 Squad Busters
 Rust
Rust Apex Legends
 Pokemon Go
 XDefiant
 LoL: Wild Rift
 Hay Day
 Diablo 4
 FC 25
FC 25 Marvel Rivals
 World of Warcraft
 Destiny 2
 Deadlock
-9ede9dc6b01b.webp) PUBG Mobile
PUBG Mobile The Finals
 Growtopia
 Forza Horizon 5
 Honkai: Star Rail
 Warframe
 8 Ball Pool
 Zenless Zone Zero
 Path of Exile
 Runescape 3
 Raid: Shadow Legends
 Lost Ark
 WoW: Classic Era
 Summoners War
 WoW: Season of Discovery
 WoW Cataclysm
 WoW: Hardcore
 Throne and Liberty
 New World
 Mobile Legends
 Escape From Tarkov
 Path of Exile 2
 Blade Ball
 Fisch
Fisch Pet Simulator 99
 Pets Go
-d8bcef7708c7.webp) One Piece Bounty
One Piece Bounty Anime Adventures
 Blox Fruits
 Adopt Me
 Murder Mystery 2
 Fragpunk
 Wuthering Waves
 Teamfight Tactics
 Free Fire
 Albion Online
 Black Desert Online
 Honor of Kings
 Brawl Stars
 Arena of Valor
 Call of Duty: Mobile
 Rematch
 Steal a Brainrot
 Grow a Garden
 FC 26
FC 26 Old School Runescape
 Plants vs Brainrots
 Overwatch
 Battlefield
 Arc Raiders
 Dragon Ball Legends
 Fallout 76
 Jailbreak
 Type Soul
 GPO
GPO DonutSMP
 Escape Tsunami For Brainrots
 Watcher of Realms
 Roblox Rivals
 2XKO
2XKO Sailor Piece
 Forza Horizon 6
 GTA 5
GTA 5- Lootboxes
- Become Affiliate
- Blog
- Contact Us
- Sign In


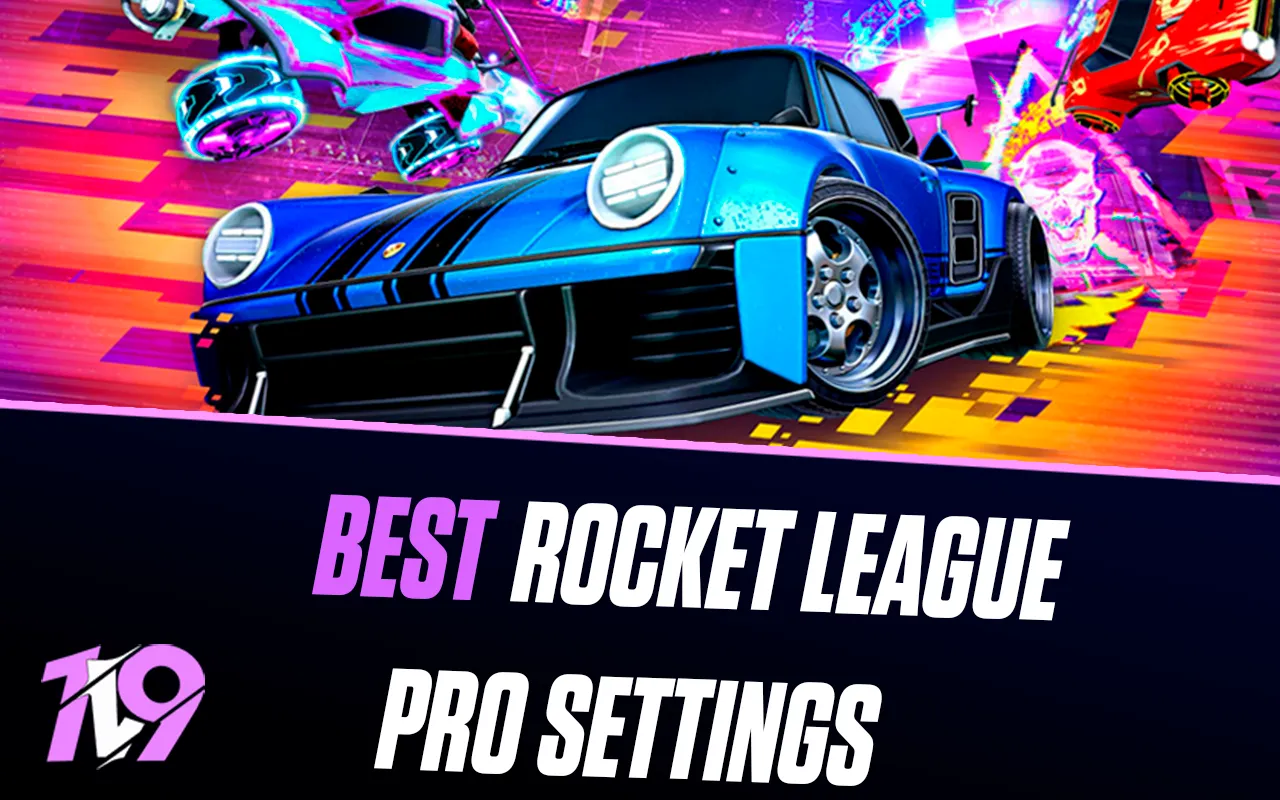
Best Rocket League Settings for 2026
The best Rocket League settings give you a wide, stable camera, simultaneous access to jump and boost, the lowest drift-free controller deadzone, a dodge deadzone that prevents accidental backflips, and a stable high frame rate. Use the values below as a starting point, then calibrate one variable at a time in Free Play. Copying a professional's exact setup is useful only when you understand what each value changes.
Best Rocket League settings at a glance
| Category | Baseline | Tune for |
|---|---|---|
| Camera | 110 / 270 / 100 / -4 / 0.45 | Awareness versus close car/ball reads |
| Swivel / transition | 5.0 / 1.2 | Fast checks without disorientation |
| Steering / aerial | 1.30 / 1.30 | Responsive but controlled movement |
| Controller deadzone | 0.05–0.10 | Lowest value without drift |
| Dodge deadzone | 0.70 | Lower for easier flips; higher to stop backflips |
| Display | Fullscreen, native, highest Hz | Stable frame time and low latency |
| V-Sync | Off | Enable only if tearing is worse than added latency |
| Input Buffer | Default | Try STS/CSTS only for unstable connections |
Best Rocket League camera settings
Camera Shake: Off. Shake adds motion without adding information. Set FOV to 110 for maximum peripheral information. Lower values make objects look larger but hide more of the field, so 110 is the safest competitive baseline.
Distance 270, height 100, and angle -4 form a balanced triangle. More distance and height reveal extra space but make precise touches look smaller. A steeper negative angle shows more ground around the car but can flatten the approach to an aerial ball. Change distance in steps of 10 and height in steps of 10; do not move all three together.
Stiffness 0.45 keeps the view reasonably consistent while allowing some pullback at speed. Raise it toward 0.60 if the camera movement disrupts recoveries; lower it toward 0.35 if you value more speed feedback. Use swivel speed around 5.0 and transition speed around 1.2, then lower either if camera checks or Ball Cam transitions feel abrupt.
Use Ball Camera on Toggle. Ball Cam is the default view for awareness, while Car Cam is useful for dribbling, lining up boost pads, and looking away from the ball. The official support page defines these camera controls, but it does not prescribe one universal competitive value.
Steering, aerial sensitivity, and deadzones
Start steering and aerial sensitivity at 1.30. Raise in 0.05 steps if full-stick turns or aerial corrections feel too slow; lower if dribbles, recoveries, or fine air-roll adjustments look twitchy. Keeping both equal is easy for muscle memory, but separate values are valid when ground and aerial control genuinely need different speeds.
Controller deadzone is not a pro-settings popularity contest. Set it as low as your individual stick permits without neutral drift or noisy inputs—often 0.05 to 0.10 on a healthy controller. A lower value responds sooner but magnifies hardware wear. Test hands off, slow circles, and straight-line steering before accepting the value.
Dodge deadzone decides how far the stick must be tilted for the second jump to become a directional dodge. Start at 0.70. Raise it when fast aerials turn into accidental backflips; lower it when intended diagonal or side flips become double jumps. The setting changes dodge detection, not ordinary steering sensitivity.
For a deeper calibration path, use the Rocket League sensitivity guide after choosing the camera.
Best controller bindings
The binding goal is simultaneous input, not a particular console label. You should be able to jump and boost together, powerslide while boosting, and air roll during a recovery without moving one thumb across several face buttons.
| Action | Example bind | Reason |
|---|---|---|
| Jump | Cross / A | Familiar primary input |
| Boost | R1 / RB | Separates boost from the jump thumb |
| Powerslide + Air Roll | L1 / LB | One recovery-friendly bumper |
| Air Roll Left or Right | Square / X or Circle / B | Optional directional roll for advanced mechanics |
| Ball Camera | Triangle / Y | Fast view toggle without conflicting with jump |
This bumper layout assumes you can use index fingers independently. Claw grip, back paddles, keyboard and mouse, or accessibility needs may produce a better arrangement. Directional air roll is optional for beginners; learn reliable recovery and ordinary air roll before adding binds that have no clear job.
Video settings and input latency
On PC, use Fullscreen, native resolution, the display's highest configured refresh rate, and a frame cap the system can sustain. Turn V-Sync off for the lowest-latency baseline; if tearing is severe, compare a sensible cap with the display's variable-refresh behavior before accepting V-Sync's added queueing.
Set render quality to High Quality if the GPU has headroom; otherwise use Quality or Performance before reducing resolution. Lower world detail, particle detail, weather effects, light shafts, bloom, lens flares, motion blur, and depth of field. Transparent goalposts should stay on because they preserve visibility through the net.
Use the Performance Summary graph on PC to separate Game, Render, and GPU frame-time pressure. Epic's support guidance recommends reducing anti-aliasing, render quality, render detail, textures, world detail, and particles when frame drops continue. On console, choose the performance/high-frame-rate mode when the platform and display offer it, then confirm the console itself is outputting the intended refresh rate.
Interface, nameplates, audio, and network
Use always-visible nameplates, high contrast, and a scale large enough to read across the field. Team-colored boost meter is useful if its colors are easy to distinguish. Keep the ball-cam indicator, connection-quality indicators, and match notifications visible; reduce only decorative UI that covers play.
Effects should remain audible for touches, jumps, boost, demos, and opponents. Lower music and crowd volume if they mask cues. Dynamic Range Default works for most setups; Low/Night compresses loud and quiet sounds for low volume or noisy rooms, while High/Theater suits a capable system at higher listening levels.
Leave Input Buffer on Default first. Epic describes STS as server-directed simulation-time scaling and CSTS as a more aggressive continuous version. Try them only when an unstable connection produces rubber-banding, then compare the Network Short/Long graph. Packet loss, latency variation, and IBuf misses matter; one low ping number does not prove the route is stable.
How to adapt settings instead of copying a pro
- Save screenshots of the current setup.
- Set the camera baseline and play the same wall-read and shadow-defense drill.
- Find the lowest drift-free controller deadzone before touching sensitivity.
- Adjust dodge deadzone using repeated fast-aerial and diagonal-flip attempts.
- Change steering or aerial sensitivity by 0.05 and keep it for several sessions.
- Check a replay from your normal camera. If reads fail, diagnose distance, height, angle, or decision-making separately.
Once the setup is stable, the Rocket League ranks and MMR guide explains the ladder. Players who want personal mechanical feedback can consider Rocket League coaching separately; it is optional and does not replace practice.
Rocket League settings FAQ
Is 110 FOV always best?
It is the strongest awareness baseline and the maximum setting. Lower FOV makes objects appear larger but removes peripheral field information.
What controller deadzone should I use?
Use the lowest value that produces no stick drift or noisy neutral input. Healthy controllers often land between 0.05 and 0.10, but hardware condition decides.
Should powerslide and air roll share a button?
They can share a bumper because their ground and air uses rarely conflict, making recoveries easier without consuming another reachable input.
Should I use STS or CSTS?
Stay on Default unless connection instability causes problems. Test STS, then CSTS, with network graphs; return to Default if neither improves the experience.
Posted On: September 11th, 2024
Recent Articles


Our 1v9 support team is available 24/7 to help you with any questions or issues you may have.
support@1v9.gg
Loading...
1v9.gg is not endorsed or affiliated by any game developers or publishers.
2026 1v9, All Rights Reserved, Created By Ritesh (riteshsahoo.com)