

Valorant Corrode Map: Complete Guide
Valorant continues expanding its map pool with unique layouts that force players to adapt their strategies, agent picks, and team coordination. Corrode is one of the newest maps added to the game, bringing a very different flow compared to many traditional Valorant maps.
With tight choke points, strong mid control, layered vertical angles, and fast rotation paths, Corrode heavily rewards teams with strong communication and good map awareness. Players who understand how the map works can quickly gain a huge advantage during ranked matches.
Like most Valorant maps, Corrode is not just about aim. Understanding rotations, utility usage, common angles, and site control matters just as much as mechanical skill. Teams that fail to control important areas of the map often lose rounds before site executes even begin.
Because the map is still relatively new, many players struggle with positioning, callouts, defensive setups, and attack timings. Learning the layout early can help players climb ranked much faster while most of the player base is still adapting.
In this complete Valorant Corrode map guide, we’ll cover the map layout, important callouts, best agents, attack and defense strategies, and useful tips that can help you win more games on Corrode.
Corrode Map Overview
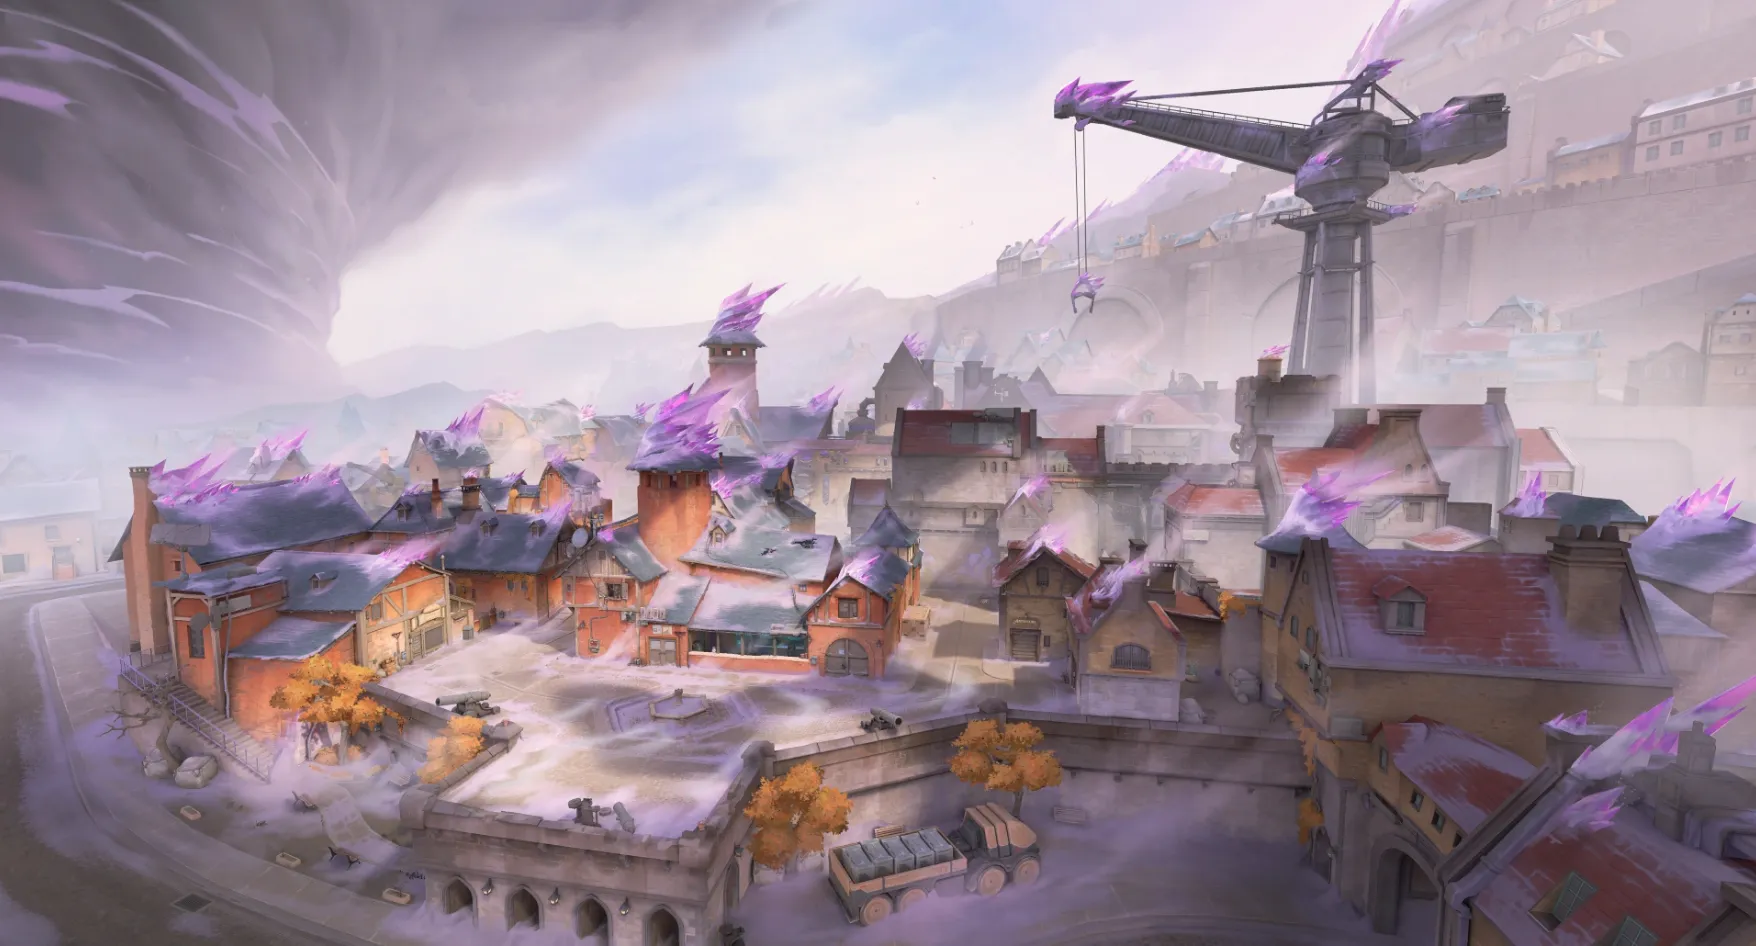
Valorant’s Corrode map takes players into a massive industrial zone inspired by the famous French island town of Mont-Saint-Michel. The map mixes old castle-style architecture with heavy radianite mining facilities, creating a unique environment filled with narrow streets, layered structures, and dangerous sightlines.
One of the biggest things that stands out on Corrode is how important mid control becomes during almost every round. The center of the map connects both bombsites, allowing teams to rotate quickly, apply pressure from multiple angles, and create unpredictable attacks.
Because of this layout, teams that dominate mid usually gain much more control over the pace of the game. Attackers can split sites more effectively, while defenders can rotate faster and shut down pushes before they fully develop.
Corrode also features a large amount of verticality compared to many other Valorant maps. Elevated platforms, upper pathways, and layered angles create extra opportunities for aggressive peeks, off-angles, and utility usage. Players who properly use high ground positions can often gain major advantages during fights.
Unlike simpler maps where teams can rely purely on mechanics and fast rushes, Corrode rewards strategy, coordination, and map awareness much more heavily. Defenders have access to several strong holding positions, making careless site pushes extremely risky without proper utility and teamwork.
Learning rotations, controlling mid consistently, and understanding vertical angles are some of the most important skills for winning games on Corrode. Players who adapt quickly to the map’s structure will usually find much more success in ranked matches while others are still learning its layout and pacing.
Corrode Map Callouts
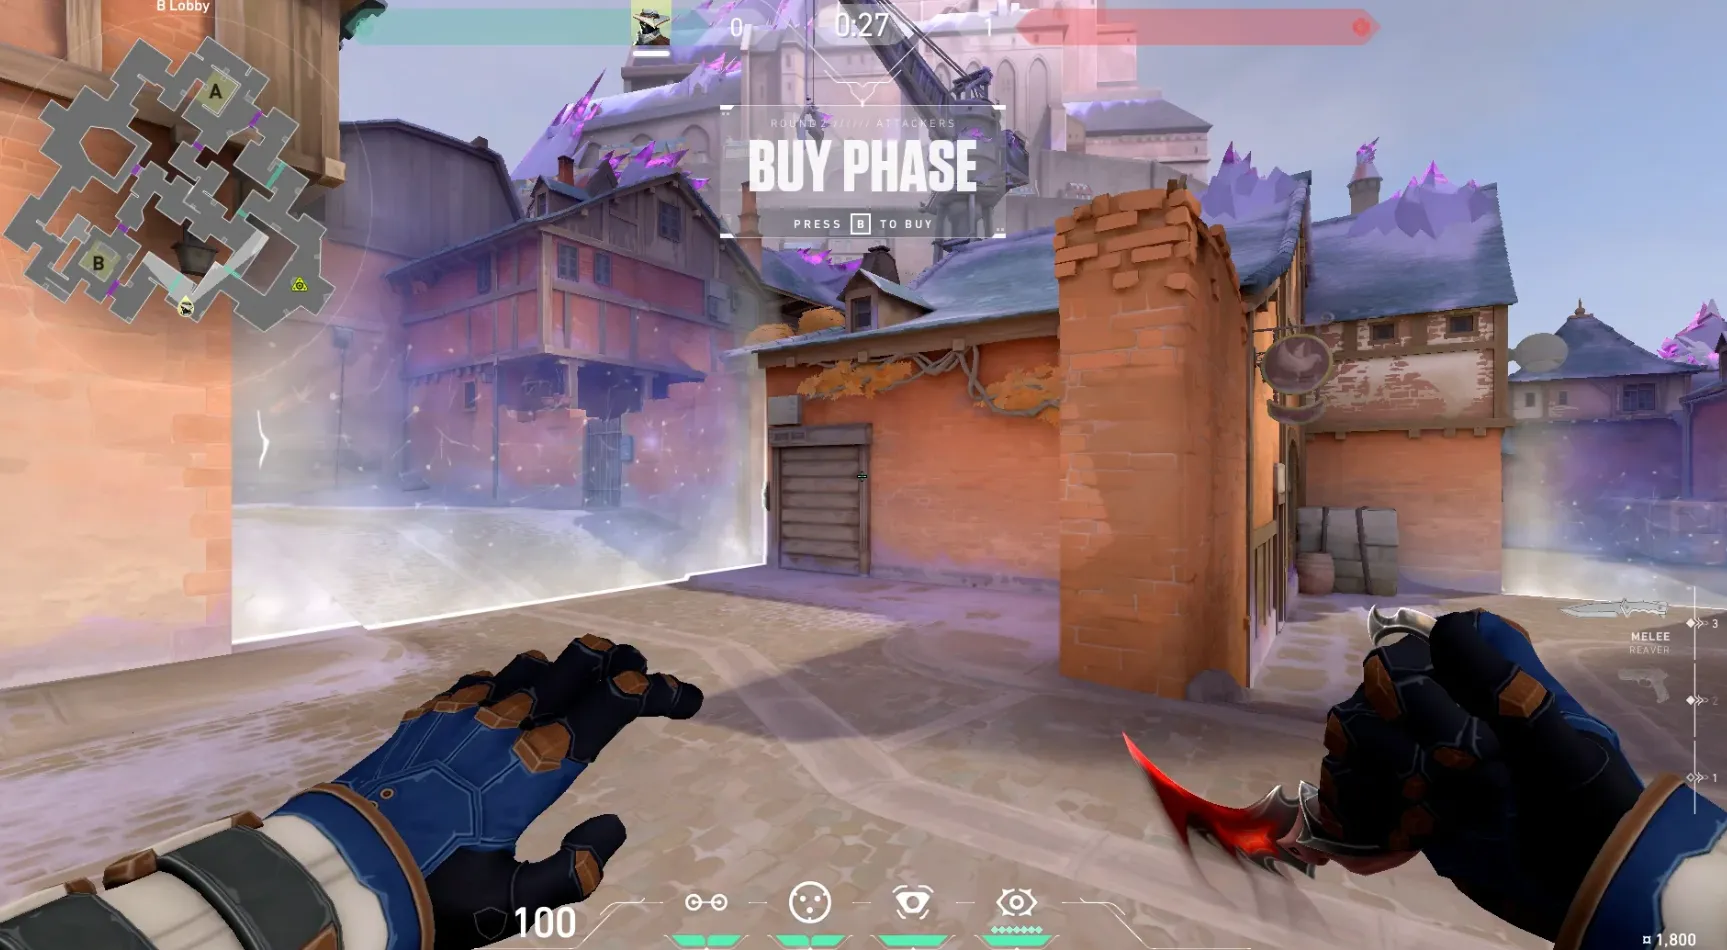
Learning the most important callouts on Valorant’s Corrode map is extremely important if you want better communication and faster reactions during ranked matches. Since Corrode heavily focuses on rotations, split pushes, and mid control, clear callouts can completely change how quickly your team responds during fights.
Players who know the main Corrode callouts usually communicate enemy positions much faster, making retakes, site defenses, and rotations far more organized.
Here are the most important Corrode map callouts every Valorant player should learn:
A Site Callouts
- A Site
- A Crane
- A Elbow
- A Link
- A Yard
- A Pocket
- A Main
- A Lobby
A Site contains several layered angles and elevated positions, especially around Crane and Elbow. Proper communication here is extremely important because defenders often play aggressive off-angles around cover and vertical structures.
Mid Callouts
- Mid Window
- Mid Top
- Mid Stairs
- Mid Bottom
Mid is one of the most important areas on Corrode because it connects both bombsites and allows teams to rotate quickly across the map. Teams that consistently control Mid usually gain a huge advantage throughout the round.
Mid Window and Mid Stairs are especially important positions since players often use them to hold rotations or pressure defenders from multiple directions.
B Site Callouts
- B Site
- B Arch
- B Tower
- B Elbow
- B Link
- B Main
- B Lobby
B Site also features strong defensive angles and layered positioning. Tower gives defenders elevated sightlines over parts of the site, while B Arch and B Elbow are common fighting areas during executes and retakes.
Learning all Corrode callouts early can massively improve teamwork and communication, especially in ranked games where fast and accurate information often decides rounds before fights even fully begin.
Corrode Map Best Agents
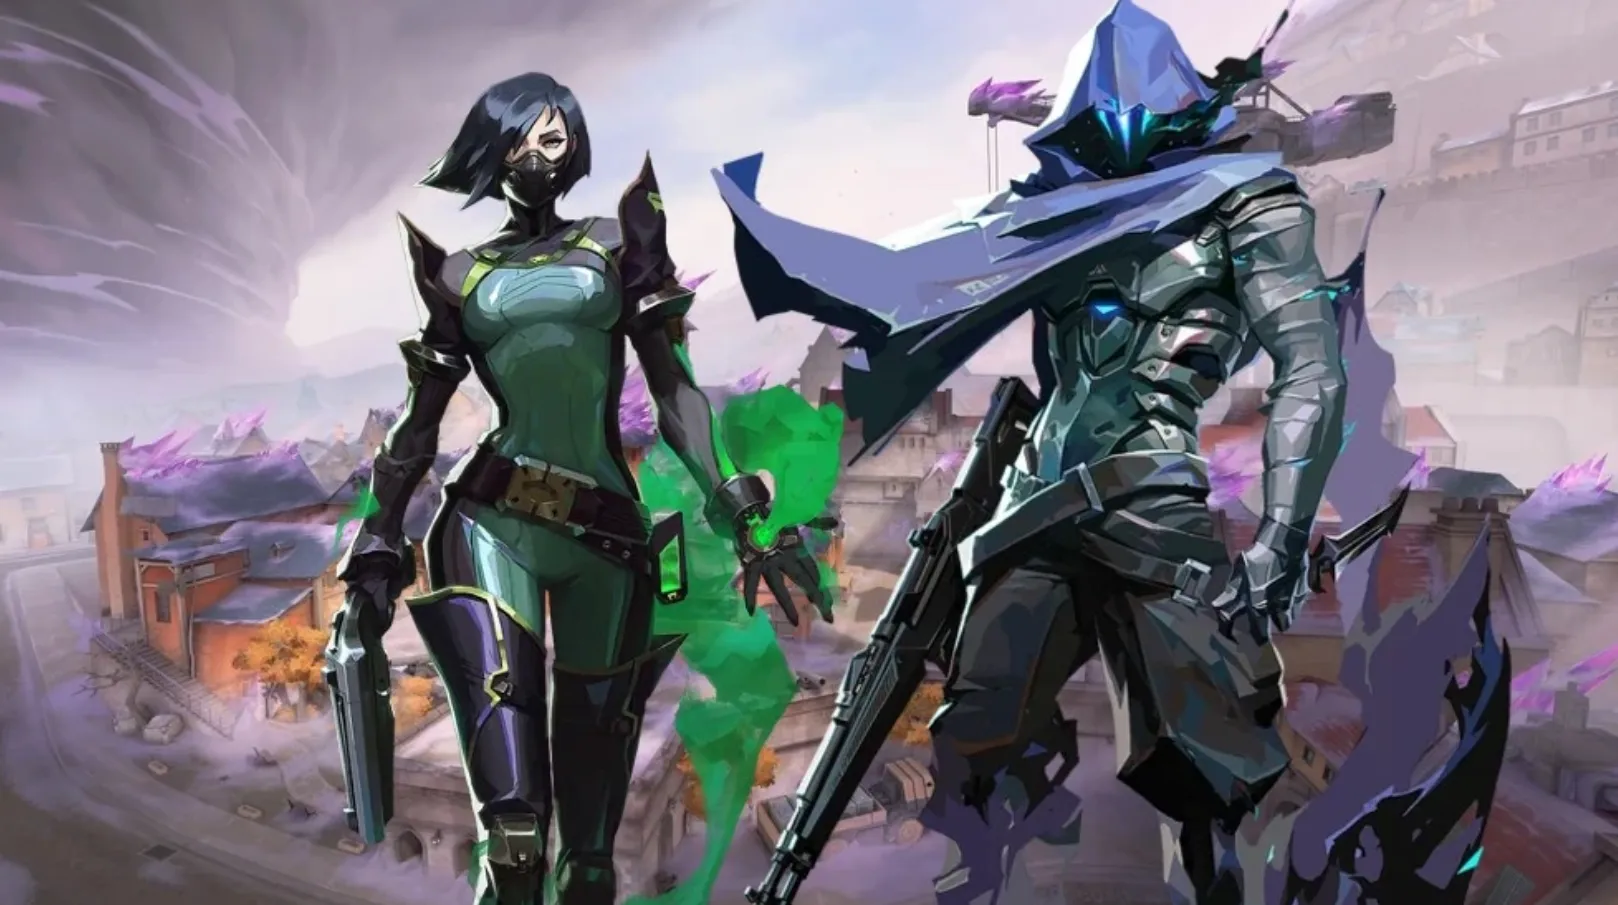
Choosing the right agents on Valorant’s Corrode map can make a massive difference because the map heavily rewards utility usage, mid control, and coordinated site executes. With its layered structure, tight choke points, and vertical angles, some agents naturally perform much better here than others.
Best Controller on Corrode: Omen
Omen is one of the strongest controller picks on Corrode thanks to how effective his utility is across the map’s narrow pathways and elevated positions. His smokes are extremely valuable for blocking important sightlines around Mid, A Yard, and B Site entrances, helping teams safely take control of key areas.
His teleport ability is also especially dangerous on Corrode because the map includes multiple elevated angles and unexpected off-positions that Omen can abuse aggressively. Good Omen players can constantly reposition and pressure defenders from unpredictable spots.
Paranoia is another major reason why Omen performs so well here. The flash travels through walls and tight corridors, making it extremely powerful for clearing dangerous choke points like A Elbow and B Elbow during executes.
Viper is also a very strong alternative controller pick on Corrode due to how useful her wall becomes for cutting bombsites in half and controlling Mid pressure.
Best Sentinel on Corrode: Killjoy
Killjoy is one of the best defensive agents on Corrode because her utility works perfectly with the map’s narrow entries and layered bombsites.
Her Turret can safely watch flanks or pressure attackers from elevated positions, while Alarmbot setups make it much harder for enemies to sneak through important choke points unnoticed.
Nanoswarms are extremely powerful during post-plant situations on Corrode because many spike plant spots are exposed and difficult to retake safely. Defenders are often forced into predictable positions, making Killjoy utility even stronger.
Lockdown is also very effective on this map because Corrode’s structure makes it difficult for enemies to fully escape the ultimate radius during site retakes.
Best Duelist on Corrode: Phoenix
Phoenix performs surprisingly well on Corrode because of how useful his flashes become around tight corners and layered structures.
Curveball can quickly blind defenders holding difficult angles around Mid, A Site, and B entrances, making site executions much safer for the team.
His Hot Hands ability is also very useful during post-plant situations since it can force defenders out of corners and deny important retake positions.
Phoenix’s ultimate gives players a safe way to aggressively clear dangerous areas without fully risking their life, which becomes especially valuable on a map filled with vertical angles and difficult close-range fights.
Best Initiator on Corrode: Fade
Fade is arguably one of the strongest initiators on Corrode because the map gives her utility massive value across multiple areas.
Haunt can easily scan elevated positions and difficult corners, revealing defenders hiding in strong off-angles before teams commit to site executes.
Because Corrode contains many wallbang spots and narrow defensive setups, revealing enemy positions becomes even more powerful than usual.
Nightfall is also incredibly effective for taking bombsites on Corrode. The ultimate covers huge portions of the map and can completely disrupt defensive setups during executes or retakes.
If you want more in-depth information about the strongest agent picks, team compositions, and utility setups for Corrode, check out our full Best Agents on Corrode guide here.
Corrode Tips and Tricks
Learning a few important strategies on Valorant’s Corrode map can massively improve your win rate, especially while most players are still learning the layout and rotations. Corrode rewards smart utility usage, map awareness, and strong positioning much more than simple aim duels.
Tip 1: Control Mid Whenever Possible
Mid control is one of the most important parts of Corrode. Since Mid connects both bombsites, the team controlling this area usually controls the pace of the round as well.
For attackers, taking Mid opens up split pushes, faster rotations, and much more pressure across the map. It also forces defenders to constantly worry about multiple entry points instead of stacking a single site.
Because Mid contains several long sightlines, controllers become extremely important here. Smokes around Mid Window, Mid Top, and connecting angles can make advancing much safer while limiting defender vision.
For defenders, contesting Mid early helps gather information and slows down attacker rotations significantly. Even light pressure in Mid can force attackers to waste utility and delay site executions.
Tip 2: Be Careful Around Flooded Areas
One of Corrode’s unique mechanics is its flooded walkways scattered throughout the map. Walking through water creates loud audio cues that can easily reveal your position to nearby enemies.
Because sound plays such a huge role in Valorant, careless movement through these flooded sections can instantly give away rotations, lurks, or flank attempts.
Whenever possible, players should avoid sprinting through these areas unless absolutely necessary. Moving slowly through water can help reduce noise and make your movement less predictable during important rounds.
Experienced players often listen carefully around these flooded paths because they provide free information without needing direct vision.
Tip 3: Prioritize Taking B Site
B Site is one of the strongest defensive areas on Corrode because of its narrow choke points, layered elevations, and difficult entry angles.
Defenders can hold B extremely aggressively if attackers fail to use utility properly before entering the site. Because of this, rushing B without coordination often leads to fast losses and wasted rounds.
However, once attackers successfully gain control of B Site, the map becomes much easier to manage during post-plant situations. Many of the same elevated positions defenders use can then be turned against them during retakes.
To consistently take B Site, teams should heavily rely on:
- Smokes
- Flash abilities
- Mollies
- Recon utility
- Coordinated swings
Strong utility usage is usually the key difference between successful B executes and failed pushes on Corrode.
Players who learn Mid control, sound management, and proper B Site execution early will usually perform much better on Corrode compared to players relying only on mechanics and aim.
Conclusion
Valorant’s Corrode map brings a very different style of gameplay compared to many other maps in the current pool. With its heavy focus on Mid control, layered verticality, narrow choke points, and fast rotations, the map rewards players who rely on teamwork, utility usage, and strong map awareness instead of pure mechanics alone.
Learning important callouts, understanding rotations, and choosing the right agents can make a massive difference while most players are still adapting to the map. Teams that properly control Mid and use utility efficiently usually gain a huge advantage throughout the match.
Corrode also punishes careless positioning and noisy movement much harder than many players expect, especially around flooded pathways and stacked defensive angles.
Whether you are trying to improve your ranked performance, learn stronger executes, or simply understand the map faster than other players, mastering Corrode early can give you a major advantage in competitive Valorant matches.
Posted On: May 15th, 2026
Recent Articles


💬 Need help?
Our 1v9 support team is available 24/7 to help you with any questions or issues you may have.
support@1v9.gg
Loading...
1v9.gg is not endorsed or affiliated by any game developers or publishers.
2025 1v9, All Rights Reserved, Created By NightDev