


Valorant: 5 Best Viper Lineups For Pearl
Pearl, the underwater haven in Valorant, offers a unique challenge with its open lanes and intricate site layouts. As one of the most utility-dependent maps, having a Controller like Viper on your team can significantly tilt the odds in your favor. With her Toxic Screen and Snake Bite lineups, Viper excels at cutting off enemy sightlines, delaying defuses, and creating advantageous scenarios for her team.
Whether you’re attacking or defending, mastering Viper’s lineups on Pearl is crucial for gaining map control and securing round wins. Her ability to control choke points, deny plants, and delay pushes makes her one of the most valuable agents on this map. In this guide, we’ll explore the 6 best Viper lineups for Pearl that will give you an edge over your opponents. Let’s dive in!
#6: Lineup From A Site to A Main Entry

This defender-side Viper lineup for Pearl is straightforward but highly effective when combined with Poison Cloud. While it may not stand out on its own, pairing it with your utility can either stall enemies long enough for your team to rotate or deal significant damage to those who dare to push through.
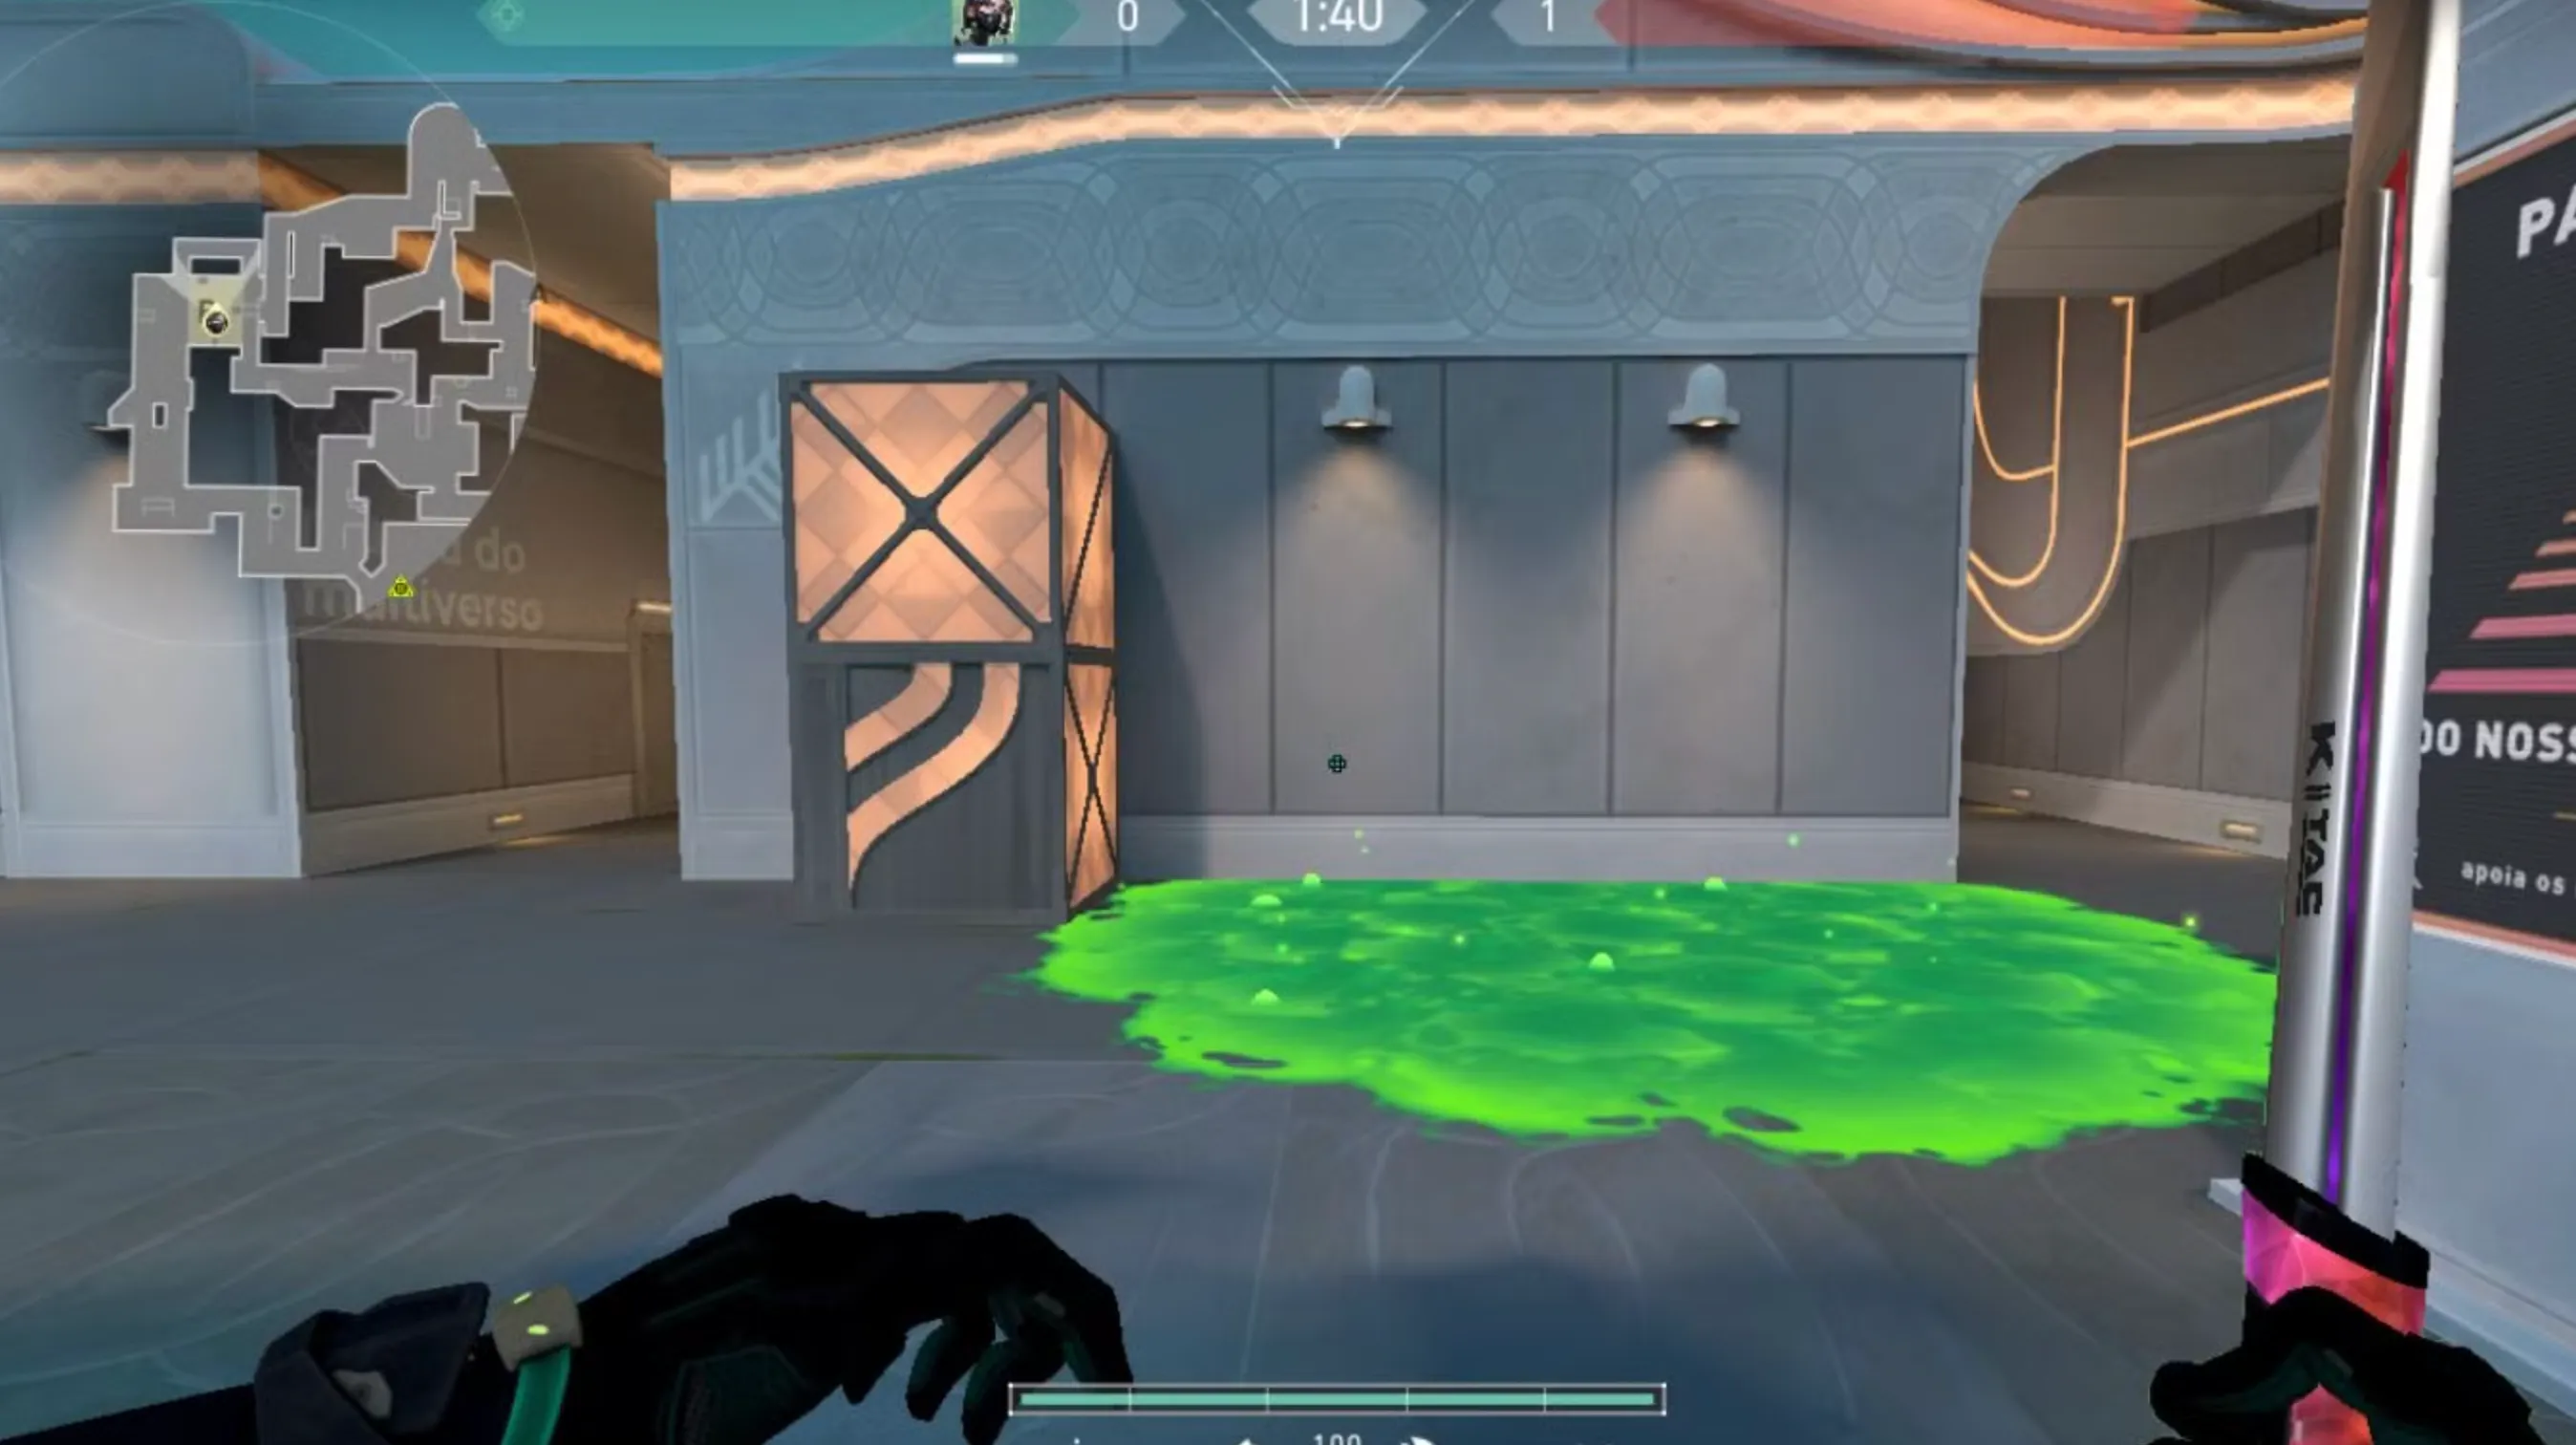
To set it up, start during the preparation phase by tossing your Poison Cloud at the center of the doorway leading from A Main to A Site. Position your Toxic Screen wherever it best suits your defensive strategy. Once that’s done, head to the back of A Site, behind the central structure, and prepare to line up your Snake Bite.
Look for the door at the center of the back structure and stand in the middle of it. Press forward until you can’t move any further, then turn to face the entryway. Above the doorway, you’ll notice a figure resembling a face. Aim precisely at the “forehead” of this figure and fire your Snake Bite.
If lined up correctly, the Snake Bite will bounce off multiple surfaces before landing perfectly to block the A Main entryway. Pair this with your Poison Cloud for maximum effect, creating a lethal and unwelcoming choke point. Enemies will either be forced to delay their push or risk significant damage, giving you and your team the upper hand. This lineup is perfect for keeping yourself safe while maintaining control of A Site.
#5: Lineup From A Restaurant to A Site

When planting the Spike at A Site, defenders often expect attackers to hide in predictable spots like Dugout, Secret, or Flowers. But with this lineup, you’ll catch them off guard by setting up from Attacker Side Spawn. While this sneaky play requires precise execution and possibly some help from a teammate to monitor the Spike, it can completely shut down defuses and secure the round. For this to work, make sure to plant the Spike at the back of A Site.
From Attacker Side Spawn, head toward the right-hand side where you’ll see a brown door with a yellow handle on the first building. Position yourself in the middle of the door, pressing forward until you can’t move further. Turn around to set up the shot.
You’ll notice a building on the left side of the alley with a door that leads to Mid. Aim at the right edge of this building, then position your crosshair between the two white stripes in the sky. Ensure the crosshair is slightly to the right of the building’s edge to avoid hitting the structure, then fire your Snake Bite.
If executed correctly, the Snake Bite will land perfectly on the Spike, provided it was planted at the correct spot. This lineup effectively denies the defuse for approximately 5.5 seconds, buying critical time for your team to secure the win. It’s an excellent post-plant strategy that can leave your opponents scrambling to counter a play they never saw coming.
#3: Lineup From Attacker Spawn to B Site
Using Attacker Spawn as your post-plant lineup location can be a game-changer, as it’s one of the last places defenders will think to check when the Spike is planted at B Site. This positioning not only keeps you safe but allows you to execute your lineup without much interference. However, since you won’t hear the defuse sound from this location, you’ll need a teammate to relay when the Spike is being defused.
To set up, head to the small pool near your spawn area. You’ll notice a rock structure in the center—stand on the largest rock in the formation. Precision is critical for this lineup, so ensure you position yourself correctly to avoid missing the mark.
Once in position, look toward the building on your left. You’ll see a fence at the top of this structure. Focus on the corner pillar of the fence and place your crosshair on its tip. From there, drag your aim directly upward until it aligns with the white stripe visible in the sky. Fire your Snake Bite from this angle, and it will land perfectly on the Spike.
For this lineup to be effective, ensure the Spike is planted on the left side of the double box structure at B Site. This placement ensures that defenders attempting to defuse will be caught in the Snake Bite, significantly delaying their efforts and increasing your team’s chances of securing the round.
#2: Lineup From A Ramp to B Site

If you find yourself without teammates to relay critical Spike defuse information—whether they’re eliminated or unreliable—this lineup offers a solution, albeit with some risk. Executing it from B Ramp places you in a position that defenders are likely to check, especially if they suspect you’re playing Viper lineups. However, when the situation demands it, this lineup can secure the round.
To set up, move to the left side of B Ramp as you approach the site. Position yourself in the far-left corner and press against it until you can’t move further. Once in place, turn around and focus on the lamp directly above you.
This lineup takes advantage of a clever mechanic: the lamp above doesn’t have a hitbox, allowing your Snake Bite to pass through unobstructed. Carefully aim at the top-left edge of the lamp. Ensure your crosshair is directly on the edge, not slightly to the side, for precision. Once aligned, fire your Snake Bite.
If executed correctly, the Snake Bite will land perfectly on the Spike, denying any defuse attempts. While this strategy is risky due to its exposed position, it’s an effective last resort when no other options are available. By using this lineup, you can delay the defuse and secure valuable time for your team, even in the most challenging scenarios.
#1: Lineup From Attacker Spawn to A Site

A Site on Pearl is often the easier site to take as attackers, and this lineup can make defending the Spike a breeze once it’s planted. To maximize its effectiveness, you must plant the Spike in a specific position—on the open side of the site, perfectly visible from Attacker Spawn. Ensure precise placement so no defender can defuse while your Snake Bite is active.
To set up, head to the small rock structure in the middle of the pool at Attacker Spawn. Stand right in the center of the rock to ensure proper alignment. Once you’re positioned, turn toward A Site and locate the window on the building in front. The window is surrounded by a concrete outline—place your crosshair at the top-left edge of this outline to set your anchor point.
From here, move your crosshair directly upward until it aligns with the top edge of the white stripe in the sky. Precision is key—ensure your crosshair is on the edge of the stripe, as aiming too far to the middle will cause the Snake Bite to land in A Main instead of on the Spike. Once you’ve lined up the shot, fire your Snake Bite and watch it perfectly land on the Spike, denying defuse attempts.
While this lineup is incredibly effective, it does require assistance from a teammate to call out when the Spike is being defused, as you won’t hear it from this position. If executed correctly, this setup will leave defenders baffled and secure the round with ease. For an even better experience, consider pairing up with a reliable duo to communicate effectively during these clutch plays!
Conclusion
Mastering Viper’s lineups on Pearl can significantly enhance your ability to control the map and secure round wins. Whether you’re stalling pushes as a defender or denying Spike defuses as an attacker, these six lineups provide the precision and strategy needed to outplay your opponents. Pearl’s unique layout makes Viper an invaluable asset, as her utility can turn chokepoints and open sites into deadly traps for the opposing team.
By incorporating these lineups into your gameplay, you’ll not only improve your effectiveness as a Controller but also give your team a strategic edge in critical moments. Practice these setups in custom games, communicate with your teammates, and watch as your mastery of Viper helps you dominate on Pearl. With the right execution, these lineups will make you an indispensable part of any team.
Posted On: January 30th, 2025
Recent Articles


💬 Need help?
Our 1v9 support team is available 24/7 to help you with any questions or issues you may have.
support@1v9.gg
Loading...
1v9.gg is not endorsed or affiliated by any game developers or publishers.
2025 1v9, All Rights Reserved, Created By NightDev