Rainbow Six Siege: Striker Operator Guide
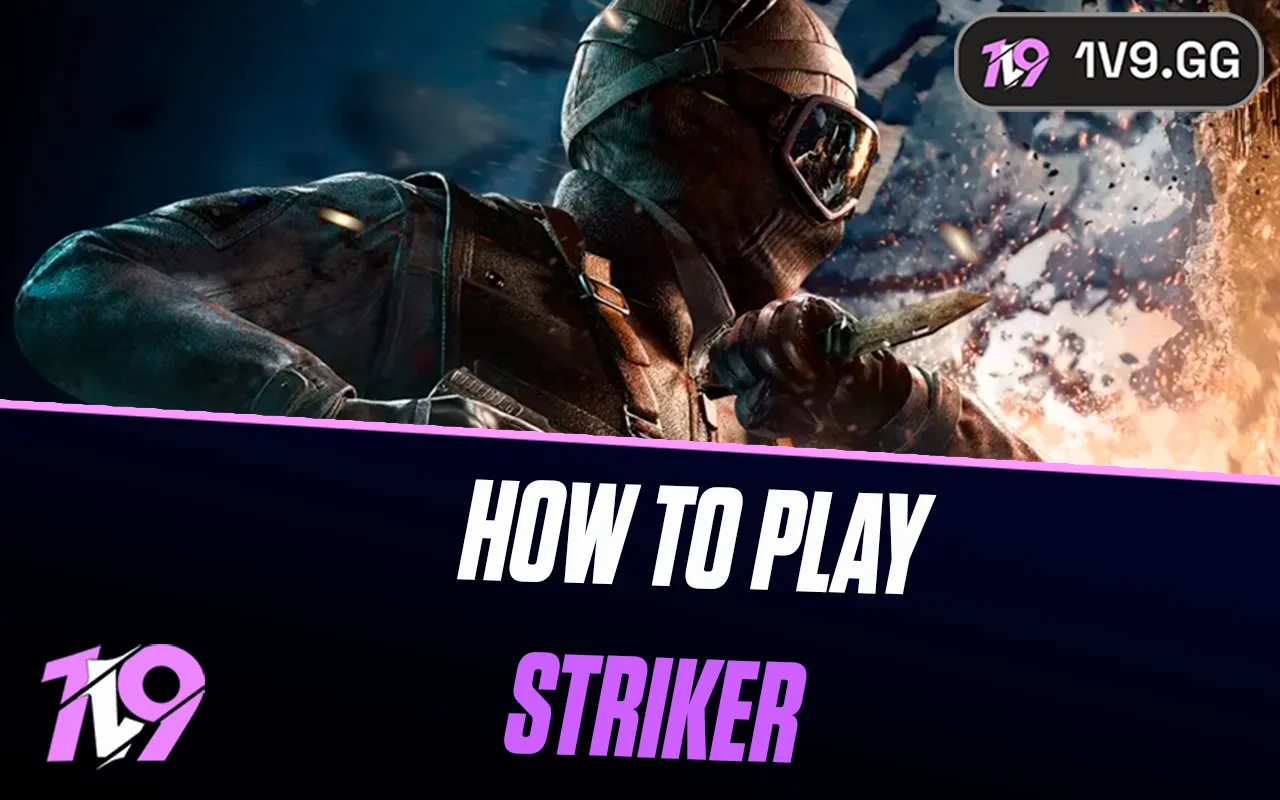
Striker is one of the newest Operators in Rainbow Six Siege, bringing a unique mix of speed, power, and tactical versatility to the defending team. Known for his aggressive playstyle and ability to disrupt enemy pushes, Striker is designed for players who like to stay mobile while holding critical map positions. His gadget gives defenders a powerful way to control choke points and deny entry, making him an excellent choice for anchoring or roaming depending on team composition. In this guide, we’ll break down everything you need to know about Striker’s ability, weapon loadout, and strategies to help you master him and maximize his impact in every round.
Striker Ability Overview in Rainbow Six Siege

Striker’s ability revolves around his Shock Wall System (SWS) — a deployable gadget that creates an electrified barrier, damaging and slowing down any attacker who passes through it. Once activated, the Shock Wall not only blocks access but also emits a low buzzing sound that alerts Striker and his team to enemy movement nearby. It’s perfect for holding narrow corridors, staircases, or entry points that attackers rely on to breach sites.
The SWS can be deployed on floors or walls, and it remains active for a set duration or until destroyed by EMPs, explosives, or melee attacks. What makes this ability powerful is how it combines area denial and intel gathering — attackers caught in its radius often hesitate or waste utility trying to disable it. Smart players can also use Striker’s gadget to funnel enemies into predictable paths, making them easy targets for traps or crossfire setups. Mastering Striker’s Shock Wall is all about timing and positioning, knowing exactly when and where to deploy it for maximum defensive control.
Best Striker Weapon Loadout

Striker’s weapon loadout in Rainbow Six Siege is built for versatility, letting players choose between aggressive frontline fights and reliable site defense. His primary weapons include the M870 shotgun and the C7E assault rifle. The M870 is ideal for close-quarters combat, offering devastating power in tight spaces and perfect synergy with his Shock Wall System for ambush setups. On the other hand, the C7E provides accuracy and range, allowing Striker to take medium-distance gunfights or hold angles effectively when defending key entry points.
For secondary weapons, Striker carries the P226 Mk 25 pistol — a dependable sidearm for quick swaps when reloading in fast-paced encounters. As for gadgets, he can equip either barbed wire or impact grenades, giving players the flexibility to tailor his kit for different playstyles. Barbed wire enhances his area-denial potential when combined with the Shock Wall, while impact grenades are perfect for creating rotation holes or catching attackers off guard. Overall, Striker’s loadout is one of balance — deadly up close, adaptable at range, and perfectly suited for defenders who like to stay unpredictable.
How To Play Striker in Rainbow Six Siege

Playing Striker effectively in Rainbow Six Siege is all about controlling enemy movement and capitalizing on chaos. His Shock Wall System makes him a strong anchor or flex defender, depending on how you use his gadget and weapon loadout. Start by placing your Shock Walls in common entryways, staircases, or plant spots to slow attackers down and feed intel to your team. The key is to force them into predictable paths — once they hesitate or take alternate routes, you can reposition for easy picks or set up crossfires with teammates.
When anchoring, combine Striker’s gadget with barbed wire or other area-denial tools like Smoke’s gas canisters or Lesion’s mines to make choke points even deadlier. If you prefer roaming, use impact grenades to create quick escape routes or surprise attackers rotating through unguarded areas. His C7E rifle gives him enough firepower to take mid-range duels, while the M870 makes him lethal in close quarters.
To truly master Striker, focus on timing your gadget deployments — activate Shock Walls right before attackers push or plant, not too early, to maximize pressure. Keep communicating with your team and pair your intel with traps and utilities from other operators. With smart placement and awareness, Striker becomes a nightmare for attackers trying to breach your defenses.
Conclusion
Striker is one of the most versatile and tactical defenders in Rainbow Six Siege, capable of completely shifting the pace of a round with his Shock Wall System. His ability to slow, damage, and reveal enemy movement gives teams a huge advantage when defending critical areas. Whether you prefer to anchor on-site or roam aggressively, Striker’s toolkit lets you adapt to nearly any playstyle. With smart gadget placement, good map awareness, and strong communication, you can turn every push into a trap and make attackers think twice before breaching your site. Mastering Striker is all about timing and precision — play patiently, control space, and you’ll dominate every round.
Posted On: October 25th, 2025
Recent Articles
💬 Need help?
Our 1v9 support team is available 24/7 to help you with any questions or issues you may have.
support@1v9.gg
Loading...
1v9.gg is not endorsed or affiliated by any game developers or publishers.
2025 1v9, All Rights Reserved, Created By NightDev


