


Best Tank Stadium Builds in Overwatch 2
Overwatch 2’s Season 16 introduced Stadium mode, a fresh and fast-paced way to play that challenges players to build their heroes strategically. In this mode, you can’t swap heroes mid-match, meaning your success depends entirely on crafting the perfect setup as you progress through each round. By earning Stadium Cash, you can purchase powerful Items that enhance your chosen Powers, unlocking new passives, buffs, and effects that drastically change your gameplay. Tanks, in particular, have plenty of options—ranging from builds focused on heavy sustain and Lifesteal to those emphasizing mobility, crowd control, and raw damage output. Picking the right combination of Powers and Items can turn any Tank into an unbreakable wall or a charging force that dominates objectives. This guide breaks down the best Tank Stadium builds in Overwatch 2, helping you create unstoppable setups that fit your playstyle and secure victory in every match.
Fire Strike Reinhardt Build
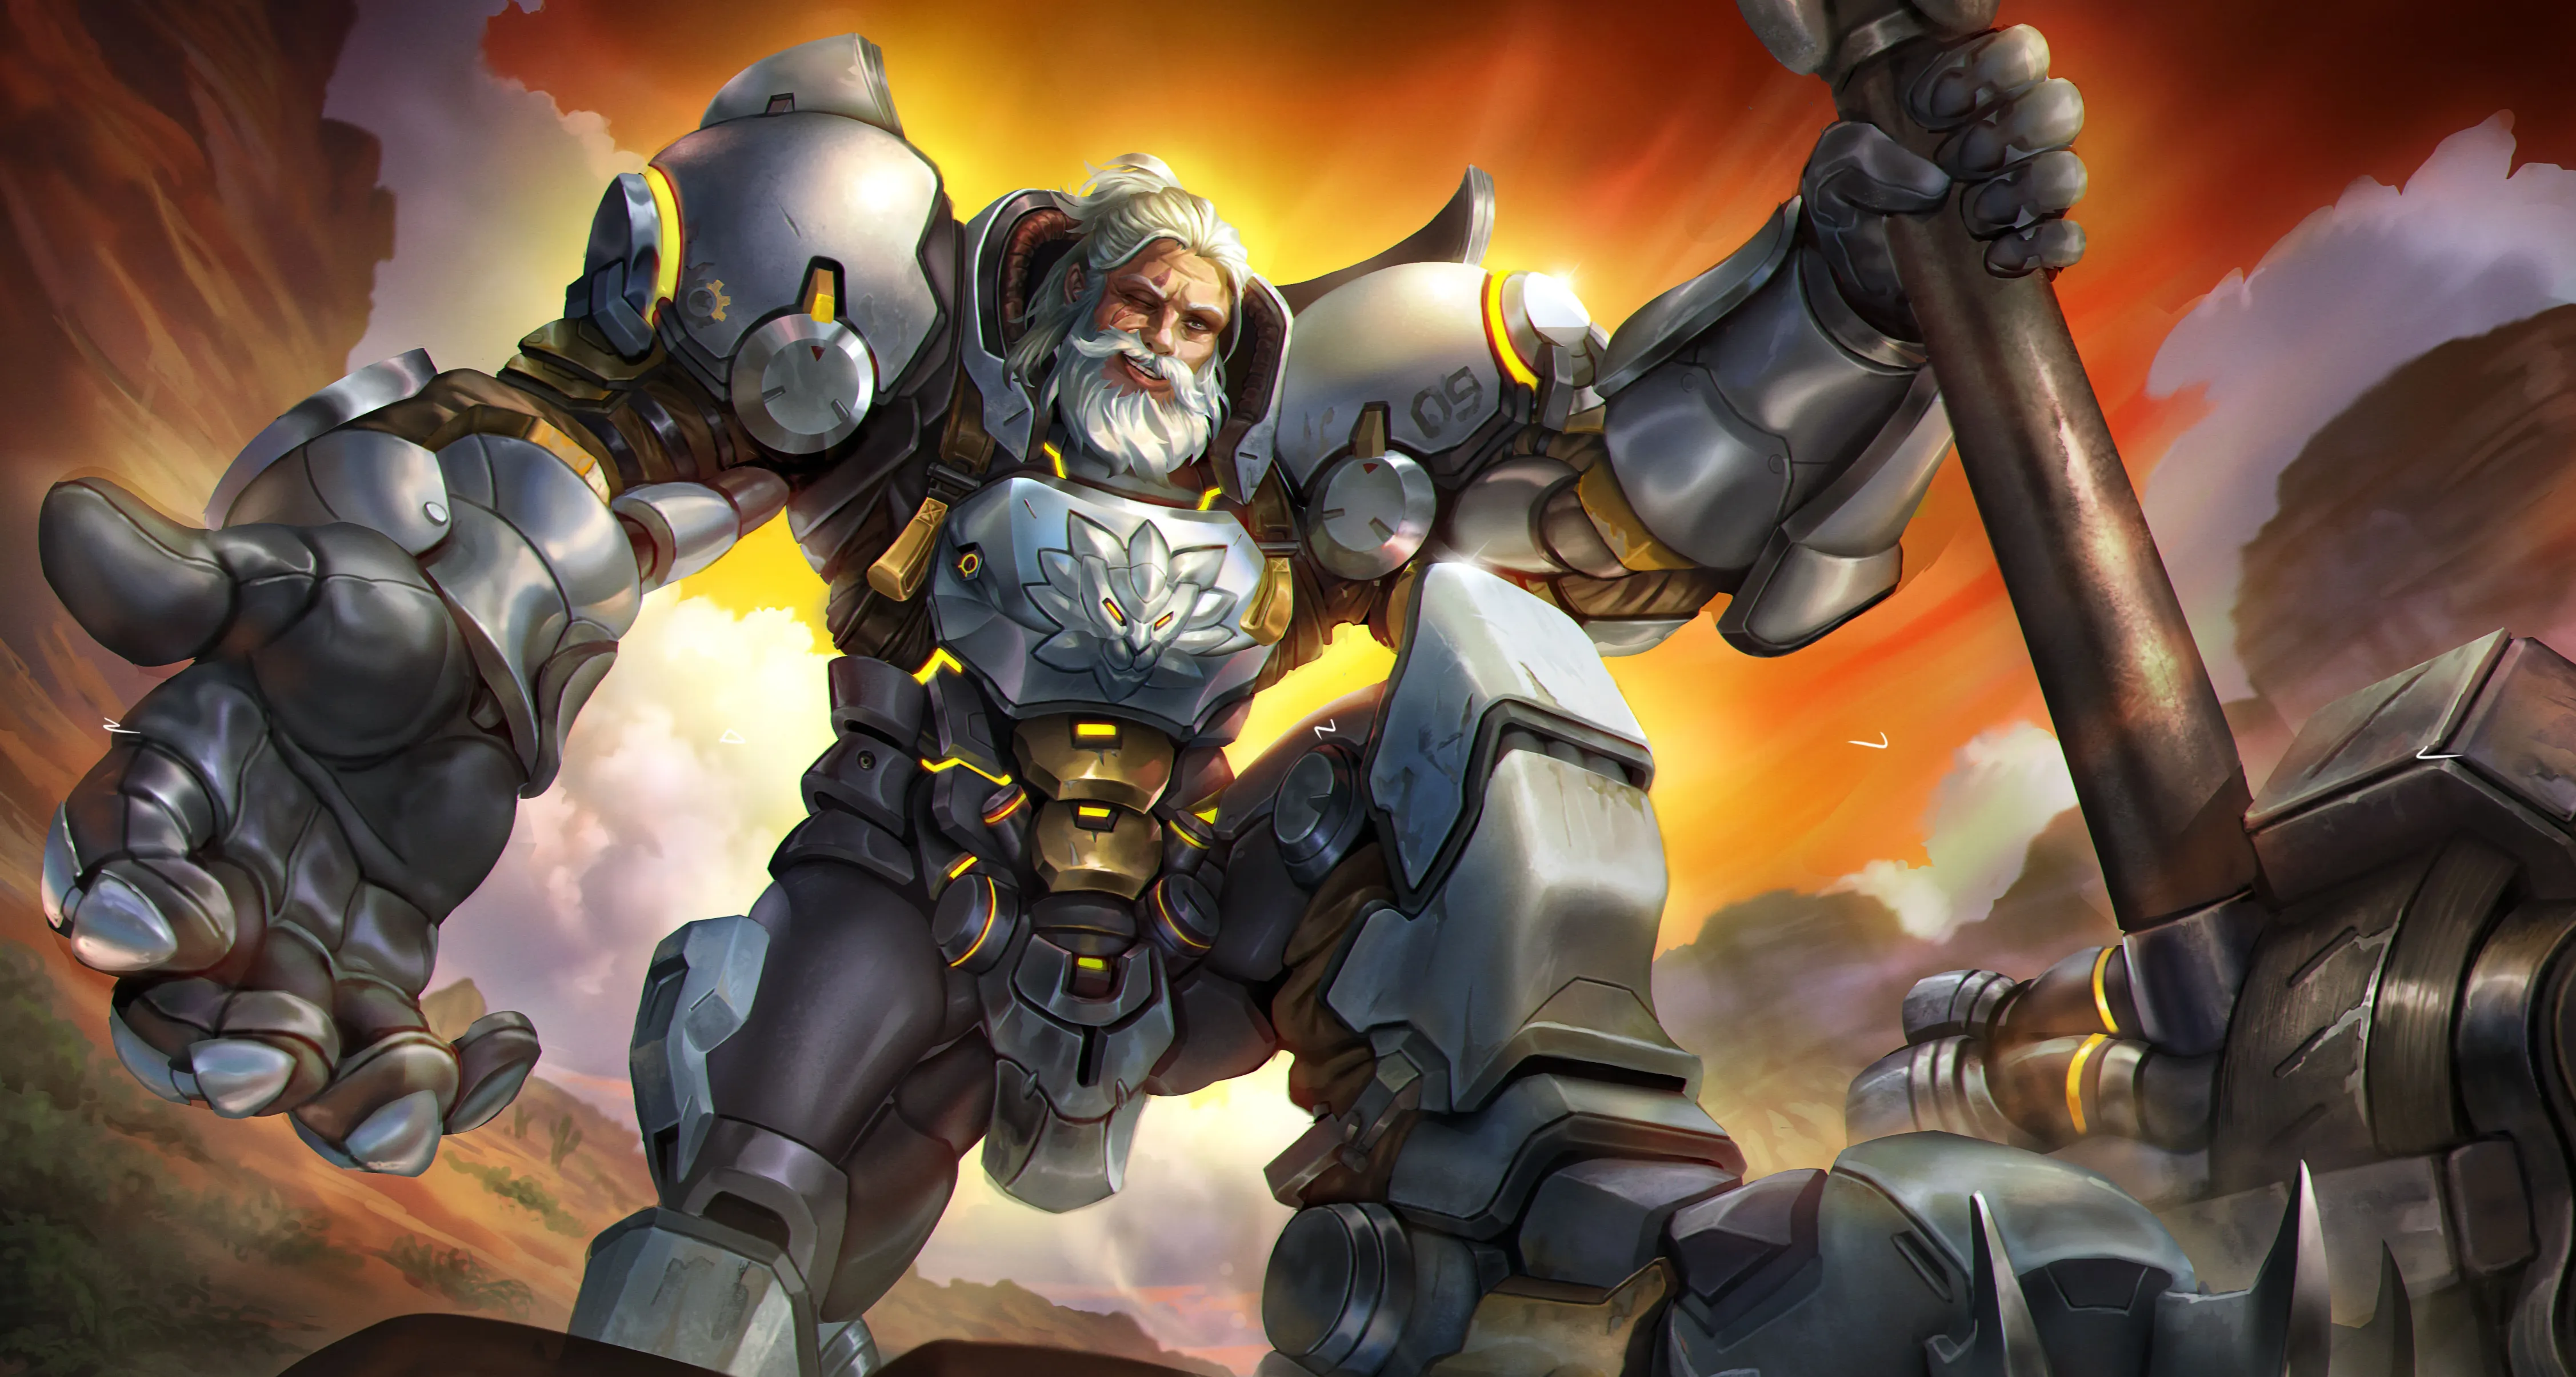
This Reinhardt Stadium build focuses on turning Fire Strike into a devastating ability capable of burning through enemies and farming Ultimate charge with ease. By combining powerful ability and weapon upgrades, you can transform Reinhardt from a defensive wall into an aggressive frontliner who thrives in close-range brawls. Each Fire Strike leaves a trail of destruction, while your hammer swings apply burns and restore health through Lifesteal—keeping you alive even during extended fights. The goal is to chain Fire Strikes for maximum value, apply constant pressure with speed-boosted melee attacks, and close distance using your barrier or positioning to stay on the offensive.
Fire Strike Reinhardt Build – Powers
• Round 1: Magma Strike – Casting Fire Strike twice within 2 seconds causes the second to leave a lava trail that burns enemies for 50% of its damage.
• Round 3: Feeling the Burn – Every third Rocket Hammer swing applies Burn, dealing 30% extra damage over 2 seconds.
• Round 5: Impact Burst – Fire Strike explodes on the first enemy it hits, dealing 20% of its damage in a 3m radius.
• Round 7: Smashing! – Rocket Hammer hits grant 5% movement speed and 4% Lifesteal for 3 seconds, stacking up to 5 times.
Early Game Items (Rounds 1–2)
• (WPN) Weapon Grease – +5% attack speed.
• (ABL) Power Playbook – +10% ability power.
• (WPN) Plasma Converter – +10% weapon Lifesteal.
• (ABL) Chimera’s Maw – +10% ability power, +50% Fire Strike radius.
• (WPN) Aftermarket Firing Pin – +5% weapon power, +5% movement speed.
• (WPN) Stockpile – +5% attack speed, +25% max ammo.
Mid-Game Items (Rounds 3–5)
• (ABL) Chimera’s Maw – +10% ability power, +50% Fire Strike radius.
• (ABL) Rocket Strike – +20% ability power, +50% Fire Strike projectile speed.
• (WPN) Booster Jets – +20% attack speed; using an ability grants +20% move speed for 2s.
• (ABL) Wrist Wraps – +5% ability power, +10% attack speed.
• (ABL) Champion’s Kit – +40% ability power.
• (ABL) Plan-Z – +10% weapon power; gain +3% attack speed per 100 missing HP, up to 30%.
• (SURV) Phantasmic Flux – +10% weapon and ability power, +15% Lifesteal; at full HP, gain up to 100 Overhealth.
Late Game Items (Rounds 6–7)
• (ABL) Liquid Nitrogen – +25 HP, +10% ability power; ability damage slows enemies by 20% for 3s.
• (ABL) Catalytic Crystal – +15% ability power; ability damage and healing grant +20% Ultimate charge.
• (ABL) Champion’s Kit – +40% ability power.
• (ABL) Plan-Z – +10% weapon power; gain +3% attack speed per 100 missing HP, up to 30%.
• (SURV) Phantasmic Flux – +10% weapon and ability power, +15% Lifesteal; at full HP, gain up to 100 Overhealth.
• (WPN) Technoleech – +5% weapon power, +10% weapon Lifesteal.
This Fire Strike Reinhardt build turns every swing and flame into a threat. The combination of Burn damage, healing sustain, and boosted attack speed makes Rein a relentless powerhouse in Overwatch 2 Stadium mode, capable of leading every brawl and dominating close-range engagements with pure momentum.
Bubble Zarya Build

This Zarya Stadium build is centered around maximizing her bubble uptime, durability, and team protection while turning her into a dangerous damage threat once charged. By investing in ability power, cooldown reduction, and Lifesteal, you’ll make her barriers more powerful and sustainable—allowing you to protect teammates more frequently while boosting your own survivability in the frontline. With the right combination of Powers and Items, Zarya becomes a walking powerhouse capable of absorbing immense damage, building Energy fast, and punishing anyone who tries to push her team.
Bubble Zarya Build – Powers
• Round 1: Major Flex – Barriers knock back nearby enemies, dealing 25 damage per second (increased by Energy).
• Round 3: Containment Shield – While active, your Barrier heals 25 HP (scaling with Energy) and grants 20% bonus movement speed.
• Round 5: Fission Field – Projected Barrier also applies to one nearby ally within 10 meters, though duration is reduced by 20%.
• Round 7: Pre-Workout – Gain both weapon and ability Lifesteal equal to 20% of your current Energy.
Early Game Items (Rounds 1–2)
• (ABL) Shady Spectacles – +10% ability Lifesteal.
• (ABL) Power Playbook – +10% ability power.
• (SURV) First Aid Kit – +25 Shields for extra sustain.
• (ABL) Lynx’s Datadrive – +25 HP, +15% ability power; using Projected Barrier on an ally refunds 20% of all Barrier cooldowns.
• (ABL) Beyond Barrier – +10% ability power, +20% Barrier range for better coverage.
• (ABL) Nano Cola – +20% ability power for higher Barrier strength.
Mid-Game Items (Rounds 3–5)
• (ABL) Lynx’s Datadrive – Maintain reduced cooldowns and increased power on ally barriers.
• (ABL) Superconductor – +25 HP, +15% ability power, +40% Barrier duration.
• (ABL) Nano Cola – +20% ability power to keep your bubbles strong and frequent.
• (ABL) Custom Stock – +5% weapon power, +10% ability power for balanced offensive scaling.
• (ABL) Energized Bracers – +10% ability power and +10% Lifesteal for better sustain during fights.
Late Game Items (Rounds 6–7)
• (ABL) Custom Stock – Boost both weapon and ability output.
• (ABL) Energized Bracers – Lifesteal and extra ability power for enhanced sustain.
• (ABL) Champion’s Kit – +40% ability power, turning your bubbles into near-invincible shields.
• (ABL) Cybervenom – +10% ability power, +5% cooldown reduction; your abilities now apply 30% healing reduction for 2 seconds.
• (SURV) Phantasmic Flux – +10% weapon and ability power, +15% Lifesteal; at full HP, gain up to 100 Overhealth for extra tankiness.
With this Bubble Zarya build, you’ll dominate the frontline by cycling barriers faster, keeping your Energy charged, and turning defensive plays into offensive opportunities. You’ll not only protect your teammates but also maintain constant pressure on the enemy team, becoming one of the most difficult Tanks to deal with in Overwatch 2 Stadium mode.
Fortify Orisa Build
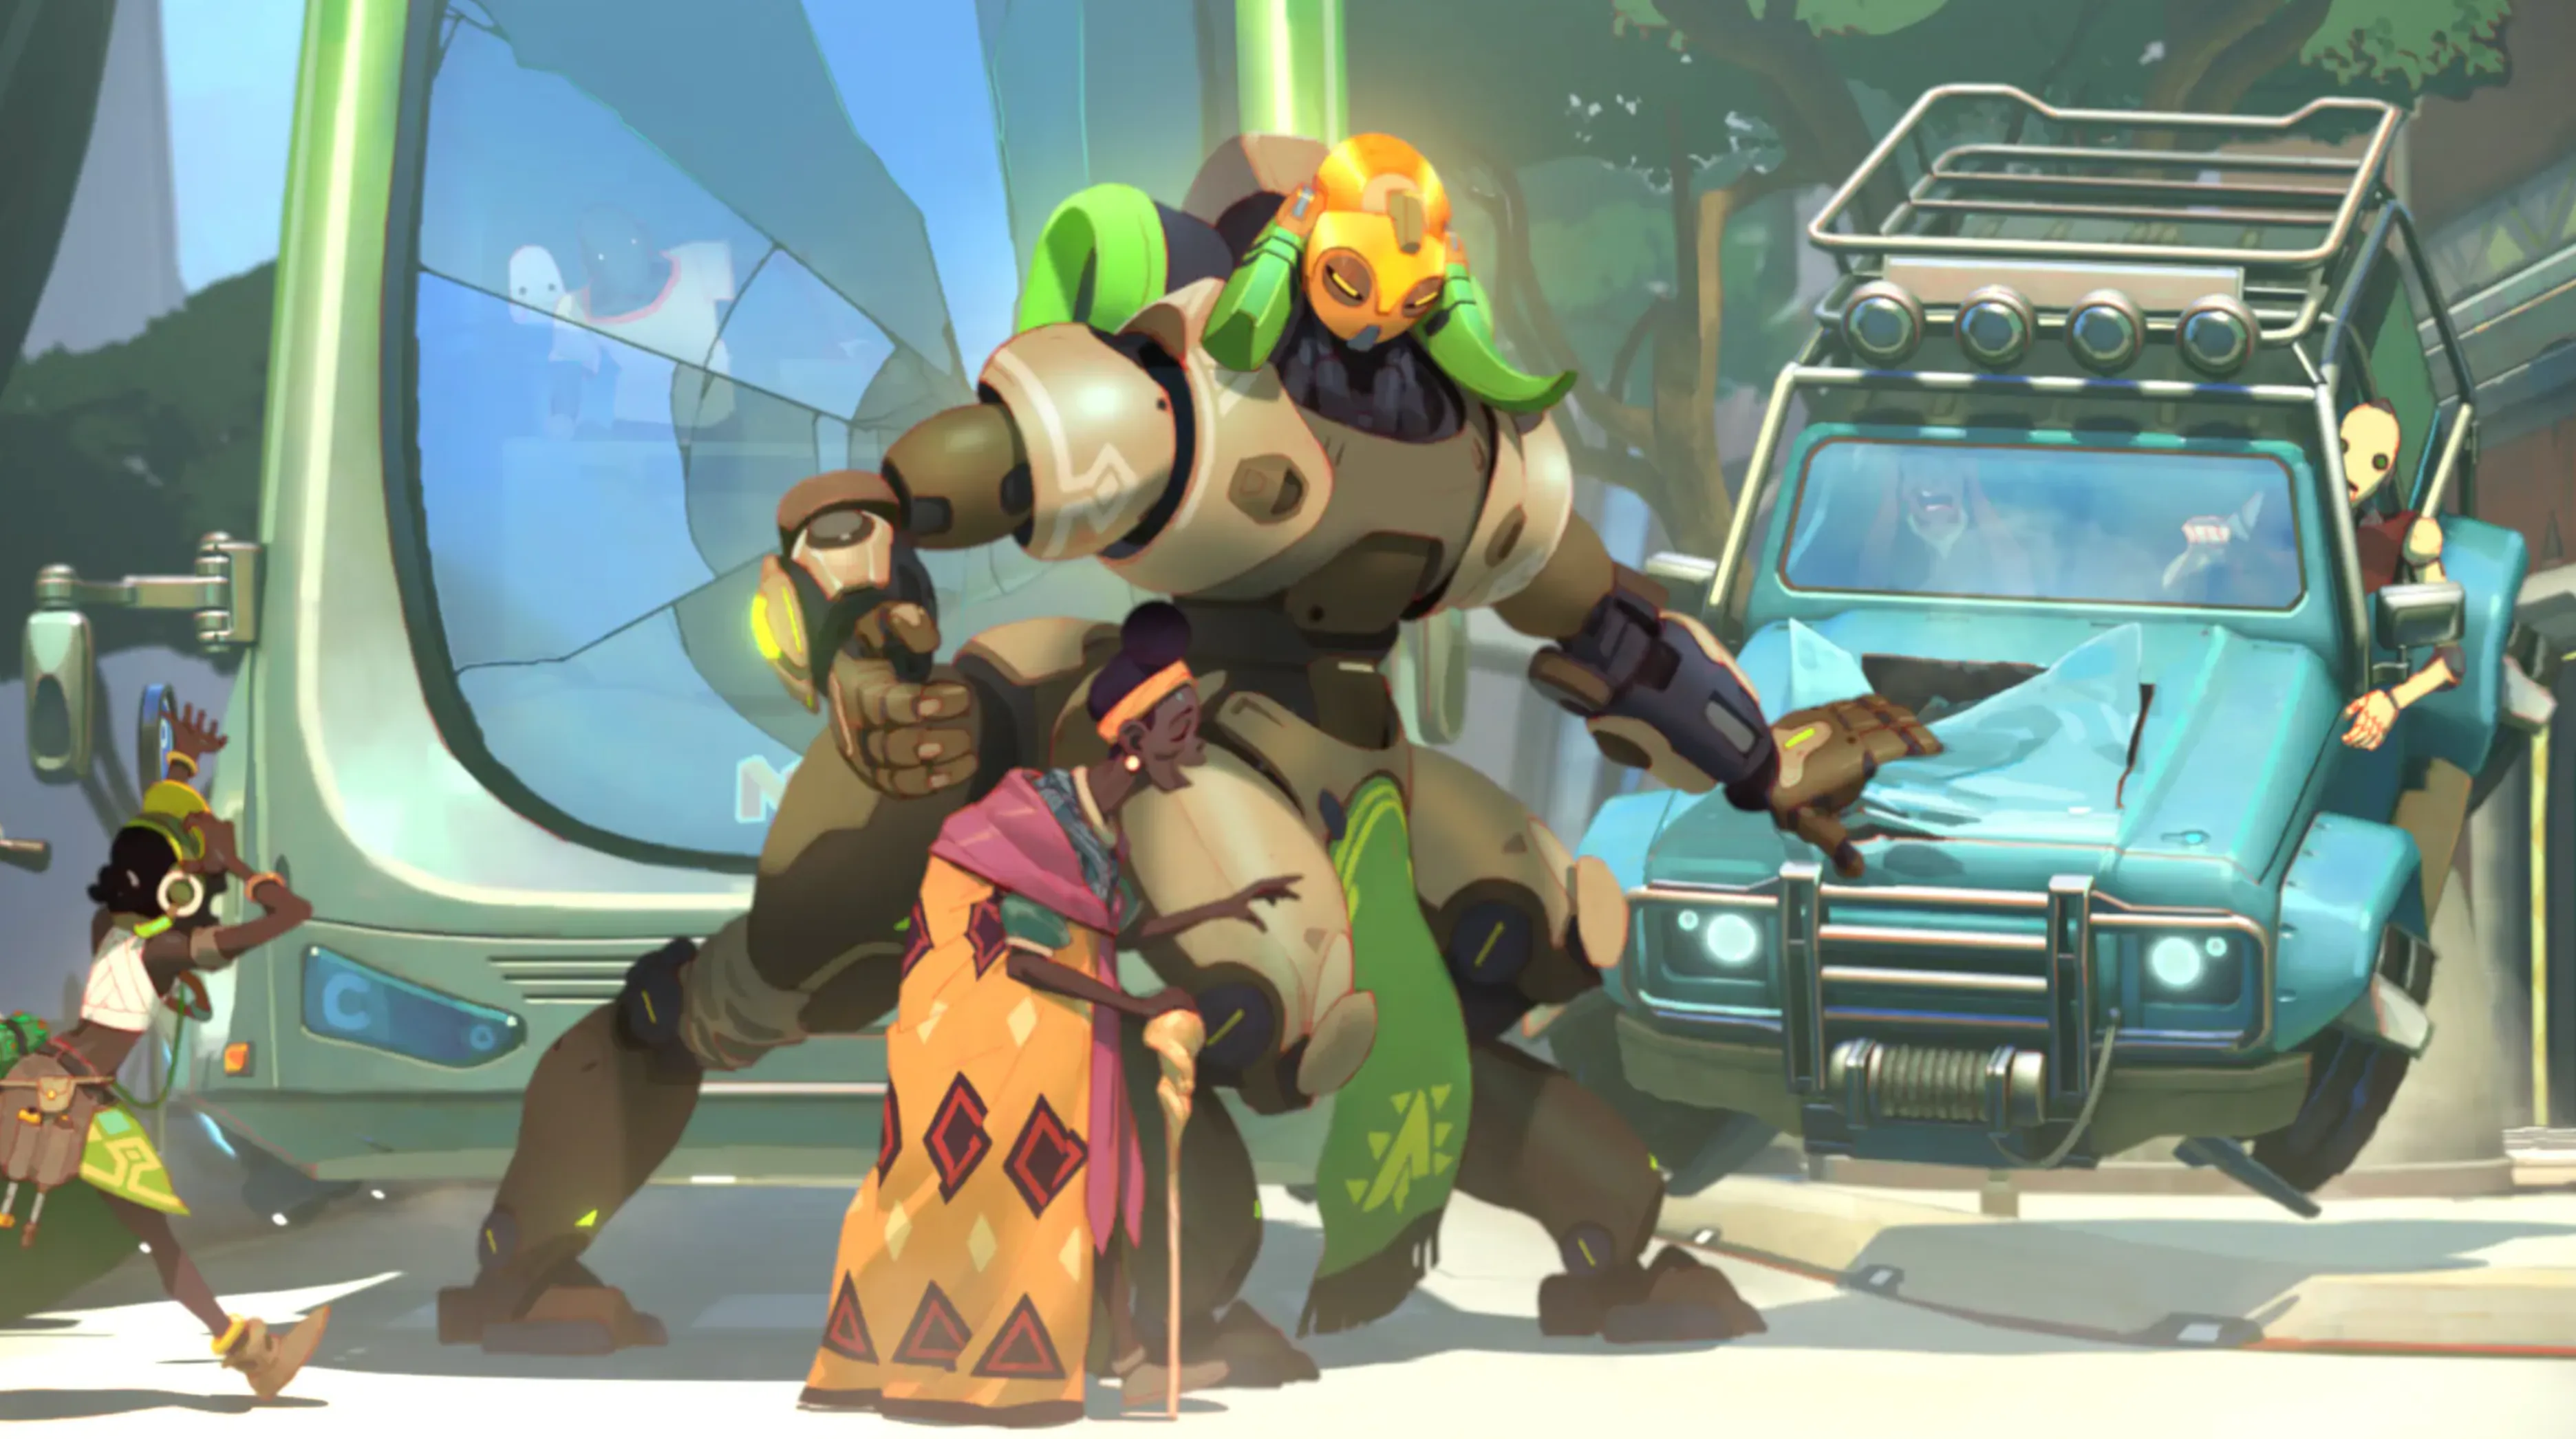
This Orisa build focuses entirely on amplifying her Fortify ability to make her one of the hardest heroes to kill in Overwatch 2 Stadium mode. By stacking ability power, Lifesteal, and durability-based items, Orisa becomes an unbreakable wall capable of sustaining herself and her team even in the toughest fights. With these upgrades, Fortify not only reduces incoming damage but also heals Orisa, boosts her allies’ mobility, and provides Overhealth to the entire team. This setup rewards patient, calculated play—allowing Orisa to lead pushes, anchor objectives, and outlast enemies long after other Tanks would fall.
Fortify Orisa Build – Powers
• Round 1: Restorify – Heal 10% of your max health every second while Fortify is active.
• Round 3: Hooves of Steel – After Fortify ends, gain shields equal to 50% of the damage absorbed during the ability. Resets each use.
• Round 5: Factory Reset – While Fortify is active, Javelin Spin and Energy Javelin cooldowns are reduced by 25%.
• Round 7: Ride With Me – While Fortify is active, allies in your line of sight gain 30% movement speed and Overhealth equal to 10% of your max life.
Early Game Items (Rounds 1–2)
• (ABL) Shady Spectacles – +10% ability Lifesteal.
• (ABL) Power Playbook – +10% ability power.
• (WPN) Plasma Converter – +10% weapon Lifesteal.
• (SURV) Charged Chassis – +25 HP; Fortify grants Overhealth equal to 10% of your max life.
• (ABL) Beyond Barrier – +10% ability power, +20% barrier range for better defensive coverage.
• (SURV) Solar Regenergy – +25 HP; after using an ability, restore armor equal to 5% of your max life.
Mid-Game Items (Rounds 3–5)
• (ABL) Beyond Barrier – Boosts Fortify synergy with extended barrier range.
• (SURV) Solar Regenergy – Constant armor regeneration for more durability.
• (ABL) Efi’s Theorem – +20% ability Lifesteal, +50% Fortify duration, allowing longer tank uptime.
• (SURV) Martian Mender – +25 HP, +10% cooldown reduction, restoring 3% HP every second.
Late Game Items (Rounds 6–7)
• (ABL) Efi’s Theorem – Extends Fortify duration for unmatched sustain.
• (SURV) Martian Mender – Passive healing and cooldown reduction keep Orisa active longer.
• (ABL) Champion’s Kit – +40% ability power, enhancing every defensive and healing effect.
• (SURV) HollaGram Helmet – +50 Armor; using Fortify grants allies Unstoppable for 2 seconds.
• (ABL) Iridiscent Iris – +20% ability power, +10% cooldown reduction; after using your Ultimate, gain 100 Overhealth for 3 seconds.
With this Fortify Orisa build, you’ll transform Orisa into a nearly indestructible anchor Tank. She’ll heal while holding the frontline, strengthen her teammates, and control the pace of battle with constant uptime on Fortify. When executed properly, this build makes Orisa a nightmare to remove from objectives and one of the strongest Tanks in Overwatch 2 Stadium mode.
Carnage Junker Queen Build
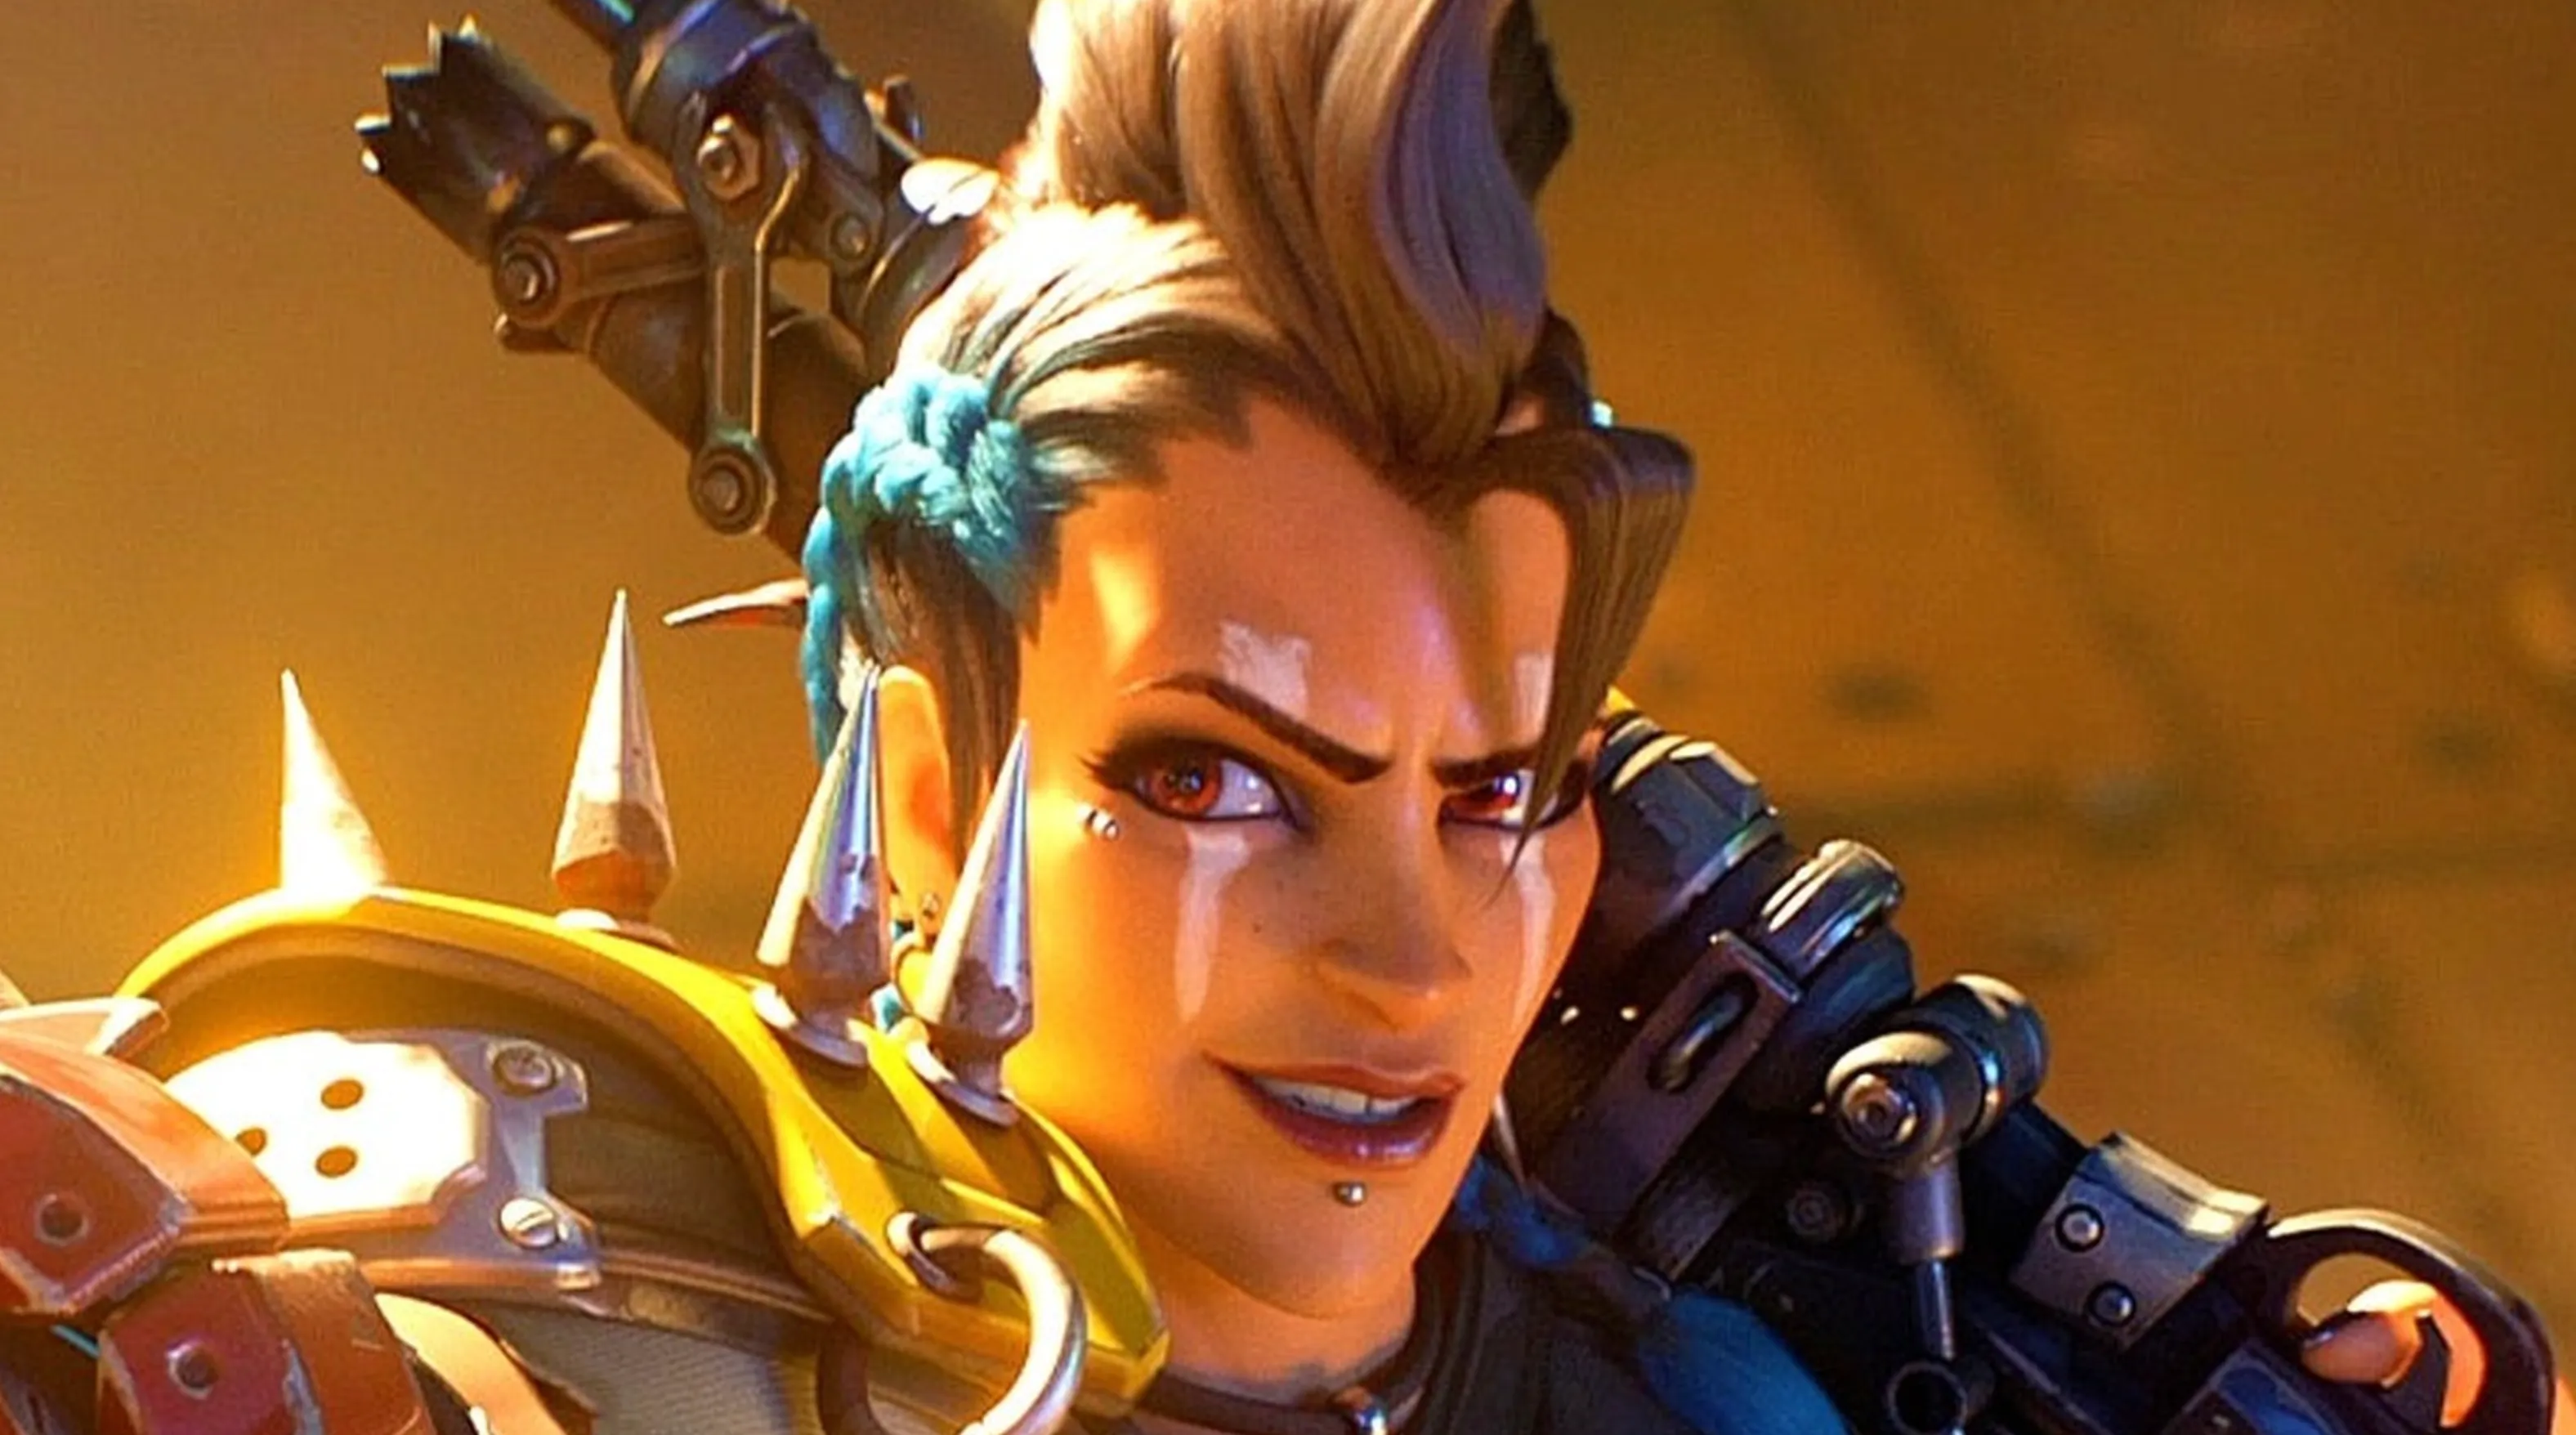
This Junker Queen build focuses on turning her into a self-healing, axe-swinging monster who thrives in close-range brawls. By stacking Powers and Items that boost Carnage and Commanding Shout, you can stay alive longer, generate massive Overhealth, and shred through enemies with non-stop sustain. Every swing of your axe and every shout fuels your survivability, making Junker Queen a true frontliner capable of carrying chaotic team fights. The strategy is simple — dive in, deal damage, heal yourself through Lifesteal, and use cooldown resets to keep the pressure going.
Carnage Junker Queen Build – Powers
• Round 1: Let’s Go Win – Eliminations reset the cooldown of Commanding Shout, letting you stay aggressive and keep your team buffed.
• Round 3: Chop Chop – Gain one extra charge of Carnage; each hit reduces its cooldown by 1 second.
• Round 5: Bloodcrazed – Both Rampage and Carnage grant 15% of your max HP as Overhealth per hit.
• Round 7: Reckoner’s Roar – Using Commanding Shout wounds all enemies within 10 meters for 30 damage over 3 seconds.
Early Game Items (Rounds 1–2)
• (ABL) Shady Spectacles – +10% ability Lifesteal to sustain while fighting.
• (ABL) Power Playbook – +10% ability power to boost Carnage and Shout impact.
• (WPN) Plasma Converter – +10% weapon Lifesteal to enhance close-range durability.
• (ABL) Energized Bracers – +10% ability power and +10% ability Lifesteal for stronger sustain.
• (ABL) Nano Cola – +20% ability power for heavier hitting Carnage swings.
Mid-Game Items (Rounds 3–5)
• (ABL) Energized Bracers – Keeps your sustain high through constant fights.
• (ABL) Nano Cola – +20% ability power for even more damage and healing output.
• (SURV) Scav Scraps – +50 HP, +5% cooldown reduction; Carnage and Jagged Blade hits grant Overhealth equal to 40% of the damage dealt.
• (SURV) Thick Skull – +50 Armor; while casting Rampage or Carnage, gain 50% damage reduction for maximum tank uptime.
• (ABL) Catalytic Crystal – +15% ability power; dealing or healing with abilities grants +20% Ultimate Charge.
• (ABL) Champion’s Kit – +40% ability power, supercharging all of Junker Queen’s offensive abilities.
• (WPN) Shred and Lead – +33% max ammo, +10% weapon Lifesteal; when you wound an enemy, gain +10% attack speed for 5 seconds (stacking up to 3 times).
• (SURV) Phantasmic Flux – +10% weapon and ability power, +15% Lifesteal; at full HP, gain up to 100 Overhealth.
Late Game Items (Rounds 6–7)
• (SURV) Scav Scraps – Sustain through heavy brawls by gaining Overhealth with every Carnage or Jagged Blade hit.
• (SURV) Thick Skull – Reinforces survivability during ability casts.
• (ABL) Catalytic Crystal – Grants faster Ultimate charge and increased ability power.
• (ABL) Champion’s Kit – Boosts your Carnage and Rampage to their peak power levels.
• (SURV) Phantasmic Flux – Lifesteal synergy and bonus Overhealth for unmatched sustain.
With this Carnage Junker Queen build, you’ll dominate the frontline with endless sustain, armor, and Overhealth generation. Between Commanding Shout resets and Carnage swings, you’ll control every brawl and carry your team through pure aggression. This setup turns Junker Queen into an unstoppable force in Overwatch 2 Stadium mode—both deadly and nearly impossible to kill.
Survivability D.Va Build

This D.Va Stadium build is all about turning her into a durable frontline tank who can survive longer in chaotic team fights. By investing in Powers that strengthen her Boosters, Micro Missiles, and Defense Matrix, paired with Items that increase armor, shields, and ability power, D.Va becomes a true brawler capable of absorbing heavy damage while dishing out consistent pressure. This setup focuses on sustainability — keeping your mech alive longer, enhancing your defensive capabilities, and ensuring you can contest objectives without constantly getting de-meched.
Survivability D.Va Build – Powers
• Round 1: Ignition Boosters – Boosters leave behind a trail of lava that deals 30 damage per second, punishing anyone chasing you.
• Round 3: Legendary Loadout – Micro Missiles are replaced with six heavy rockets that deal 350% more explosive damage and have twice the blast radius.
• Round 5: Countermeasures – After mitigating 150 damage with Defense Matrix, automatically fire two Micro Missiles for added counter-pressure.
• Round 7: Ultrawide Matrix – Expands Defense Matrix by 50% and increases its duration by 20%, making it much easier to block incoming ultimates or burst combos.
Early Game Items (Rounds 1–2)
• (SURV) Armored Vest – +25 Armor to strengthen your frontline durability.
• (SURV) Field Rations – Regenerate 8 HP per second while holding an objective.
• (ABL) Power Playbook – +10% ability power for stronger Micro Missiles and Boosters damage.
• (SURV) Vital-e-tee – +10 Armor; converts 100 HP into Armor for better damage resistance.
• (SURV) Crusader Hydraulics – +25 Armor; while you have Armor, take 10% reduced incoming damage.
Mid-Game Items (Rounds 3–5)
• (SURV) Vital-e-tee – Continue converting HP into Armor for sustained protection.
• (SURV) Crusader Hydraulics – Boosts your overall durability and tank uptime.
• (SURV) Nano Cola Nitrous – +25 HP; when ejecting from your mech, gain +5% max HP and Nano Boost for 4 seconds, letting you fight effectively even as Baby D.Va.
• (ABL) Busan Blaster – +20% ability power; grants your Light Gun a charged secondary fire that deals 80 piercing damage.
• (ABL) Champion’s Kit – +40% ability power to significantly boost the effectiveness of your abilities.
Late Game Items (Rounds 6–7)
• (SURV) Nano Cola Nitrous – Keep the eject bonus for increased survivability and clutch comebacks.
• (ABL) Busan Blaster – Enhance your Light Gun to punish enemies even outside your mech.
• (ABL) Champion’s Kit – Push your Micro Missiles and Boosters damage to their max potential.
• (WPN) The Closer – +20% weapon power, +10% critical damage; critical hits reveal the target for 3 seconds, making follow-up kills easier.
• (SURV) Nebula Conduit – +50 HP, +10% weapon power; prevents 15% of incoming damage and spreads it over 3 seconds.
• (SURV) Ogundimu Reduction Field – +50 Armor; each time you take damage, gain 0.5% damage reduction for 1 second, stacking up to 20 times.
With this Survivability D.Va build, you’ll transform D.Va into a true endurance tank who thrives in extended fights. Between the bonus armor, healing, and defensive boosts, you’ll outlast most opponents, block huge amounts of burst damage, and hold objectives far longer than usual. This setup ensures D.Va can stay in the fight, protect her team, and keep her mech in play well into the late rounds of Overwatch 2 Stadium mode.
One-Shot Rock Sigma Build

This Sigma build focuses on turning Accretion (his rock ability) into an incredibly powerful one-shot combo tool capable of deleting squishy targets instantly. By stacking ability power, cooldown reduction, and projectile speed, Sigma’s rock becomes his main source of burst damage while also keeping him mobile and dangerous at all stages of the match. This setup allows you to poke from range with Hyperspheres while constantly resetting Accretion cooldowns, letting you play aggressively without sacrificing control. When played right, Sigma becomes a backline nightmare capable of melting enemies in a single combo.
One-Shot Rock Sigma Build – Powers
• Round 1: Hyperloop – Direct hits with Hyperspheres reduce Accretion cooldown by 0.5 seconds, allowing faster combo rotations.
• Round 3: Singularity – Accretion gains 25% larger splash radius and pulls enemies toward the explosion for easier follow-up hits.
• Round 5: Mass Driver – When Accretion is thrown through your barrier, its projectile speed increases by 300% and damage by 20%.
• Round 7: Zero Gravity – Using any ability grants Sigma 2.5 seconds of flight time, boosting his mobility and positioning control.
Early Game Items (Rounds 1–2)
• (WPN) Compensator – +5% weapon power for better poke with Hyperspheres.
• (WPN) Weapon Grease – +5% attack speed for faster follow-up shots.
• (SURV) First Aid Kit – +25 Shields to improve early sustain.
• (ABL) Volatile Gravel – +10% ability power; landing Accretion increases your ability power by 5%, stacking up to 4 times (resets on miss).
• (WPN) Velocity Vector – +10% attack speed, +15% Hyperspheres range for safer damage output.
Mid-Game Items (Rounds 3–5)
• (ABL) Volatile Gravel – Continue stacking ability power with accurate rock hits.
• (WPN) Velocity Vector – Maintain increased range and fire rate to set up long-distance combos.
• (ABL) The Harness – +25% ability power and +50% Accretion explosion radius for massive AOE pressure.
• (ABL) Three-Tap Tommygun – +10% attack speed, +10% ability power; after using an ability, your next three weapon hits deal extra damage equal to 3% of the target’s HP.
• (ABL) Mark of the Kitsune – +10% ability power; using an ability makes your next weapon hit deal +25 bonus damage, great for comboing after Accretion.
Late Game Items (Rounds 6–7)
• (ABL) Three-Tap Tommygun – Enhances both ability and weapon synergy for stronger follow-up attacks.
• (ABL) Mark of the Kitsune – Keeps your rock-and-sphere combo lethal with bonus burst damage.
• (ABL) Wrist Wraps – +5% ability power and +10% attack speed for faster recovery between abilities.
• (ABL) Champion’s Kit – +35% ability power to maximize all of Sigma’s offensive tools.
• (ABL) Catalytic Crystal – +15% ability power; dealing ability damage builds Ultimate Charge 20% faster.
With this One-Shot Rock Sigma build, you’ll turn Sigma into a powerhouse capable of stunning, bursting, and wiping out enemies in seconds. The reduced cooldowns, AOE explosions, and high ability power scaling make your Accretion combo devastating — especially when paired with your barrier and flight mobility. In Stadium mode, this setup lets you dominate duels, pressure objectives, and punish any squishy who dares to peek your line of sight.
Conclusion
The best Tank Stadium builds in Overwatch 2 give you the flexibility to play aggressively, protect your teammates, and dominate the frontline across every round. Whether you’re using Zarya’s powerful barriers, Reinhardt’s burning strikes, Orisa’s unbreakable fortify, or D.Va’s boosted survivability, mastering these builds can make a huge difference in every match. Each setup focuses on specific strengths—sustain, crowd control, or burst potential—allowing you to adapt to any playstyle or enemy composition. If you want to consistently win fights and hold objectives in Stadium mode, choosing the right Tank build is key to leading your team to victory.
Posted On: October 21st, 2025
Recent Articles


💬 Need help?
Our 1v9 support team is available 24/7 to help you with any questions or issues you may have.
support@1v9.gg
Loading...
1v9.gg is not endorsed or affiliated by any game developers or publishers.
2025 1v9, All Rights Reserved, Created By NightDev