- Home
Games
 League of Legends
 Valorant
-a6d5b3e156bb.webp) Fortnite
Fortnite Call of Duty
 Clash of Clans
 Counter-Strike 2
 Roblox
 Rainbow Six Siege
 Clash Royale
 Minecraft
 Rocket League
 Dota 2
 Genshin Impact
 Squad Busters
 Rust
Rust Apex Legends
 Pokemon Go
 XDefiant
 LoL: Wild Rift
 Hay Day
 Diablo 4
 FC 25
FC 25 Marvel Rivals
 World of Warcraft
 Destiny 2
 Deadlock
-9ede9dc6b01b.webp) PUBG Mobile
PUBG Mobile The Finals
 Growtopia
 Forza Horizon 5
 Honkai: Star Rail
 Warframe
 8 Ball Pool
 Zenless Zone Zero
 Path of Exile
 Runescape 3
 Raid: Shadow Legends
 Lost Ark
 WoW: Classic Era
 Summoners War
 WoW: Season of Discovery
 WoW Cataclysm
 WoW: Hardcore
 Throne and Liberty
 New World
 Mobile Legends
 Escape From Tarkov
 Path of Exile 2
 Blade Ball
 Fisch
Fisch Pet Simulator 99
 Pets Go
-d8bcef7708c7.webp) One Piece Bounty
One Piece Bounty Anime Adventures
 Blox Fruits
 Adopt Me
 Murder Mystery 2
 Fragpunk
 Wuthering Waves
 Teamfight Tactics
 Free Fire
 Albion Online
 Black Desert Online
 Honor of Kings
 Brawl Stars
 Arena of Valor
 Call of Duty: Mobile
 Rematch
 Steal a Brainrot
 Grow a Garden
 FC 26
FC 26 Old School Runescape
 Plants vs Brainrots
 Overwatch
 Battlefield
 Arc Raiders
 Dragon Ball Legends
 Fallout 76
 Jailbreak
 Type Soul
 GPO
GPO DonutSMP
 Escape Tsunami For Brainrots
 Watcher of Realms
 Roblox Rivals
 2XKO
2XKO Sailor Piece
 Forza Horizon 6
 GTA 5
GTA 5- Lootboxes
- Become Affiliate
- Blog
- Contact Us
- Sign In


Best Fortnite Controller Settings for 2026
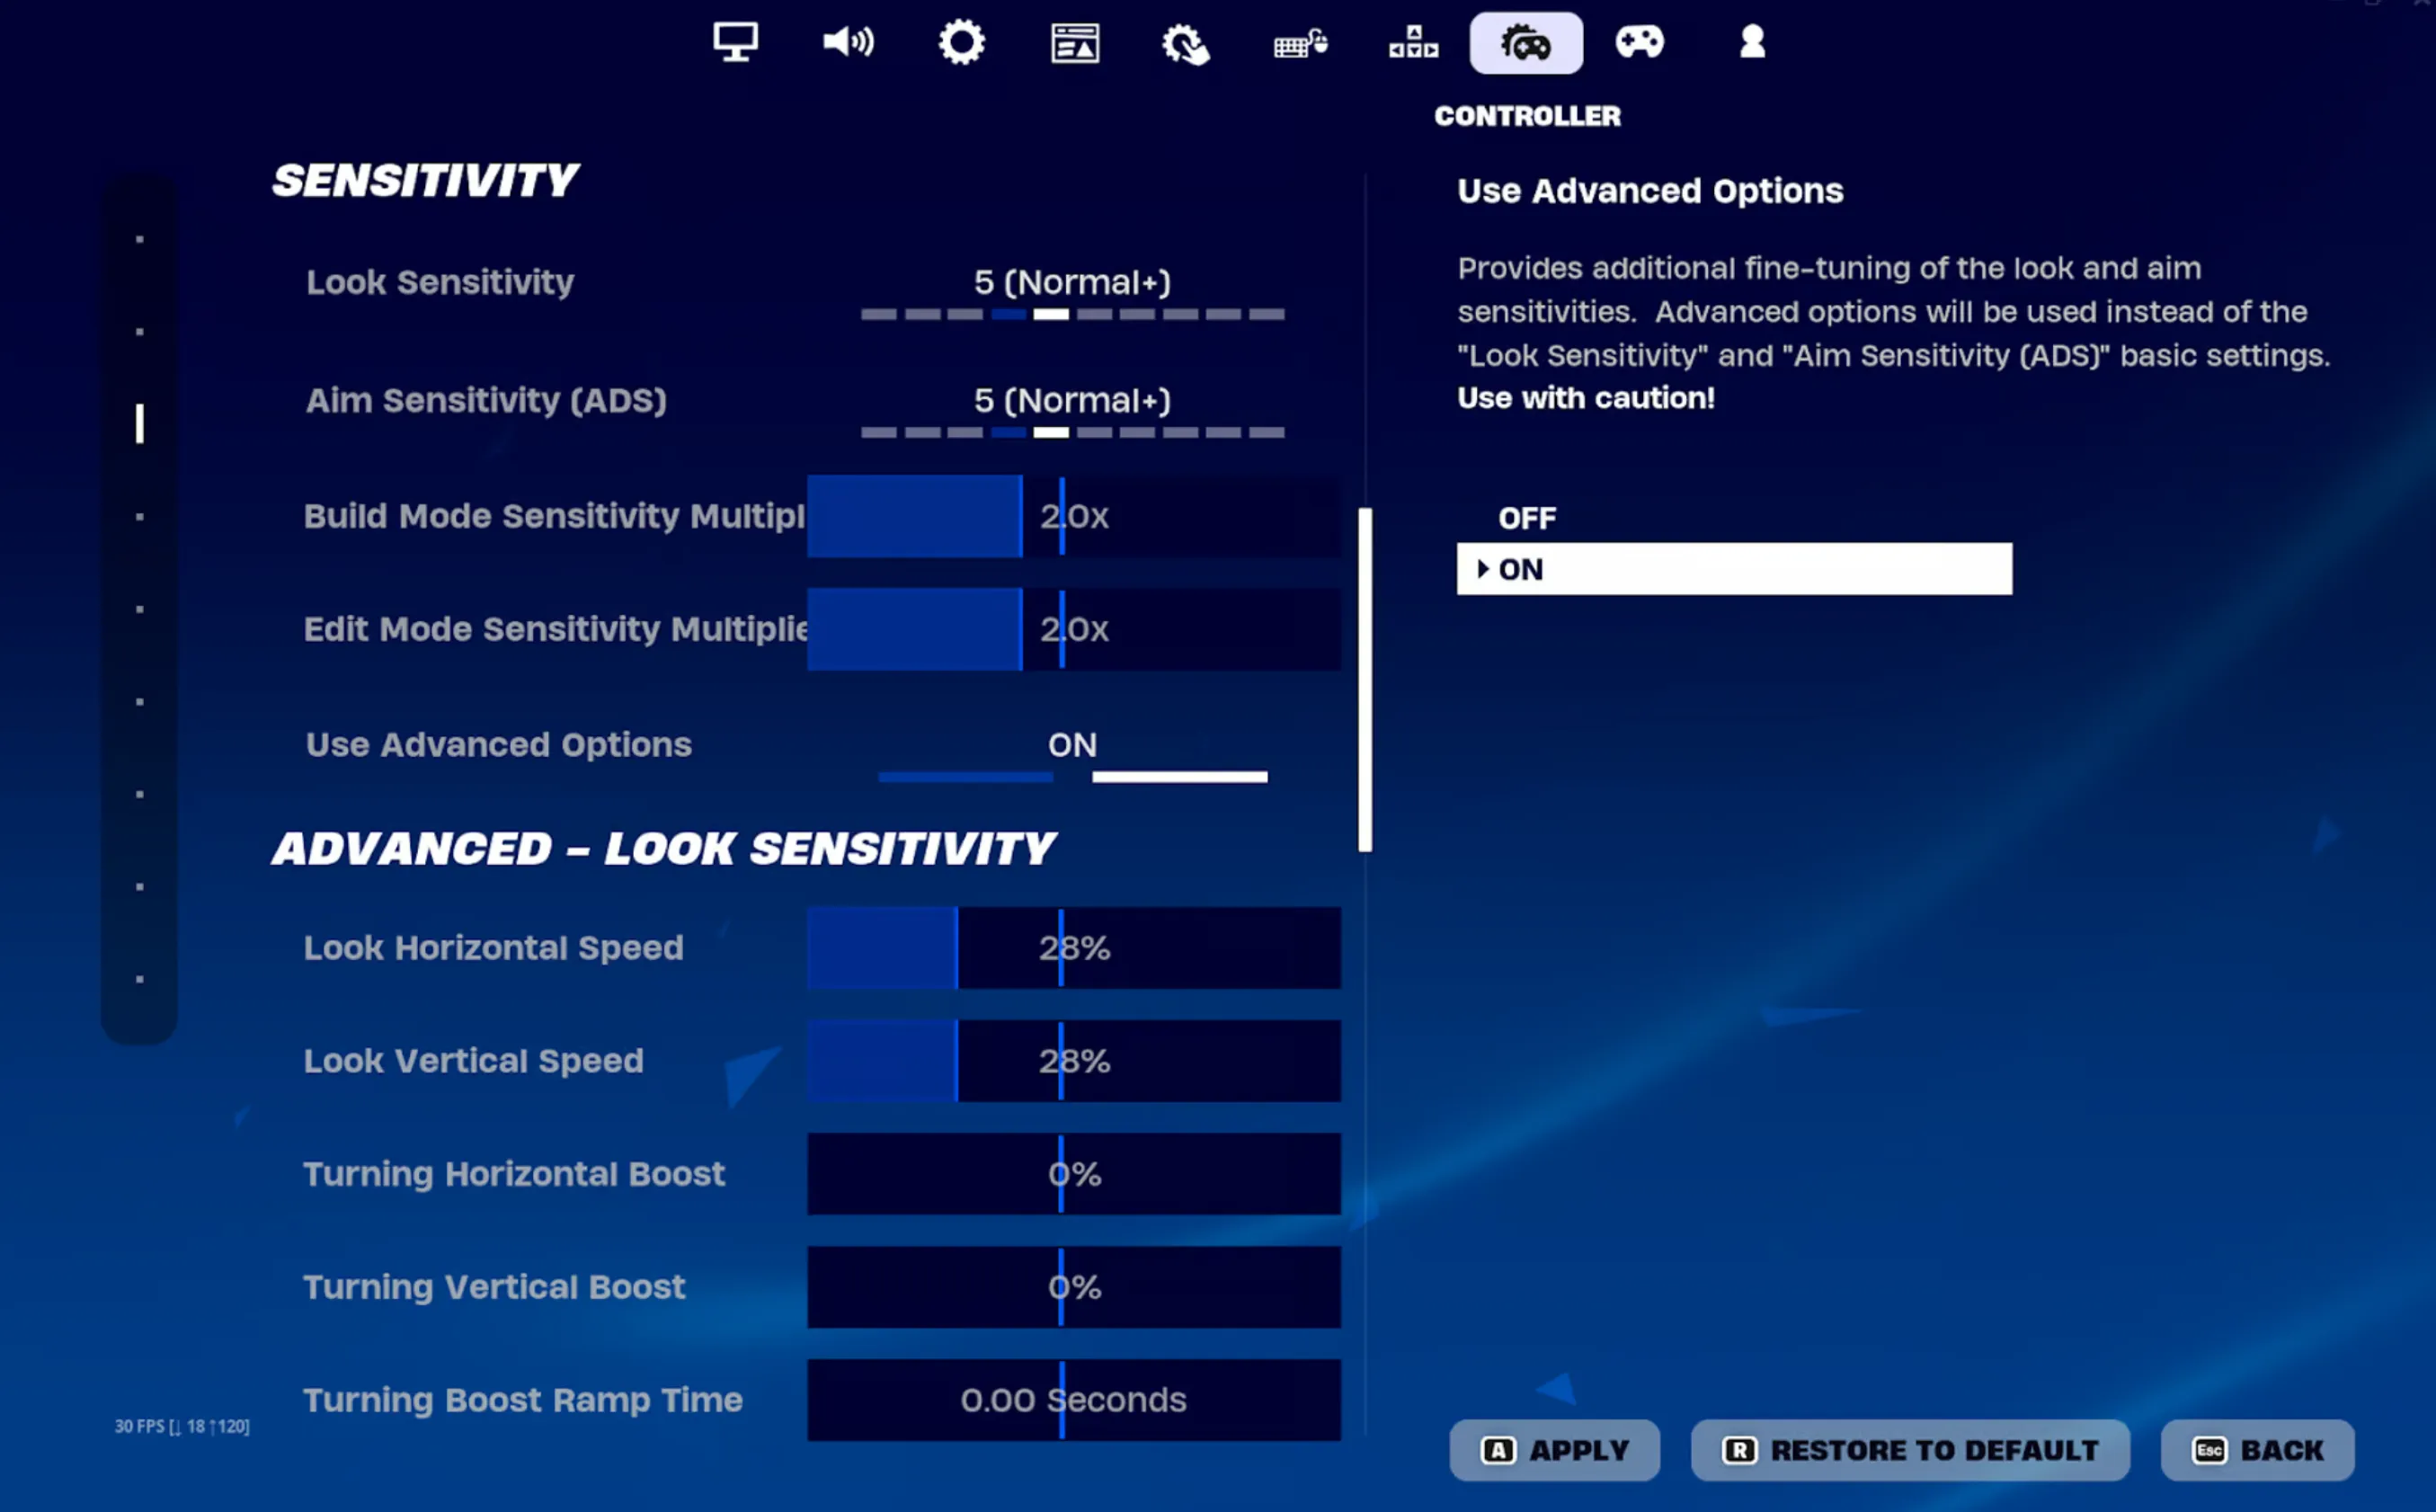
The best Fortnite controller settings are a drift-free deadzone, a response curve you can control, slower ADS than look speed, faster build/edit multipliers, Builder Pro-style binds, vibration off, and Aim Assist at 100% when you are not using gyro. Start with the baseline below, then tune in small steps—no copied sensitivity works for every thumb, stick, display, or mode.
Best Fortnite controller settings: complete baseline
Turn Use Advanced Options on in Controller Options. The ranges below are intentionally narrow enough to test but broad enough to respect different hardware. Start at the lower number if you overshoot targets.
| Setting | Baseline | Tune when |
|---|---|---|
| Look Horizontal / Vertical | 40–44% / 40–44% | Lower for overshoot; raise if 180s feel slow |
| ADS Horizontal / Vertical | 10–14% / 10–14% | Tune for AR tracking at medium range |
| Build Multiplier | 1.8x–2.1x | Raise only if placement cannot keep up |
| Edit Multiplier | 1.8x–2.2x | Lower when tiles are regularly missed |
| Turning Boosts / Ramp Time | 0% / 0.00 s | Add only with a specific turn-speed problem |
| Look Dampening Time | 0.00 Linear; 0.10–0.20 Exponential | Adjust only after choosing a curve |
| Left / Right Deadzone | Lowest drift-free value, often 5–10% | Increase the drifting stick one point at a time |
| Aim Assist Strength | 100% without gyro | Epic allows lower values; gyro disables it |
| Edit Hold Time | 0.10 s | Raise if accidental edits occur |
| Vibration | Off | Enable only for comfort/accessibility preference |
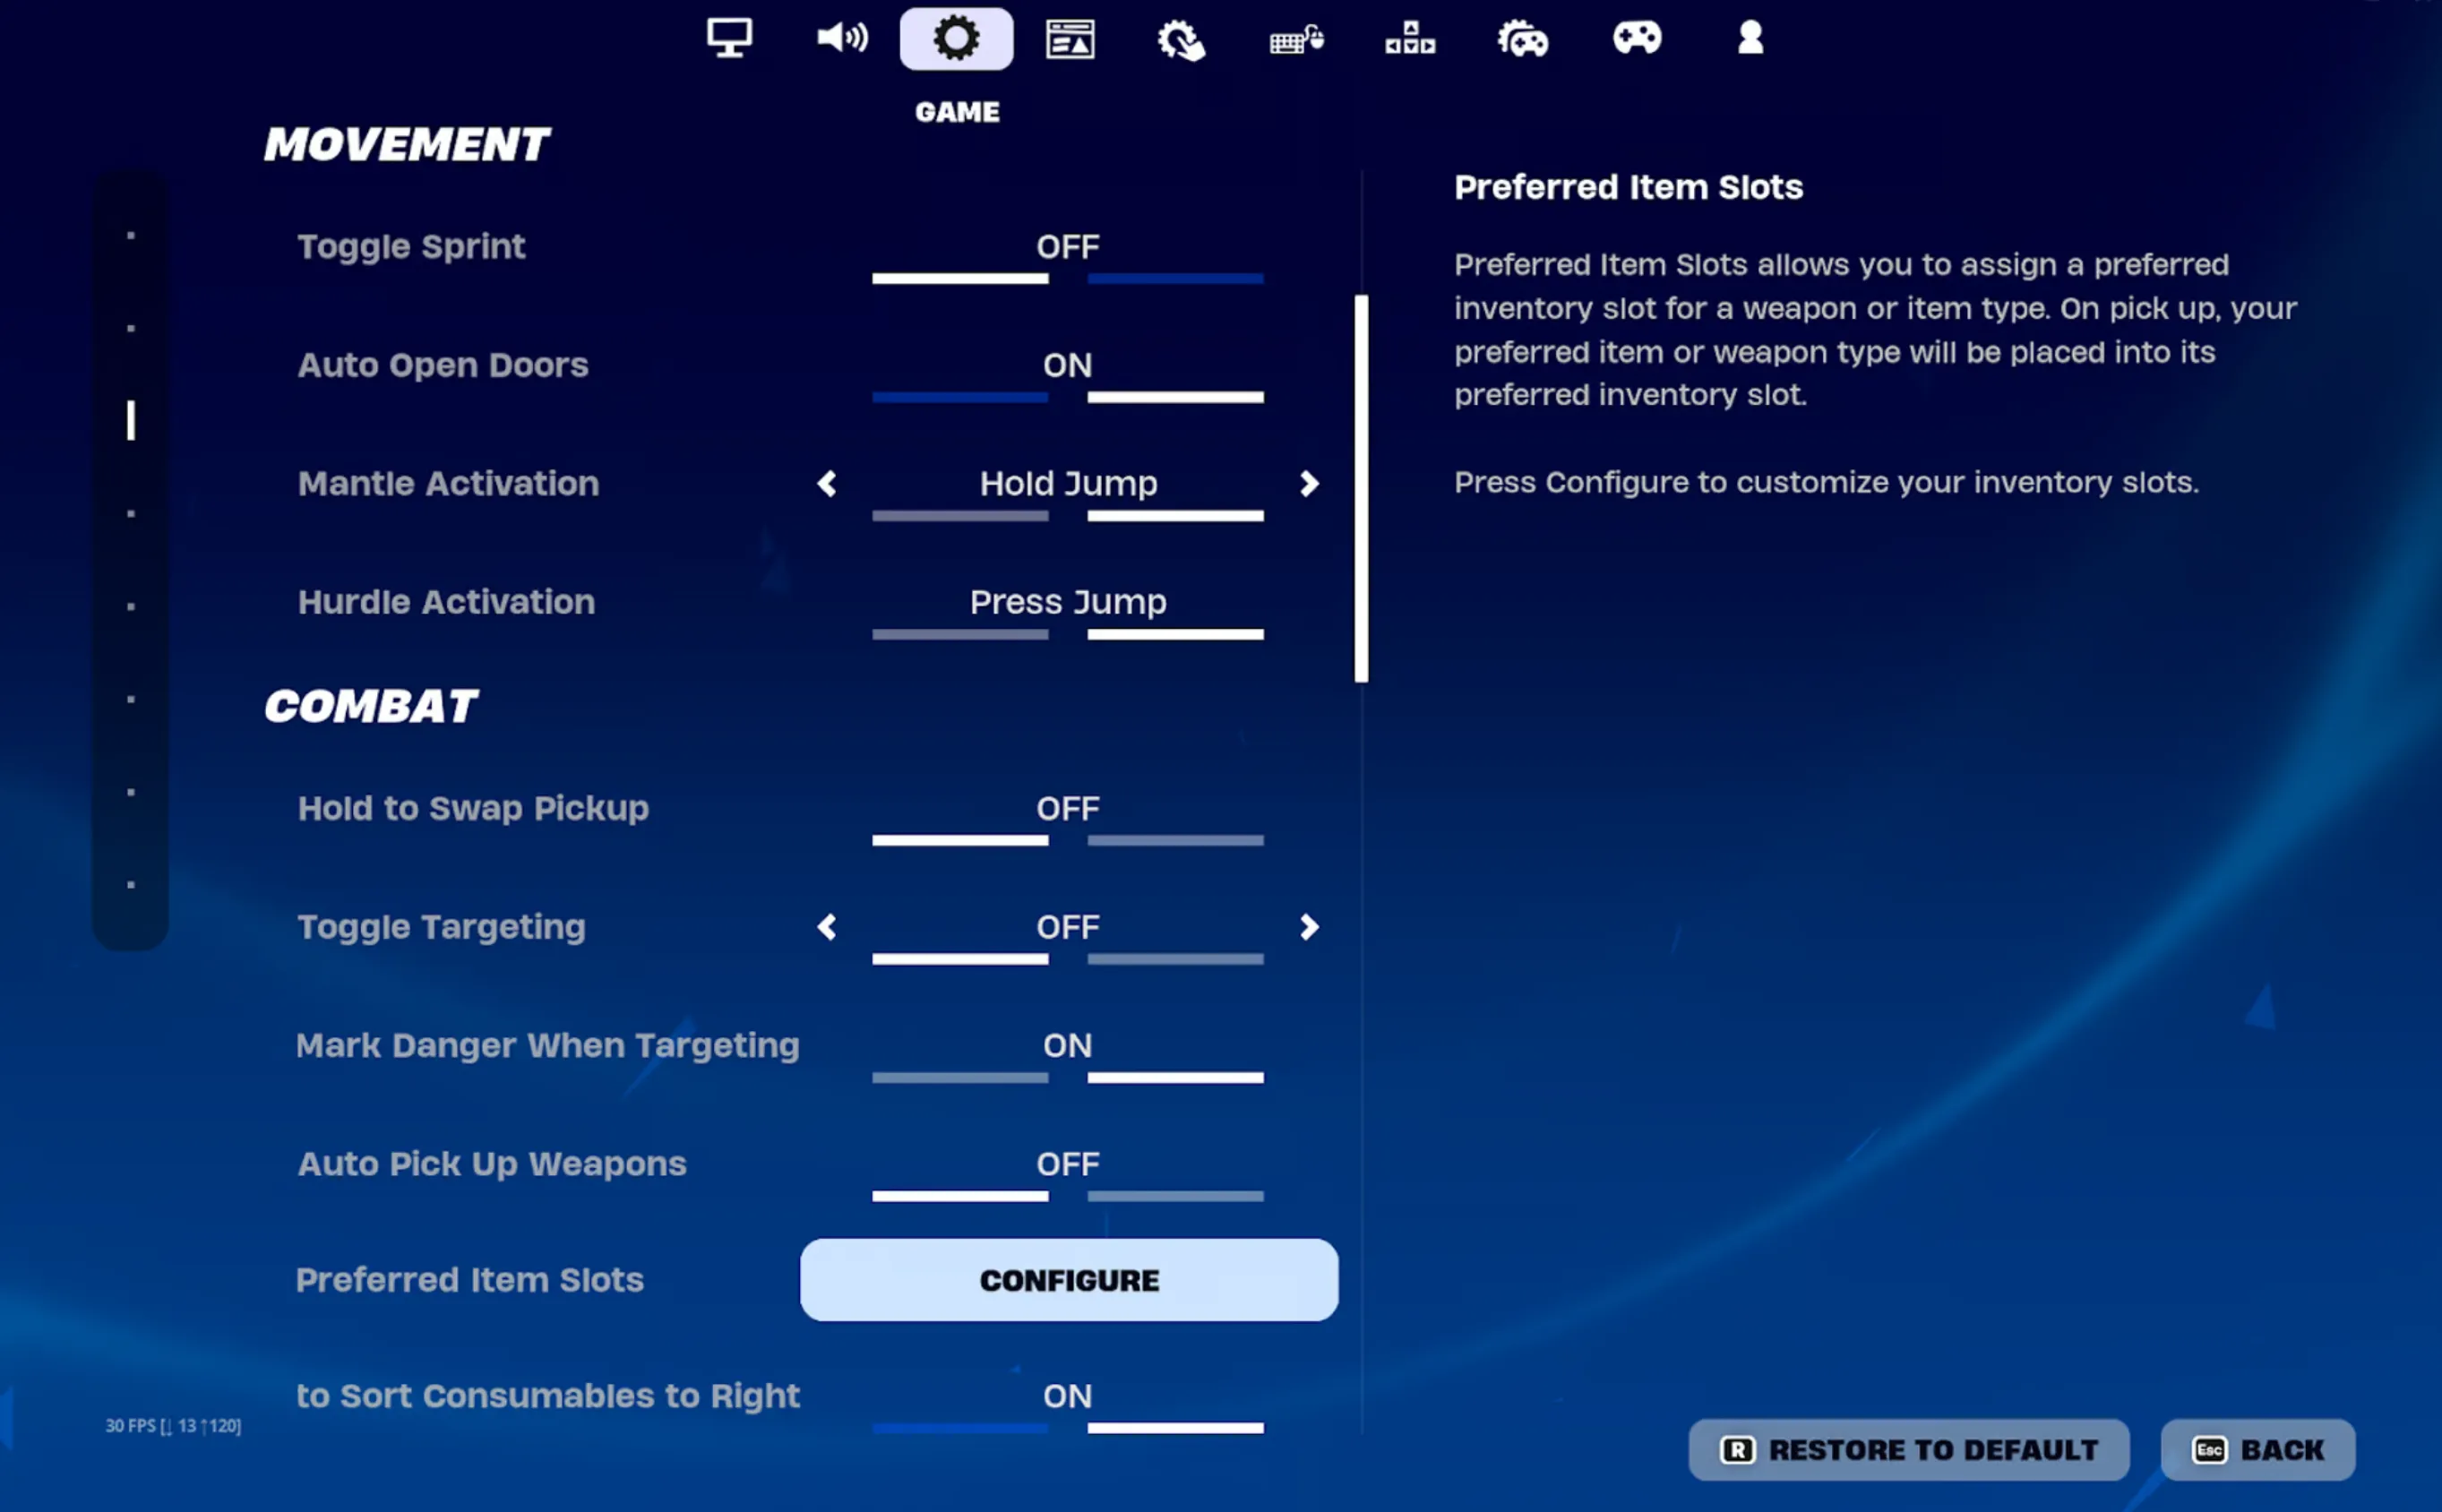
Use Controller Auto-Run if it frees a stick press without causing accidental movement. Keep Build Immediately (Builder Pro) on. Set Auto Confirm Edits to Both for release-confirmed edits and resets, or Edit if automatic resets break your sequence. “Reset Building Choice” is preference: On returns to a predictable piece; Off remembers the last selection.
Linear or Exponential input curve?
Linear maps stick movement more directly to camera speed. It feels immediate in close-range fights, building, and edits, but worn sticks and heavy thumbs can make micro-corrections twitchy. Exponential begins more slowly near the center and accelerates as the stick moves outward. It offers forgiving small adjustments for mid-range tracking, but fast edits may initially feel less direct.
Neither curve is universally superior. Choose Linear if you value immediate, predictable stick response and can control the center. Choose Exponential if your small adjustments need more resistance or you primarily play Zero Build. Keep the chosen curve for at least a week before judging it.
How to set controller deadzones
A deadzone is the portion of stick travel Fortnite ignores. Too high and micro-adjustments disappear; too low and stick drift moves your character or camera. Left and right sticks can need different values.
- Open a quiet Creative map and set both deadzones to 10%.
- Lower the right stick one point at a time. Stop when the camera drifts, then raise it one or two points.
- Repeat on the left stick while standing still and hands-off.
- Retest after the controller warms up. Drift can change during a long session.
A brand-new Hall-effect or TMR stick may tolerate a very low value; a worn potentiometer may need 10% or more. The lowest number is not the goal. Stable input is.
Best controller layout, build binds, and edit binds
Start with Builder Pro, then switch to Custom. Epic currently offers Old School, Quick Builder, Combat Pro, Builder Pro, and Custom. Your layout should let you jump, edit, reset, confirm, build, and swap weapons without repeatedly removing both thumbs from the sticks.
- Standard grip: L3/LS is a practical edit bind because the left thumb already rests there. Put reset and confirm on separate reachable buttons.
- Paddles: map jump and edit first; crouch or switch mode is a useful third/fourth paddle. In-game actions should remain the source of truth.
- Claw grip: can keep thumbs on sticks but is not mandatory and may be uncomfortable. Do not force a painful grip.
- Conflict check: Crouch and Confirm/Reset Edit should not share a button if that makes the character crouch during resets.
For inventory, place a shotgun in the slot your “switch mode then weapon” sequence reaches predictably. Preferred Item Slots should support your own cycle; the old rule that every player needs a shotgun in Slot 1 is not universal.
Gyro aiming: when it helps and what it changes
Gyro is available on supported controllers and platforms including PlayStation, Switch, Android, and PC with compatible hardware. It lets the stick handle broad turns while controller motion handles fine aim. Xbox controllers generally lack the required gyro sensor.
Important: Epic states that Aim Assist is disabled whenever gyro is active. Do not enable gyro expecting both systems to stack. Start with gyro active only while aiming, low sensitivity, acceleration off, and Flick Stick off. Expand to Always or building/editing only after basic recentering is comfortable.
Gyro settings are highly physical. Controller weight, wrist position, sensor quality, and play posture matter more than a copied number. If gyro causes fatigue, nausea, or unstable aim, disable it.
PC controller versus console settings
| Platform | Check first | Key difference |
|---|---|---|
| PC controller | Correct controller type, Fullscreen, stable FPS, wired/low-latency connection | More graphics and frame-rate control; gyro depends on controller/input support |
| PS5 / Xbox Series | 120 FPS Mode and 120 Hz display input, if supported | Fixed hardware; PlayStation supports native gyro, Xbox pads generally do not |
| Switch / older console | Stable connection, deadzones, motion settings | Lower frame-rate ceiling changes how fast high sensitivity feels |
On PC, use low visual clutter and a stable cap; the Fortnite graphics settings guide covers the renderer and FPS tradeoffs. On console, confirm the system video output and TV game mode before blaming sensitivity.
A controller calibration routine that actually works
- Fix drift first. Sensitivity testing with unstable sticks is meaningless.
- Choose Linear or Exponential and turn all boosts off.
- Tune hip-fire look speed until a relaxed full-stick turn is fast but controllable.
- Tune ADS separately by tracking a moving target at medium range.
- Raise build and edit multipliers until speed improves without missed tiles or pieces.
- Run the same aim/edit course for three sessions and change only 1–2 percentage points at a time.
Once the controller feels repeatable, improvement comes from decisions and practice. The Fortnite ranked-system guide explains the ladder, while Fortnite coaching is an optional route for personalized review.
Fortnite controller settings FAQ
What sensitivity is best for Fortnite controller?
Start around 40–44% look and 10–14% ADS with boosts off, then tune in small steps. Build and edit multipliers around 1.8x–2.2x keep construction faster than combat aim.
Should I use Linear or Exponential?
Linear is direct and fast; Exponential gives finer resistance near stick center. Test each for several sessions under the same sensitivity instead of switching after one bad match.
What deadzone is best?
The lowest value that produces no drift. Many controllers land between 5% and 10%, but stick wear and hardware vary. Calibrate left and right separately.
Does gyro keep Aim Assist?
No. Epic's support documentation says Aim Assist is disabled whenever gyro is active.
Posted On: October 10th, 2024
Recent Articles


Our 1v9 support team is available 24/7 to help you with any questions or issues you may have.
support@1v9.gg
Loading...
1v9.gg is not endorsed or affiliated by any game developers or publishers.
2026 1v9, All Rights Reserved, Created By Ritesh (riteshsahoo.com)