

How To Upgrade Stations In Arc Raiders
In Arc Raiders, upgrading your stations is one of the most important parts of progression. Each station unlocks new crafting options, allowing you to build stronger weapons, better gear, and key materials for survival during Topside raids. While the game’s crafting system is more straightforward than other extraction shooters, there’s still plenty to manage.
Every station in your Hideout—like the Gunsmith, Fabricator, or Workshop—can be upgraded to improve their crafting capabilities. Most of them have three upgrade tiers, with each level expanding the list of items you can create and enhancing overall efficiency. To upgrade them, you’ll need specific materials gathered from raids and the necessary coins to cover the construction cost.
In this guide, we’ll break down exactly how station upgrades work in Arc Raiders, the materials required, and how to efficiently progress through each tier to get the most out of your Hideout.
Every Station and How to Upgrade Them In Arc Raiders

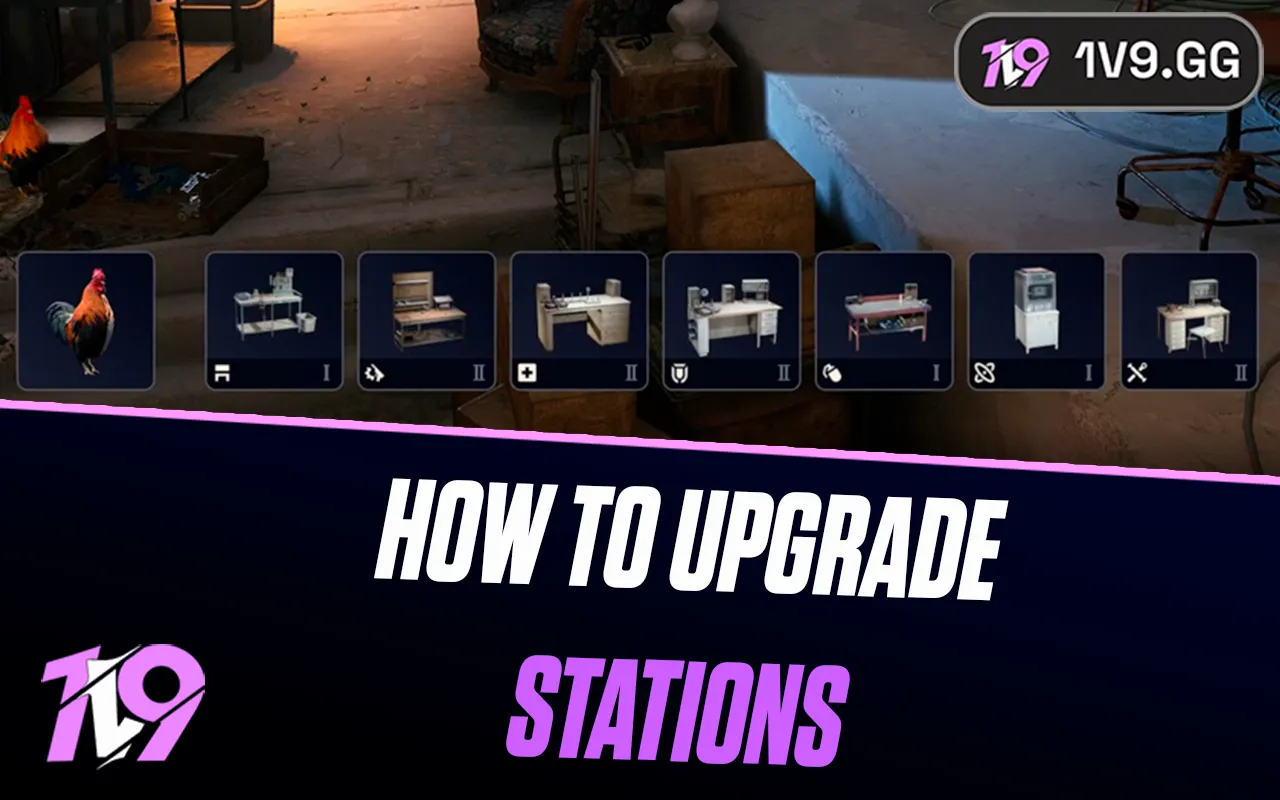
There are seven main crafting stations in Arc Raiders, each serving a unique function in your Hideout. Upgrading them is key to unlocking better weapons, stronger gear, and more advanced crafting materials. Below is a complete breakdown of every station, what it does, and what materials you’ll need for each upgrade level.
Workbench
• Usage: The Workbench is your all-purpose crafting hub. It allows you to craft any blueprint you’ve unlocked, either through progression or by discovering new schematics during raids.
• Upgrades: The Workbench doesn’t require upgrades; it’s fully functional from the start.
Gunsmith
• Level 1: 20 Metal Parts, 30 Rubber Parts
• Level 2: 3 Rusted Tools, 5 Mechanical Components, 8 Wasp Drivers
• Level 3: 3 Rusted Gears, 5 Advanced Mechanical Components, 4 Sentinel Firing Cores
• Usage: The Gunsmith crafts and upgrades all weapons and attachments. Upgrading it unlocks access to higher-tier firearms and advanced mods.
Gear Bench
• Level 1: 25 Plastic Parts, 30 Fabric
• Level 2: 3 Power Cables, 5 Electrical Components, 5 Hornet Drivers
• Level 3: 5 Industrial Batteries, 3 Advanced Electrical Components, 3 Rollbot Parts
• Usage: Used for crafting Augments and Shields, helping you enhance defense and carrying capacity.
Explosives Station
• Level 1: 50 Chemicals, 6 Arc Alloys
• Level 2: 3 Synthesized Fuel, 5 Crude Explosives, 5 Pop Triggers
• Level 3: 3 Laboratory Reagents, 5 Explosive Compounds, 3 Rocketeer Drivers
• Usage: The go-to station for crafting grenades, mines, and other explosive tools for both PvE and PvP encounters.
Medical Lab
• Level 1: 50 Fabric, 6 Arc Alloys
• Level 2: 2 Cracked Bioscanners, 5 Durable Cloths, 8 Tick Pods
• Level 3: 5 Rusted Medical Kits, 10 Antiseptics, 3 Bastion Parts
• Usage: Essential for creating healing items, shield rechargers, and advanced recovery gear.
Refiner
• Level 1: 60 Metal Parts, 5 Arc Powercells
• Level 2: 3 Toasters, 5 Arc Motion Cores, 8 Fireball Burners
• Level 3: 5 Motors, 20 Arc Motion Cores, 1 Queen Part
• Usage: Converts basic materials into refined resources needed for crafting advanced gear and upgrades.
Utility Station
• Level 1: 50 Plastic Parts, 6 Arc Alloys
• Level 2: 2 Damaged Heat Sinks, 5 Electrical Components, 6 Snitch Scanners
• Level 3: 5 Friend Motherboards, 3 Advanced Electrical Components, 3 Bison Drivers
• Usage: Creates utility items like keys, door blockers, and other helpful gadgets that don’t fit in other crafting categories.
Each upgrade not only broadens your crafting options but also gives you more control over resource management. Prioritize upgrading the Gunsmith, Gear Bench, and Medical Lab early, as they directly affect your survival and combat potential in Arc Raiders.
Tips for Upgrading Stations In Arc Raoders
When it comes to upgrading stations in Arc Raiders, planning your early progression makes a huge difference. During the first few hours, Scrappy will be your best friend, as it helps you gather essential components like metal parts, rubber, and fabric — all of which are crucial for crafting the initial versions of your stations. Prioritize collecting and refining these resources early on to avoid getting stuck later.
As for which stations to focus on first, your top priorities should be those that directly impact your survival and combat efficiency. Start by upgrading the Workbench and Medical Lab as soon as possible. The Workbench gives you access to essential ammunition crafting, while the Medical Lab provides healing items and shield rechargers — both of which are vital for surviving longer Topside runs.
Once those are set up, move on to upgrading the Gunsmith to improve your weapon selection and unlock stronger attachments. Avoid spreading resources too thin across all stations at once — instead, focus on building a solid foundation that ensures you always have ammo, healing gear, and reliable weapons before investing in luxury upgrades like explosives or utility crafting.
Conclusion
Upgrading stations in Arc Raiders is one of the most important steps toward long-term success. Each station unlocks new crafting opportunities, allowing you to create better weapons, gear, and utilities that directly improve your chances of survival during raids. By prioritizing essential stations like the Workbench, Medical Lab, and Gunsmith, you’ll set yourself up with a steady flow of ammo, healing items, and upgraded firepower early on. As you progress, continue refining materials and investing in higher-tier upgrades to stay ahead of tougher enemies and more dangerous encounters. Mastering station upgrades is the key to turning your hideout into a fully functional base built for both survival and domination in Arc Raiders.
Posted On: November 7th, 2025
Recent Articles


💬 Need help?
Our 1v9 support team is available 24/7 to help you with any questions or issues you may have.
support@1v9.gg
Loading...
1v9.gg is not endorsed or affiliated by any game developers or publishers.
2025 1v9, All Rights Reserved, Created By NightDev