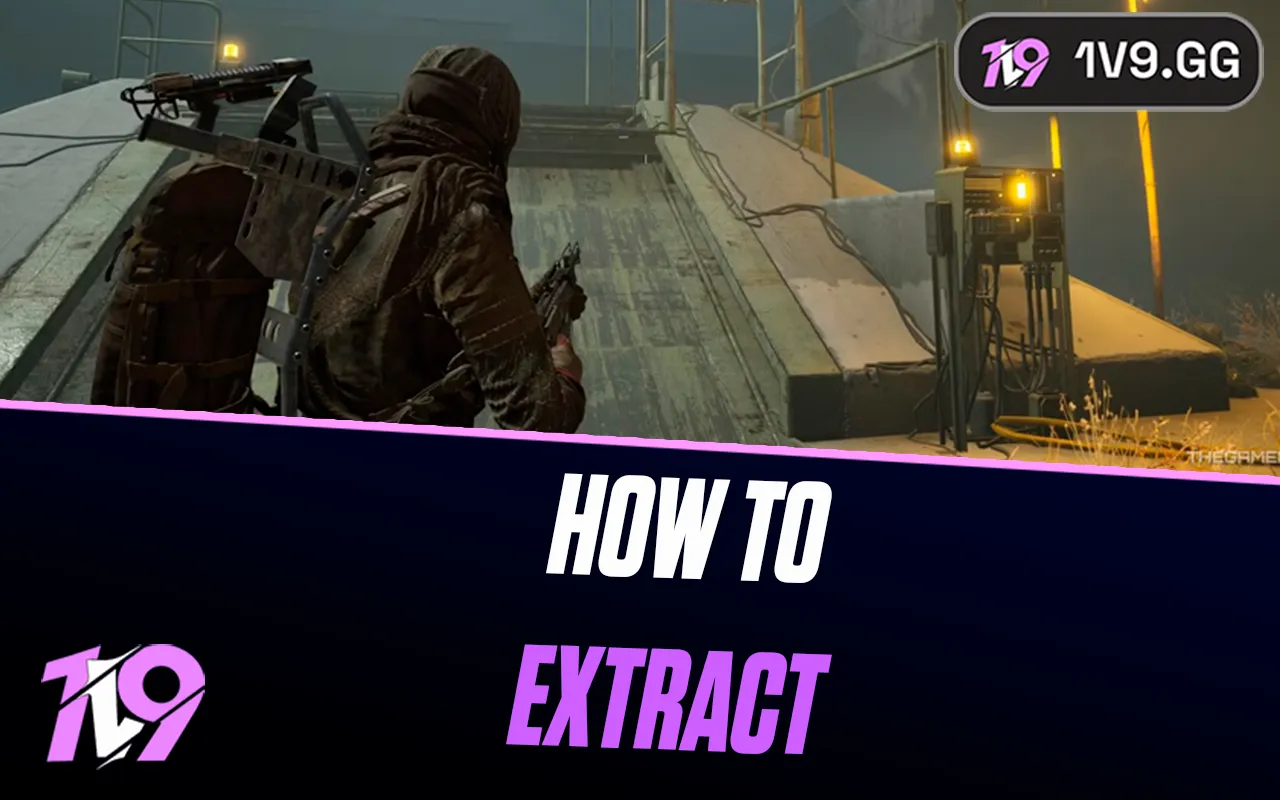


How To Extract In Arc Raiders: Complete Guide
Getting in and out of topside safely is half the battle in Arc Raiders. You can scoop up the best loot in the world, but none of it matters if you don’t make it back to base in one piece. Extraction is where most runs fall apart—panic sets in, Raiders close in, ARC units roll up, and suddenly everything you just collected is gone. This guide breaks down how extraction actually works, how to avoid the most common mistakes, and the safest ways to secure your loot so every trip topside feels worth it.
How To Extract In Arc Raiders
Extracting safely is one of the most important parts of every Arc Raiders run. Each time you spawn into a map, you’ll start at a random location and have up to 30 minutes to explore, loot, complete objectives, and survive before heading to one of the preset extraction points. These exits are marked on your map with icons such as a downward arrow, a train symbol, or a fan, depending on the region you’re in.
Every map uses a different extraction style:
• Elevators – Found in Dam Battlegrounds and Spaceport. The activation console is right outside the elevator doors.
• Train Stations – Exclusive to Buried City. Multiple entrances lead down to the same underground station, where the call console is located near the blocked-off tracks.
• Air Shafts – Used in Blue Gate. The console sits right next to the shaft entrance.
Once you reach an extraction point and interact with the console, a loud alert will sound across the area. This signal attracts both ARC units and nearby players, so be ready for company. After activating the console, you’ll wait roughly 15 seconds for the extraction route to open. Once it’s accessible, you can enter and either:
• Use the secondary console to leave immediately, or
• Stay inside the extraction zone and wait for the two-minute timer to send the whole group home automatically.
Only one person in the extraction zone needs to activate the departure console for everyone inside to extract safely. As long as you make it into the extraction room before it closes, you’re good—no extra terminals or special actions required.
This makes extraction a mix of timing, awareness, and survival. Getting greedy at the end of a run can cost you every piece of loot you fought for, so plan your route, watch your timer, and don’t wait until the last minute to escape topside.
How To Extract Via Raider Hatches
Raider Hatches are the safest and most straightforward way to leave a raid in Arc Raiders, especially when you don’t want to deal with crowded extraction zones or the two-minute countdown that attracts trouble. Unlike regular extraction points, these hatches don’t run on timers and don’t make you wait—they open instantly as long as you have the right key on you.
To use a Raider Hatch, you need a Raider Hatch Key, which is much more limited than normal loot. You can earn one as a reward from specific quests like Hatch Repair, or buy a single key per day from Shani’s shop for 9,000 Credits. Just keep in mind that the shop option only becomes available once your character reaches level 12.
Once you’ve got a key, the process is simple. Locate any Raider Hatch on the map, walk up to its console, and interact with it while the key is in your inventory. The hatch will unlock immediately and open up without any delay, letting you extract on the spot with everything you’ve collected. No alarms, no long waits, no risk of getting jumped at the last second—just a clean and instant exit back to Speranza.
How To Extract Safely In Arc Raiders
Surviving the final moments before extraction is often harder than the entire raid, so treating extraction as part of your strategy is essential.
Use the Environment to Stay Hidden
ARC machines and enemy players will almost always investigate extraction sounds. Staying in the open is a great way to lose everything. Instead, tuck yourself behind rocks or broken structures at The Dam, hide behind benches at Train Stations, or use debris around Air Shafts in The Blue Gate. From cover, you can watch the area, ping danger, or gesture to other players if you want a peaceful extract.
Clear ARC Units Before Activating the Console
The alarm that rings when extraction begins has a huge radius. If strong ARC units wander nearby, you might get swarmed. Take out smaller enemies—Wasps, Hornets, and scouts—before triggering the console. Fighting them on your terms, while you still have cover and a full kit, makes extraction way safer. It also reduces the number of units that rush your location once the alarm sounds.
Let Someone Else Be the First to Go In
If you’re unsure whether someone is camping the extraction, wait it out. Stay hidden, lights off, and watch from a safe angle. Once another player activates the console and enters, you can slip inside right before the doors close. Even if they knock you down, you can still extract as long as you weren’t fully finished off.
You can even crawl into the extraction zone if you’re already downed. If you manage to slide in before bleeding out, you still return home with everything and earn the achievement “Not Over Til It’s Over.” Skills like Downed But Determined and Crawl Before You Walk make this strategy even safer.
Conclusion
Extracting safely in Arc Raiders is basically the final challenge of every run, and once you get the hang of how each extraction point works, the whole game becomes way less stressful. Whether you’re calling an elevator, rushing a train station, slipping into an air shaft, or using a Raider Hatch for a quick escape, the key is staying aware of your surroundings and avoiding unnecessary fights. With good timing, smart positioning, and a bit of patience, you’ll bring home your loot consistently without losing everything to ARC or enemy players. Master extraction, and every topside run instantly becomes more rewarding.
Posted On: December 9th, 2025
Recent Articles


💬 Need help?
Our 1v9 support team is available 24/7 to help you with any questions or issues you may have.
support@1v9.gg
Loading...
1v9.gg is not endorsed or affiliated by any game developers or publishers.
2025 1v9, All Rights Reserved, Created By NightDev