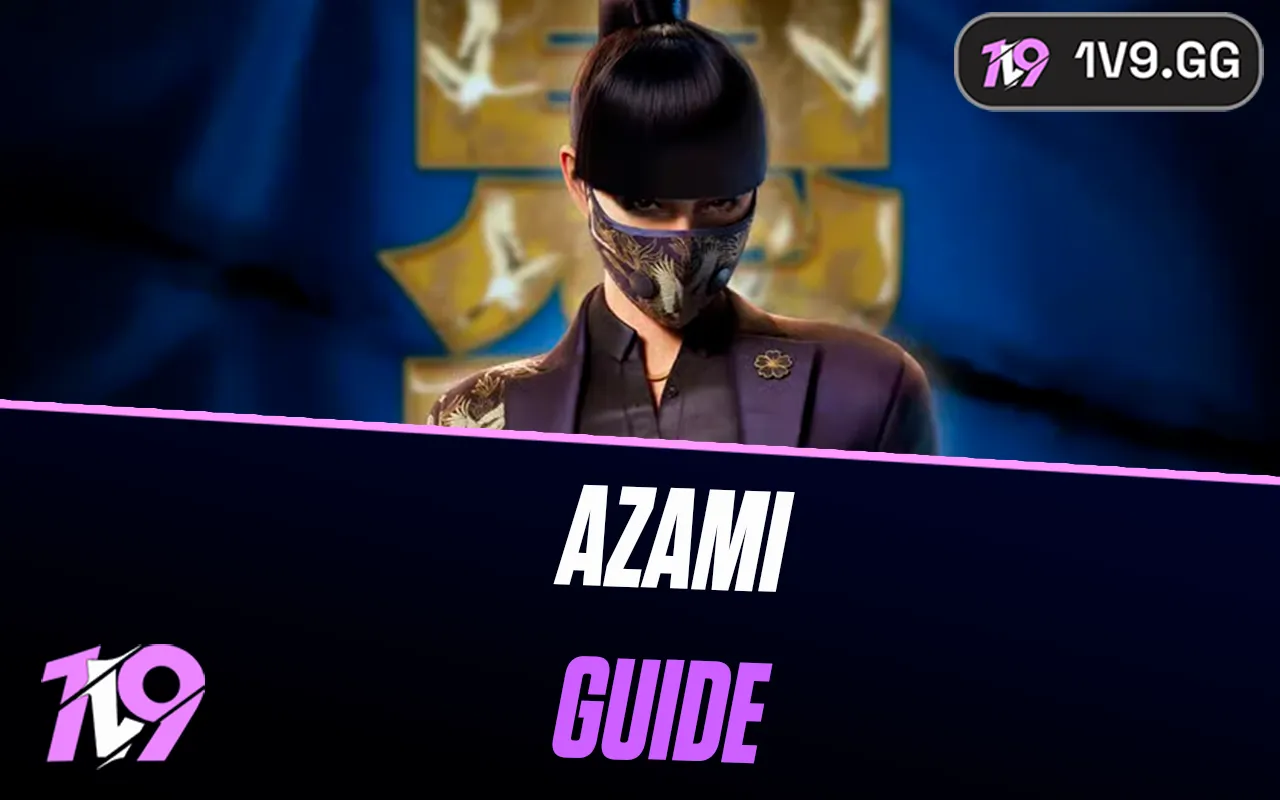


Rainbow Six Siege: Azami Operator Guide
Azami is one of the most creative and game-changing defenders in Rainbow Six Siege, known for her ability to reshape the battlefield on the fly. Introduced as part of the Japan-based Nighthaven faction, she brings a unique blend of style, precision, and tactical defense. Her gadget, the Kiba Barrier, lets her repair broken cover, block attacker sightlines, and create new defensive setups that didn’t exist moments before. Unlike traditional operators who rely on static defenses, Azami thrives on adaptability — turning open spaces into fortified strongholds in seconds. In this guide, we’ll break down everything you need to know about Azami’s ability, loadout, and best strategies to master her playstyle and dominate the defense in Rainbow Six Siege.
Azami Ability Overview In Rainbow Six Siege

Azami’s special gadget is the Kiba Barrier, a throwable kunai that creates a bulletproof surface upon impact. This barrier can stick to almost any surface — walls, floors, doors, and even ceilings — allowing Azami to reshape the environment instantly. Once deployed, it expands into a solid, circular shield that can block sightlines, seal holes, and create new angles for defenders to use in combat.
Each Kiba Barrier is incredibly durable, capable of stopping bullets and some explosives, though it can still be destroyed by impact grenades, melee hits, or explosives like Ash’s breaching rounds and Zofia’s impacts. Azami carries up to five kunai, which recharge over time, giving her flexibility throughout the round to adapt to new situations.
Her ability makes her one of the most versatile defenders in the game. You can use Kiba Barriers to rebuild destroyed cover, protect teammates behind deployable shields, or block off entry points during a final push. Smart Azami players constantly adjust their defenses mid-round — reacting to enemy pushes and forcing attackers to waste utility or reposition. In skilled hands, her barriers can completely change the flow of a round and give defenders a huge tactical edge.
Azami Weapon Loadout
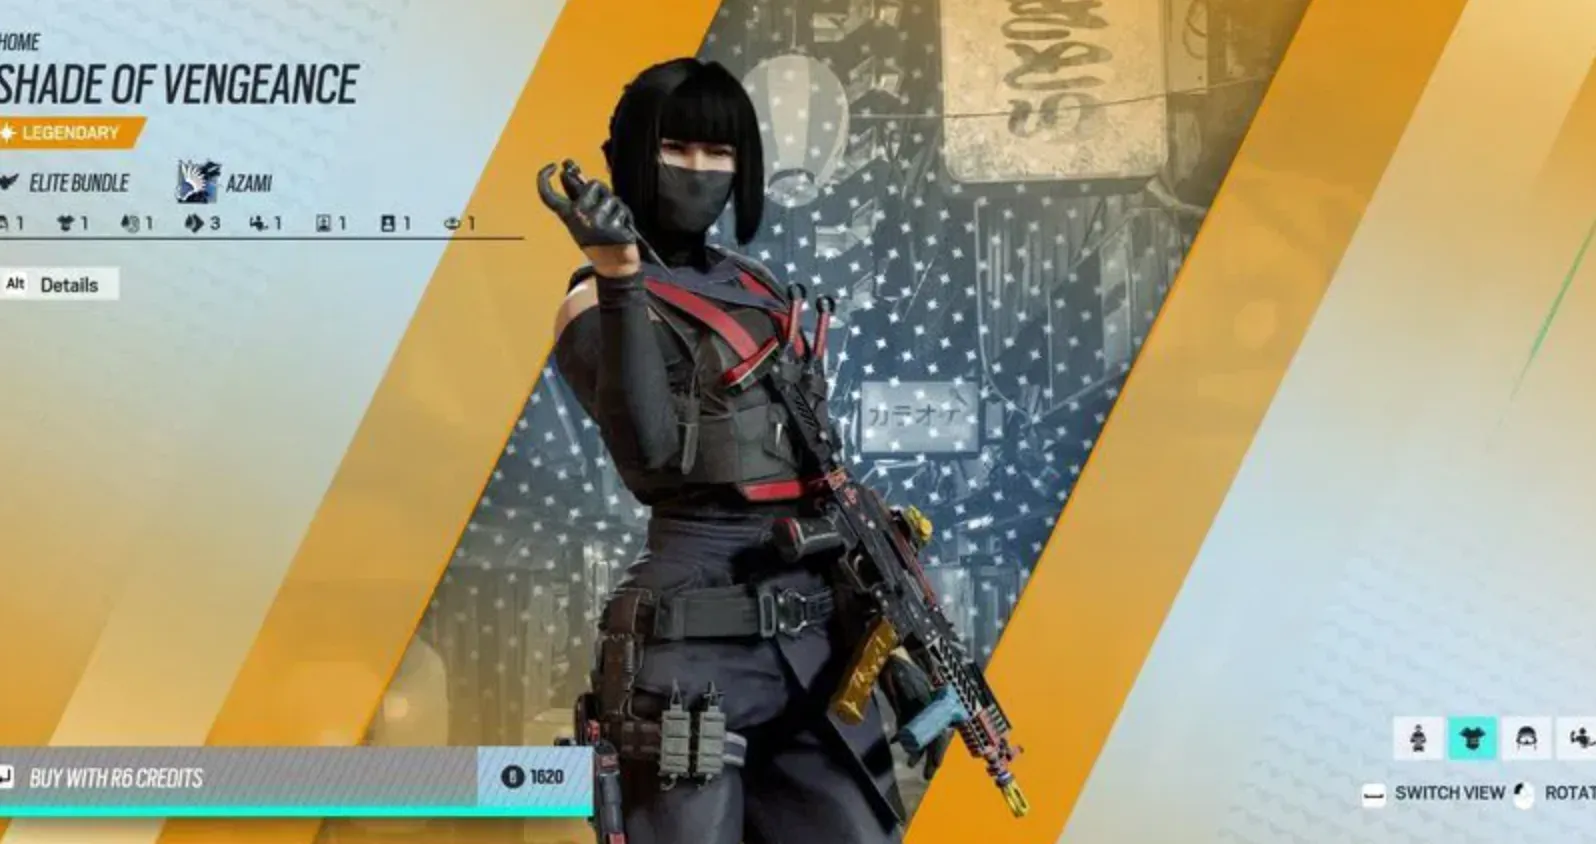
Azami’s loadout is built for close- to mid-range combat, giving her the flexibility to defend objectives or hold tricky angles. Her primary weapons include the 9x19VSN submachine gun and the ACS12 shotgun. The 9x19VSN is a reliable choice with solid recoil control and good damage output, perfect for quick headshots and holding tight corners. The ACS12, on the other hand, offers incredible versatility — it’s a semi-automatic shotgun capable of both clearing walls for new sightlines and holding close-range fights with ease.
For her secondary weapon, Azami carries the D-50 (Desert Eagle), a high-damage handgun that’s excellent for breaking small holes in walls or finishing enemies at medium range. It’s a powerful backup that can also be used to create small peek holes for her Kiba Barriers.
When it comes to gadgets, Azami can equip either barbed wire or impact grenades. Barbed wire helps slow down attackers and pairs perfectly with her defensive setups, while impact grenades are great for creating rotations or quick escapes. Most players prefer impacts for their utility and synergy with her adaptable playstyle.
Overall, Azami’s loadout is all about flexibility and control — giving you the tools to reinforce your defenses, control choke points, and react quickly to enemy pressure while maintaining strong map presence.
How To Play Azami In Rainbow Six Siege

Playing Azami effectively in Rainbow Six Siege is all about adaptability and smart positioning. Her strength lies in her ability to redefine defensive setups mid-round, making her a powerful counter to aggressive attackers. To get the most out of her, you’ll need to think like a tactician — controlling angles, reinforcing cover, and reacting quickly to changing situations.
At the start of a round, use Azami’s Kiba Barriers to fortify key positions and cover exposed angles that attackers might exploit. Common spots include head-glitch setups behind deployable shields, covering drone holes, or repairing destroyed soft walls. As the round progresses, save a few kunai for reactive plays — for example, sealing an opened breach or creating instant cover after a wall gets blown open. Her ability to create new defensive layers on demand makes her invaluable during retakes and clutch situations.
When fighting, stay close to cover and avoid open areas where attackers can overwhelm you. Combine her barriers with teammates like Smoke or Jäger to control sightlines and delay pushes. Communication is key — tell your team where you’re reinforcing so they can coordinate around your new lines of defense.
Azami thrives in the hands of players who can stay calm under pressure and use creativity to turn broken sites into strongholds. Mastering her means understanding map layouts deeply, predicting enemy routes, and using her barriers strategically to trap attackers or force them into disadvantageous fights. Played right, Azami isn’t just a defender — she’s an architect of victory.
Conclusion
Azami is one of the most creative and flexible defenders in Rainbow Six Siege, offering a level of map control that few operators can match. Her Kiba Barriers can completely change the course of a round, allowing defenders to rebuild cover, block attacker sightlines, or fortify objectives on the fly. Whether you’re holding tight angles, patching up destroyed walls, or buying time for your team, Azami rewards smart and adaptable play. Mastering her takes awareness, precision, and timing — but once you learn how to use her barriers efficiently, she becomes an invaluable asset on any defensive lineup.
Posted On: October 25th, 2025
Recent Articles


💬 Need help?
Our 1v9 support team is available 24/7 to help you with any questions or issues you may have.
support@1v9.gg
Loading...
1v9.gg is not endorsed or affiliated by any game developers or publishers.
2025 1v9, All Rights Reserved, Created By NightDev