


Rainbow Six Siege: Every Shield Operator
Rainbow Six Siege features over 60 operators, each tailored to accommodate diverse playstyles. Among them, shield operators stand out for their defensive capabilities, providing excellent support for teammates by blocking damage, relaying enemy intel, and disrupting enemy plans.
However, shield operators have been a topic of debate within the Siege community. Past exploits and controversial mechanics have led to frequent bans in ranked matches, leaving them misunderstood and underutilized. Despite these challenges, mastering shield operators can greatly benefit both players who use them and those who encounter them in combat. Understanding their mechanics and counters adds a valuable layer of strategy. In this article, we’ll break down every shield operator in Rainbow Six Siege, helping you maximize their potential or effectively face them in battle. Let’s dive in!
#6: Blackbeard
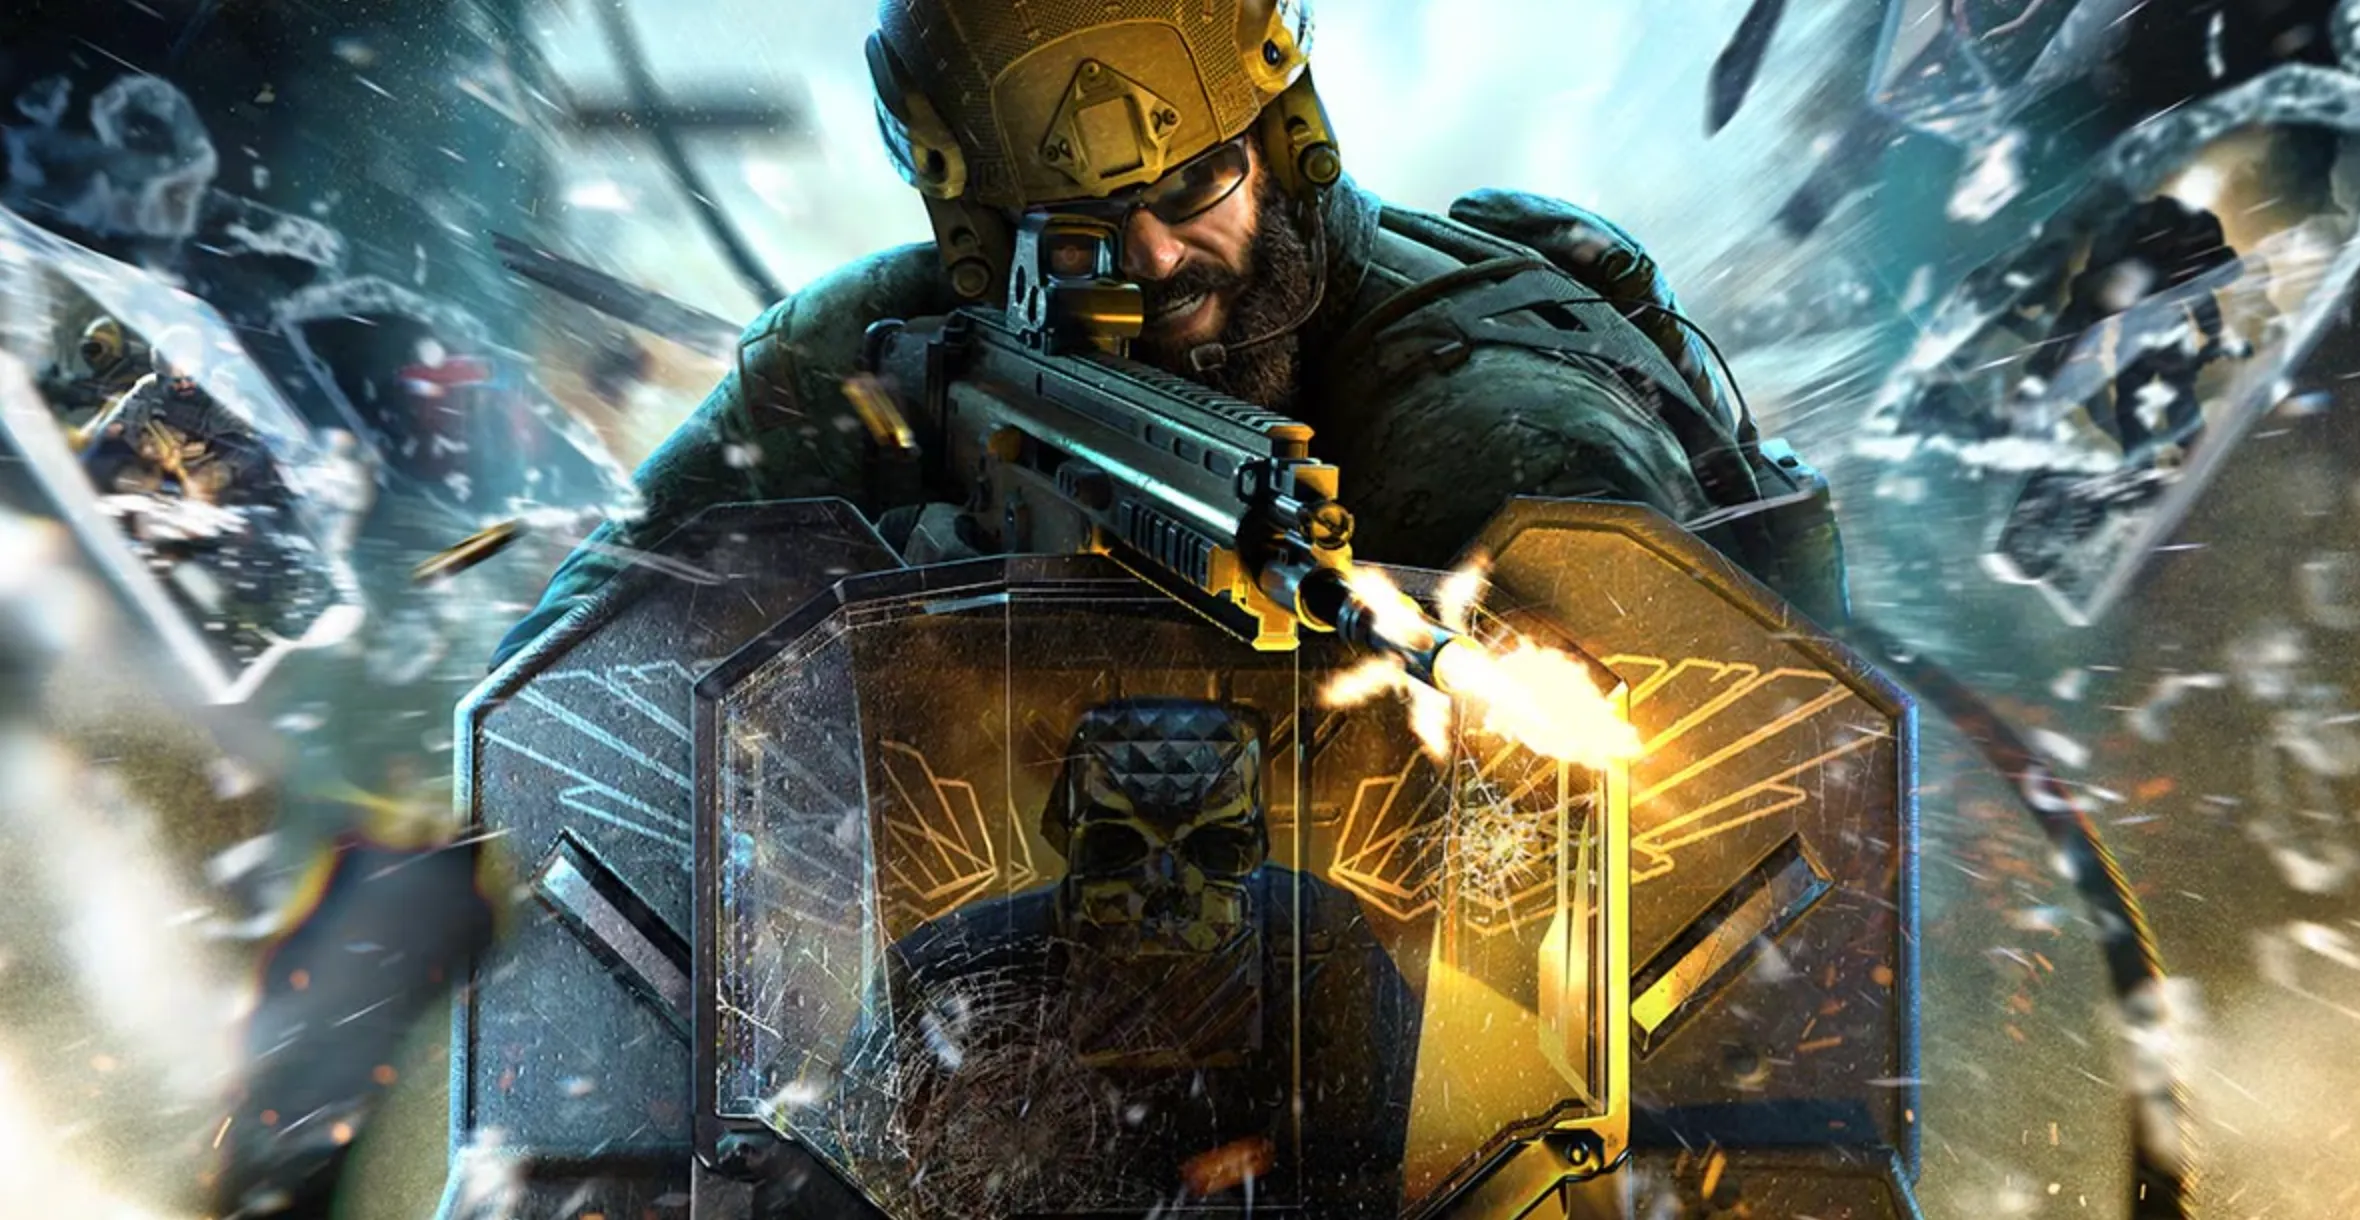
Blackbeard is a unique shield operator in Rainbow Six Siege, offering a mix of offensive and defensive capabilities. His special gadget, the TARS Mk 0 Rifle Shield, is a small, attachable shield mounted on his primary weapon, providing frontal protection while allowing him to maintain firepower. This shield absorbs a limited amount of damage before breaking, making it ideal for peeking angles and holding tight sightlines.
Blackbeard’s playstyle revolves around patience and precision. His ability to block headshots while aiming can give him an edge in long-range duels or when locking down crucial entry points. However, the shield’s durability and weight slightly slow him down, making movement more deliberate.
To maximize Blackbeard’s potential, focus on careful positioning and aim for engagements where his shield can soak initial damage while you secure kills. He is best used for anchoring key areas or contesting powerful Defender positions like windows and doorways. Be mindful of his limited shield durability, as it won’t withstand sustained fire or explosives.
#5: Fuze
Fuze is a versatile operator who pairs his explosive offensive capabilities with the added protection of a ballistic shield. While his shield doesn’t come with additional features like Blackbeard’s rifle shield, it provides ample frontal protection, allowing him to safely push objectives or lead his team through contested areas.
Fuze’s primary strength lies in his Cluster Charge gadget, which can deploy explosives through breakable surfaces to flush out enemies or destroy gadgets. When combined with his shield, Fuze becomes a dangerous force for breaching fortified positions, as he can use his gadget while staying protected.
To play Fuze effectively as a shield operator, focus on taking control of key areas where his Cluster Charges can maximize impact, such as Defender strongholds or rooms with gadgets. Use his shield to draw enemy fire, creating openings for teammates to capitalize on. However, be cautious of roamers and flankers, as Fuze’s shield offers limited mobility and makes him vulnerable to attacks from the sides or rear.
This combination of offensive power and defensive capability makes Fuze a strong pick for teams looking to dominate fortified objectives and disrupt enemy plans.
#4: Montagne
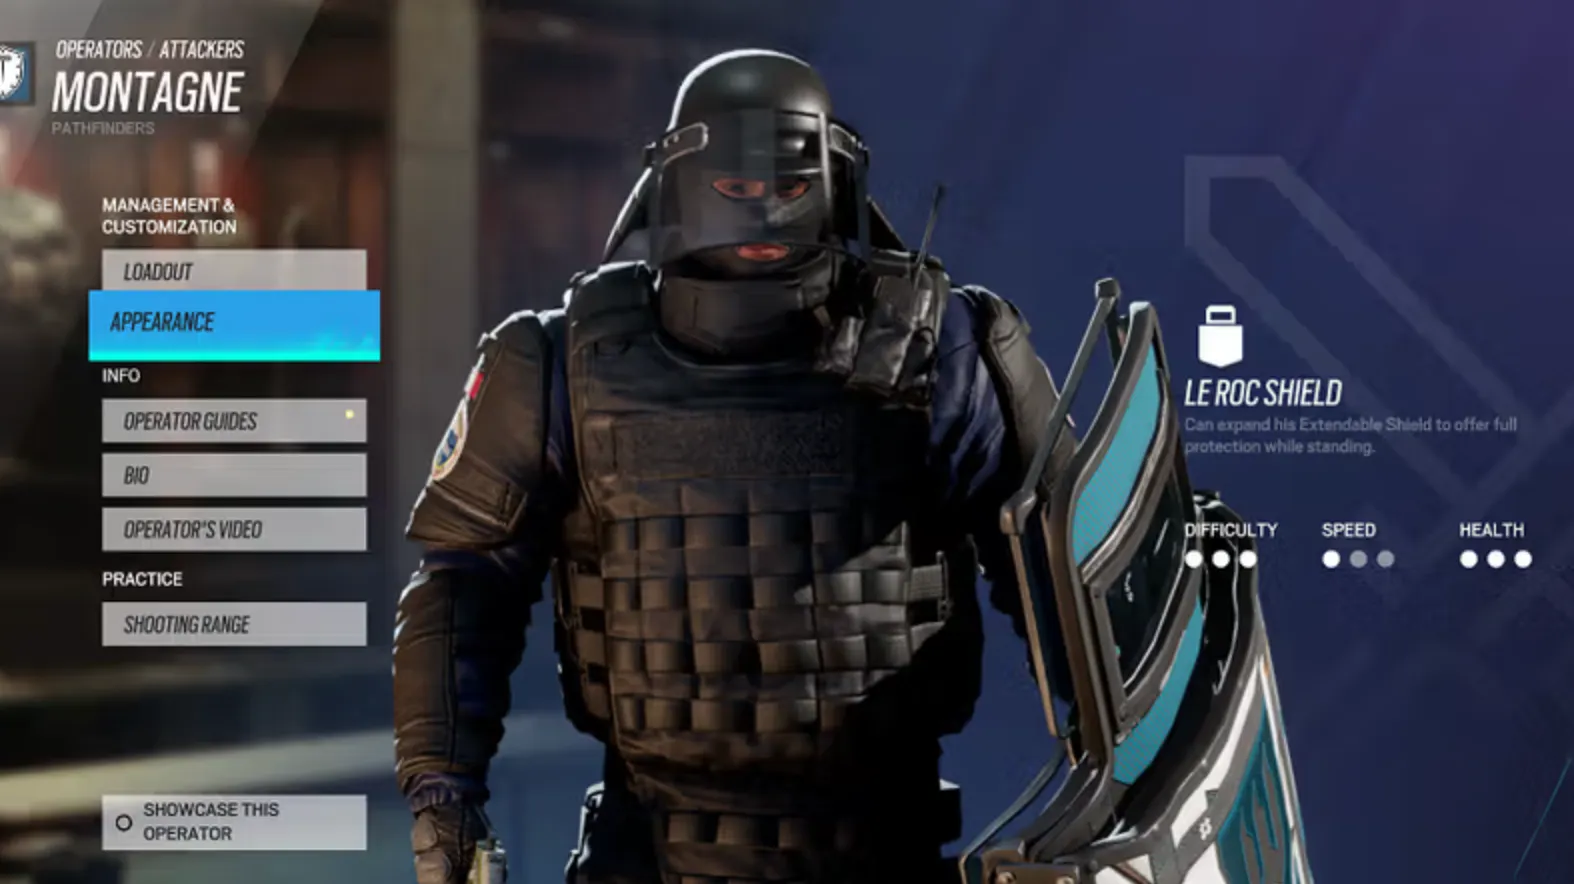
Montagne is the quintessential shield operator in Rainbow Six Siege, designed to be a mobile fortress for his team. Armed with his Le Roc Shield, Montagne can extend his shield to fully cover his body from head to toe, making him an incredibly effective tool for blocking lines of sight and absorbing enemy fire.
Unlike other shield operators, Montagne’s role is almost purely defensive. His job is to advance into contested areas, gather intel, and create openings for his teammates. Whether it’s blocking enemy fire during a plant or holding down a corridor to stall opponents, Montagne’s presence can significantly disrupt Defender plans. His shield extension allows him to remain fully protected while providing callouts or drawing enemy attention.
The key to playing Montagne effectively lies in communication. He excels when paired with aggressive teammates who can capitalize on the pressure he creates. For instance, attackers like Ash or Zofia can flank enemies while Montagne holds their focus. However, Montagne is vulnerable to explosives and coordinated attacks, so working closely with your team is essential.
Montagne is a fantastic choice for players who prefer a strategic, support-oriented role, using their presence to command the battlefield and tip the scales in their team’s favor.
#3: Blitz
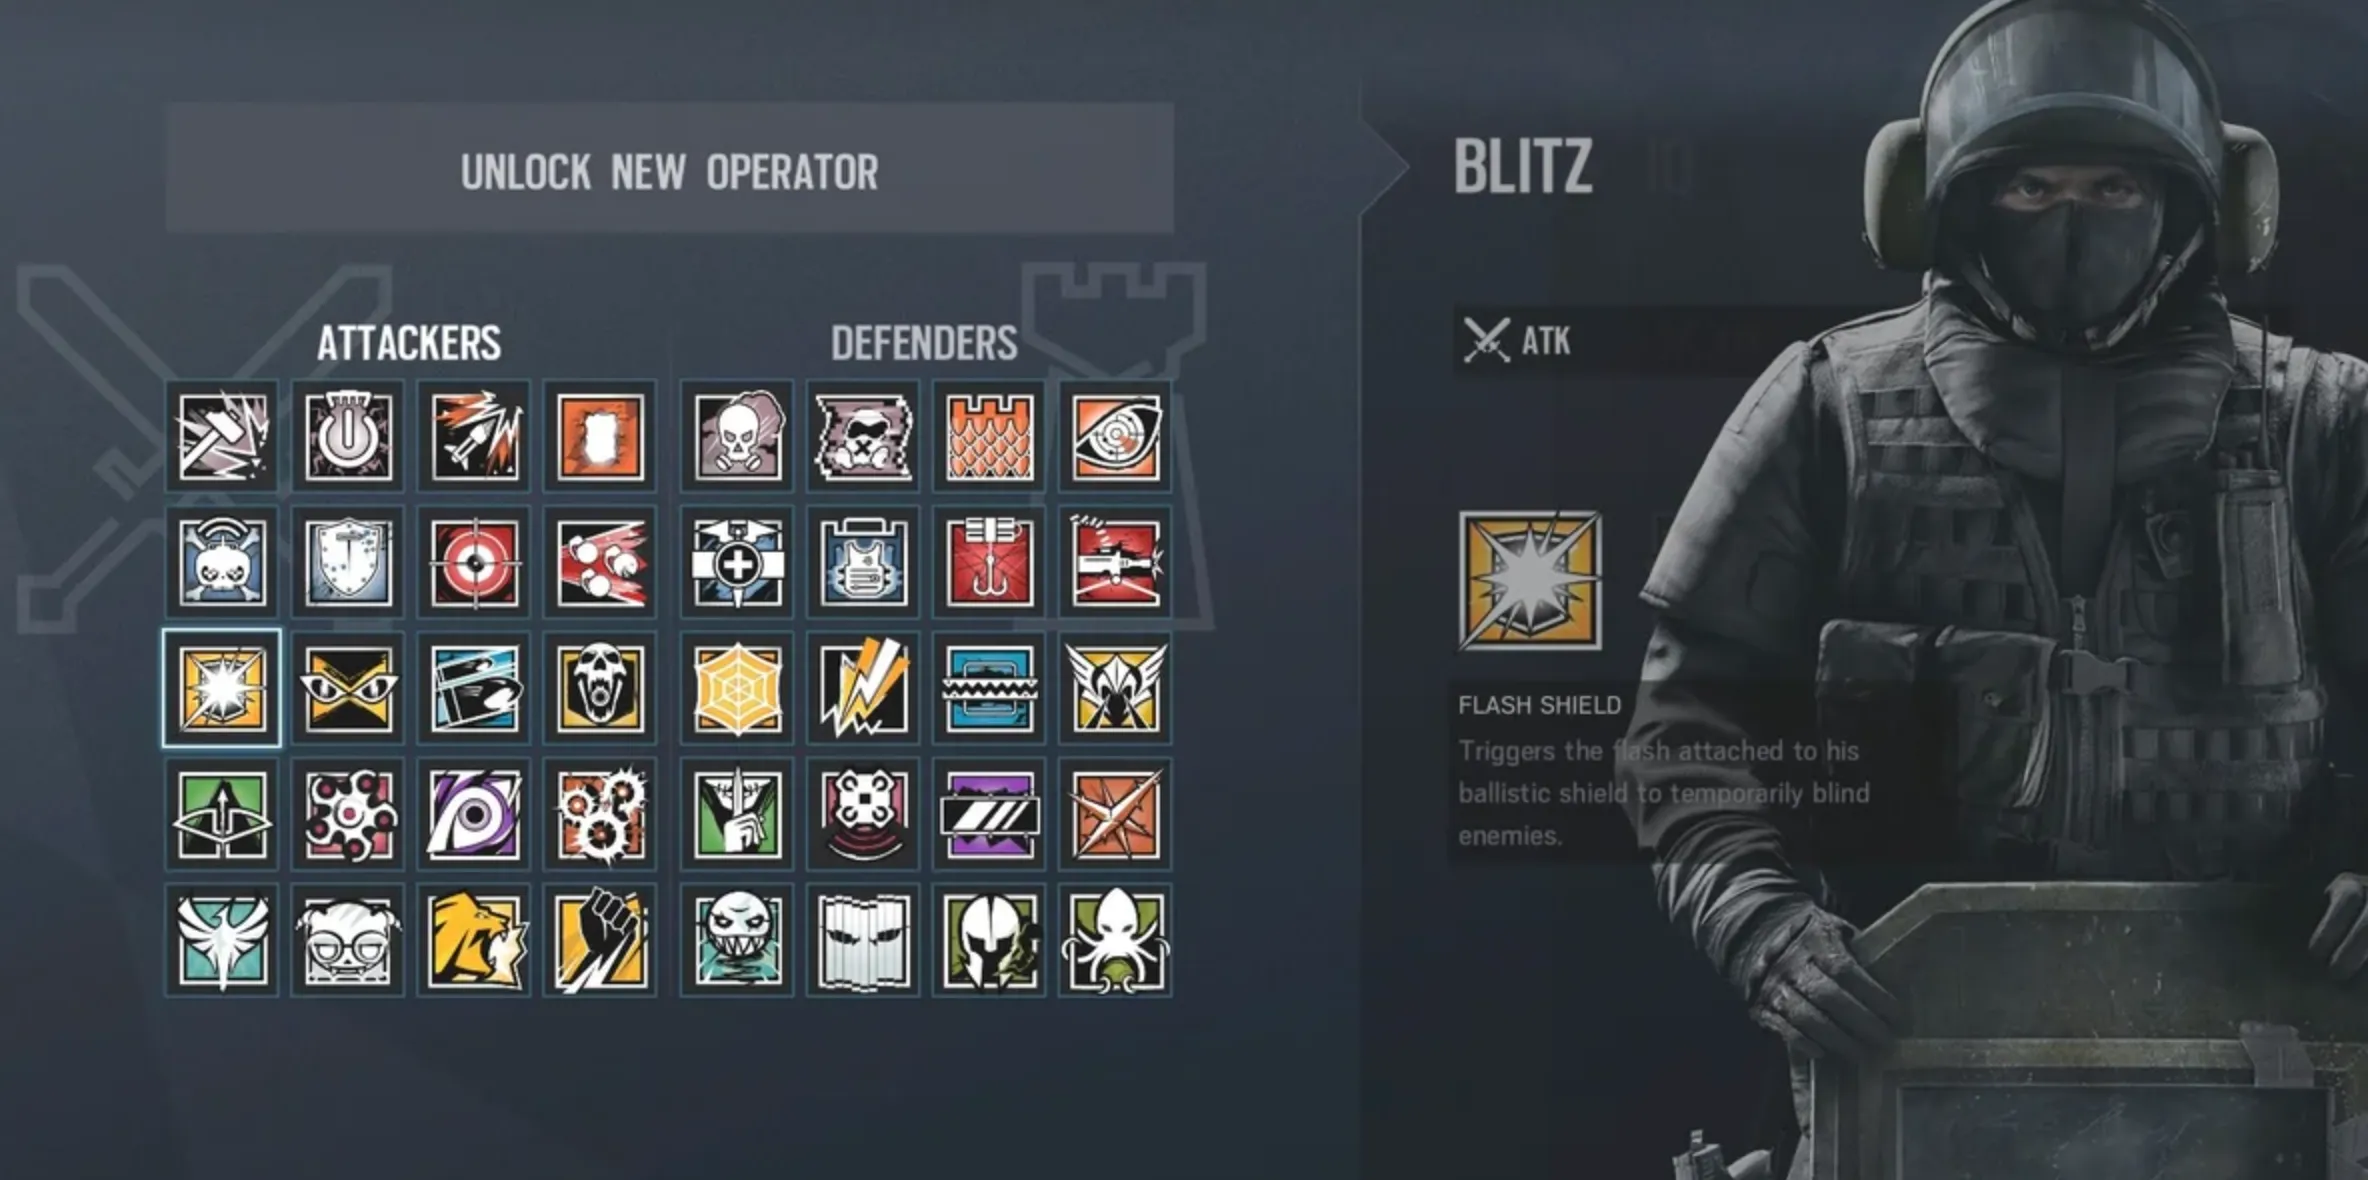
Blitz is one of Rainbow Six Siege’s most aggressive shield operators, designed to disrupt enemy defenses with his unique G52-Tactical Shield. Equipped with a built-in flash device, Blitz can blind enemies within a 5-meter range, creating openings for quick eliminations or forcing defenders to retreat.
Unlike Montagne, Blitz thrives on mobility and close-quarters combat. His ability to sprint with his shield up allows him to close the gap between himself and enemies quickly, making him an excellent choice for fast-paced, aggressive pushes. Once in range, his shield’s flash can disorient opponents, giving him an opportunity to either take them down or force them into unfavorable positions.
Blitz is particularly effective when used to clear rooms or flush out defenders from tight corners. His presence can put immense pressure on enemies, especially if paired with teammates who can capitalize on the chaos he creates. However, he is vulnerable to C4s, melee strikes, and well-coordinated team efforts, so it’s essential to plan his engagements carefully.
For players who enjoy an offensive playstyle and relish the thrill of getting up close and personal with their opponents, Blitz offers a unique, adrenaline-fueled experience. But mastering him requires good timing, situational awareness, and the ability to coordinate effectively with teammates.
#2: Clash
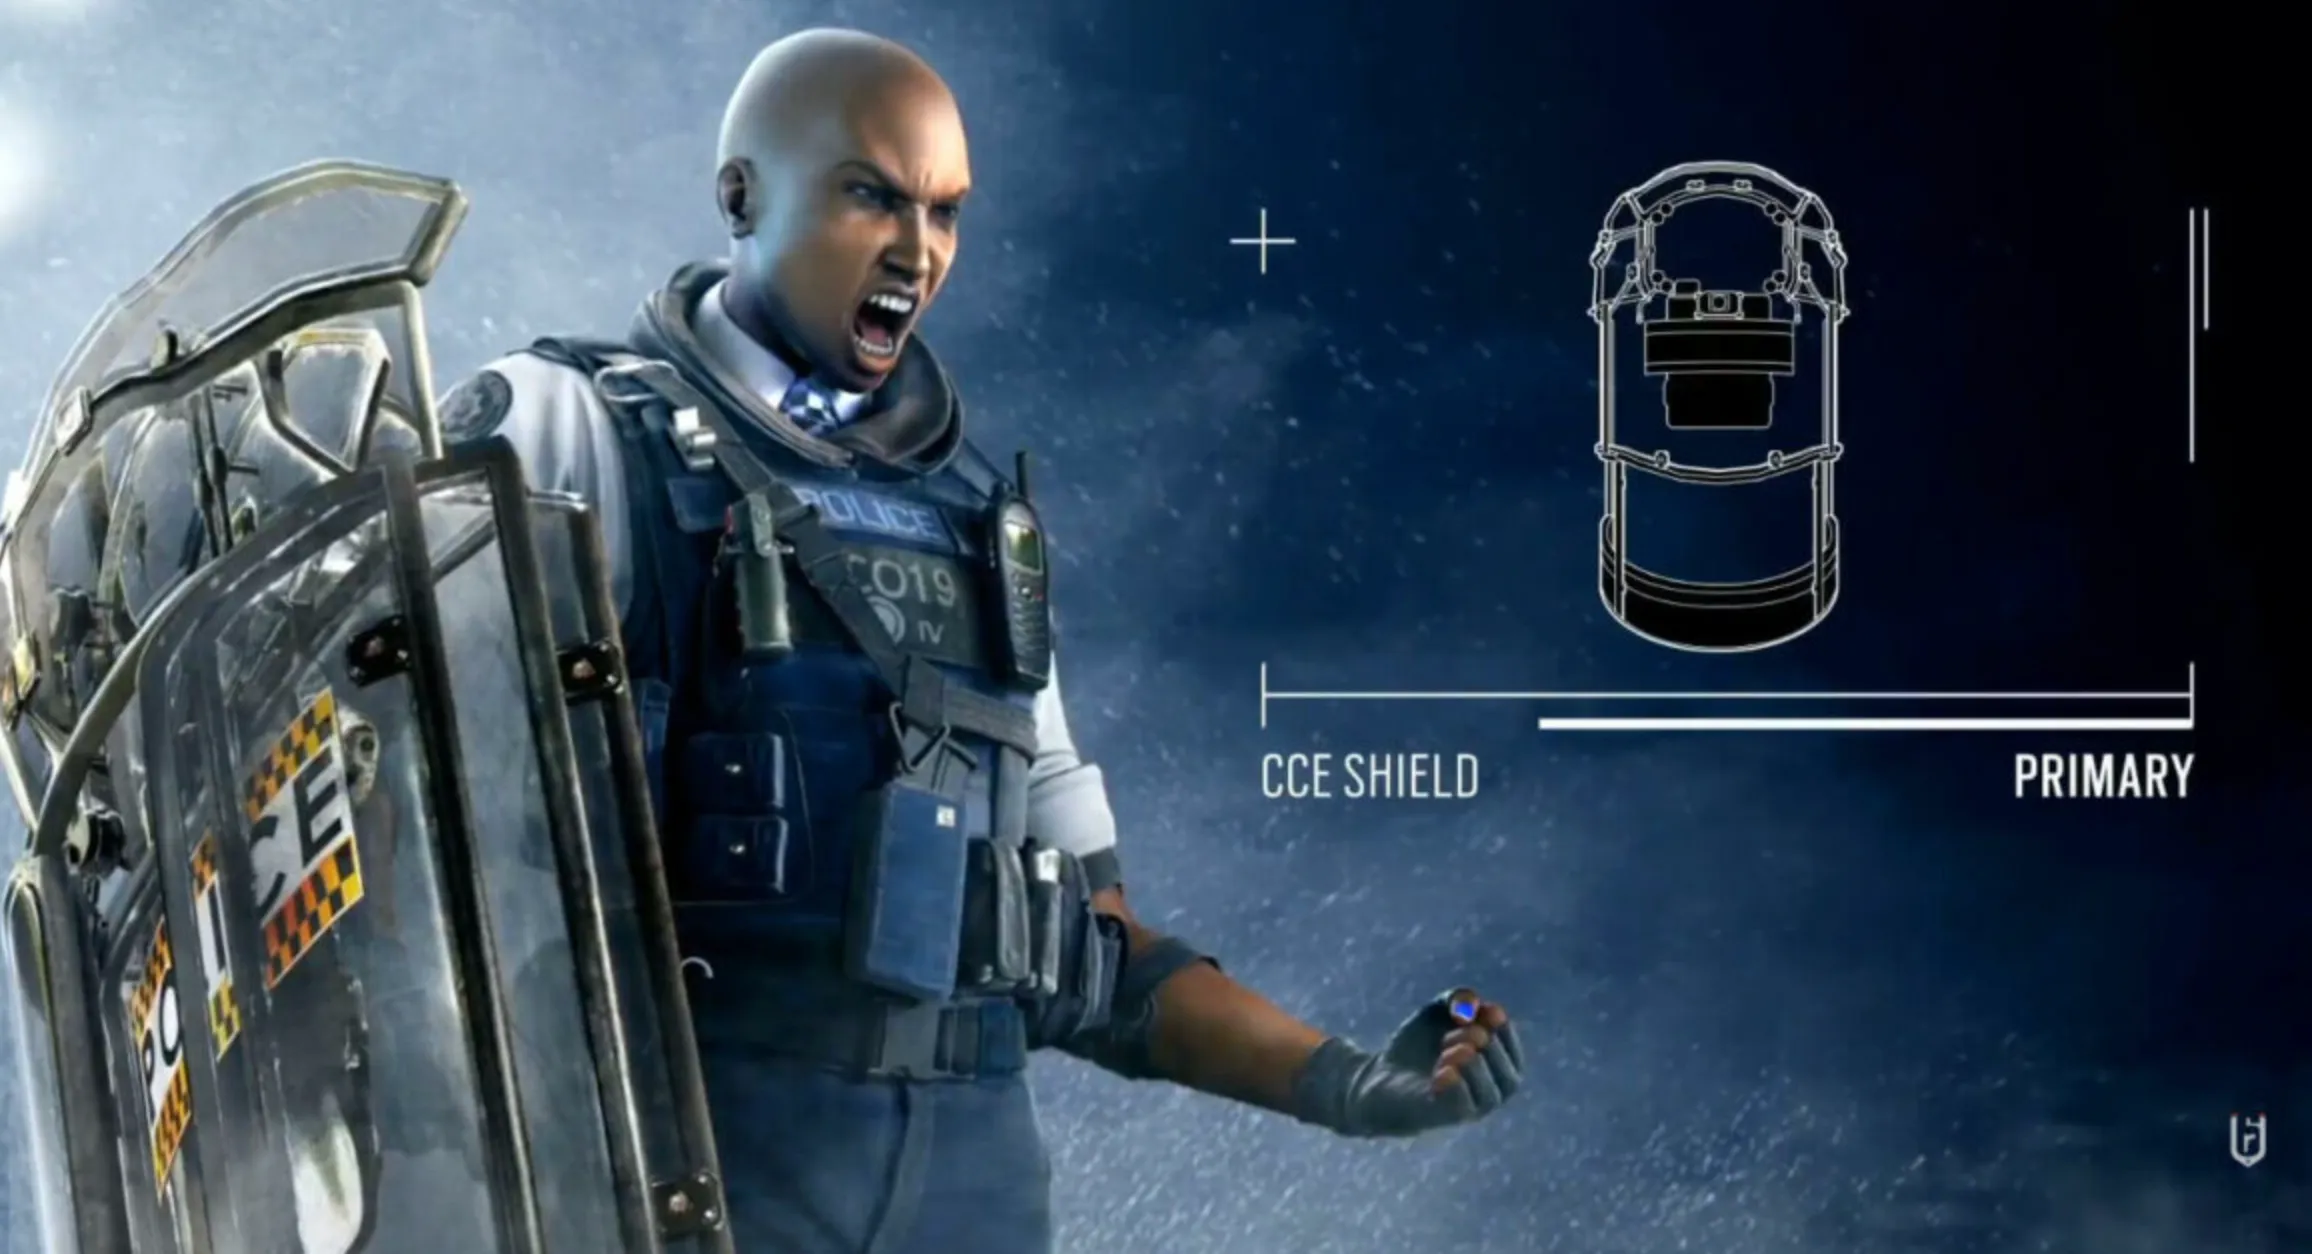
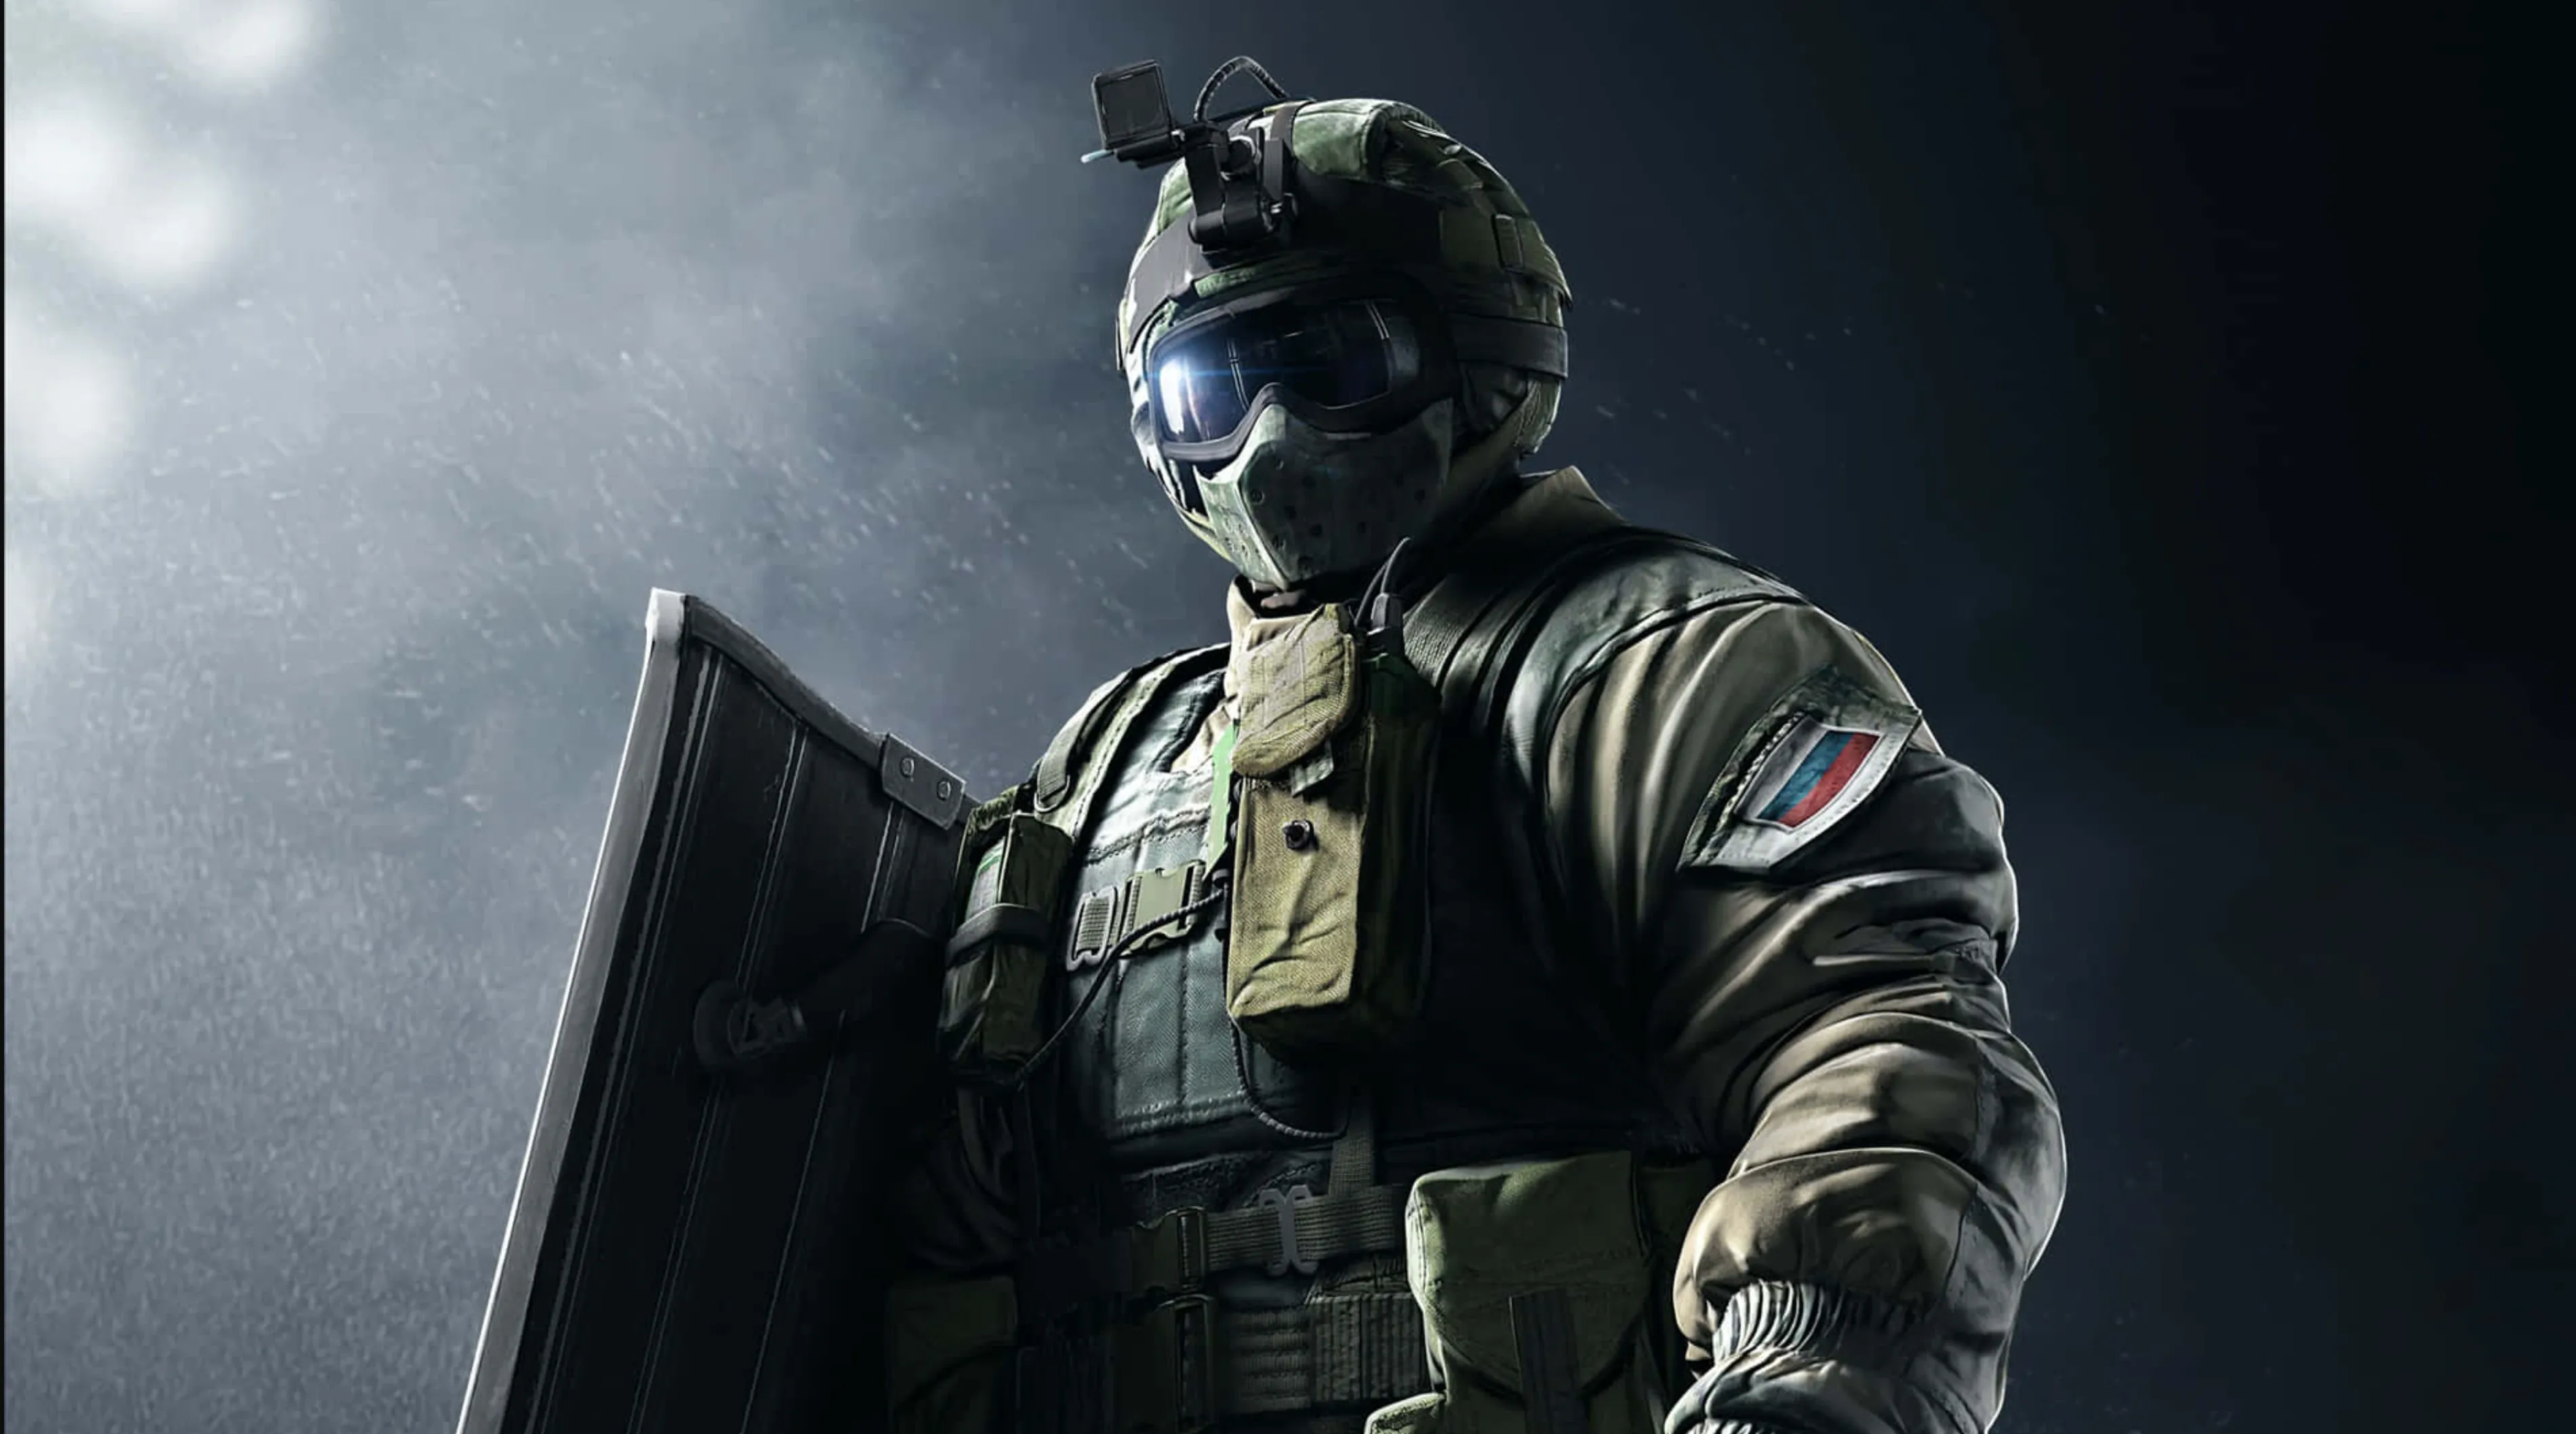
Clash is Rainbow Six Siege’s only Defender with a shield, making her a unique and invaluable addition to any defensive strategy. Equipped with her CCE Shield, Clash can slow down attackers, reveal their positions, and disrupt their plans with ease. Her shield features an integrated taser that drains enemy health and reduces their movement speed, making her a frustrating obstacle for aggressive pushes.
Unlike other shield operators, Clash thrives on information gathering and area denial rather than direct combat. She can anchor choke points, delay attackers, and force them to burn through utility to deal with her. Her ability to tase attackers also makes her an excellent support operator, as it sets up teammates for easy eliminations.
Clash’s strength lies in her adaptability. She can switch between holding down key positions and repositioning to counter aggressive plays. However, she is vulnerable to coordinated attacks, such as flanks, explosives, or shield-bypass strategies. Smart attackers can also bait her taser, leaving her exposed during its cooldown period.
For those who enjoy a more supportive and tactical role, Clash is a great pick. When paired with teammates who can capitalize on her intel and zone control, she becomes a cornerstone of a well-rounded defense. However, playing her effectively requires strong communication, map knowledge, and an awareness of her limitations.
#1: Osa
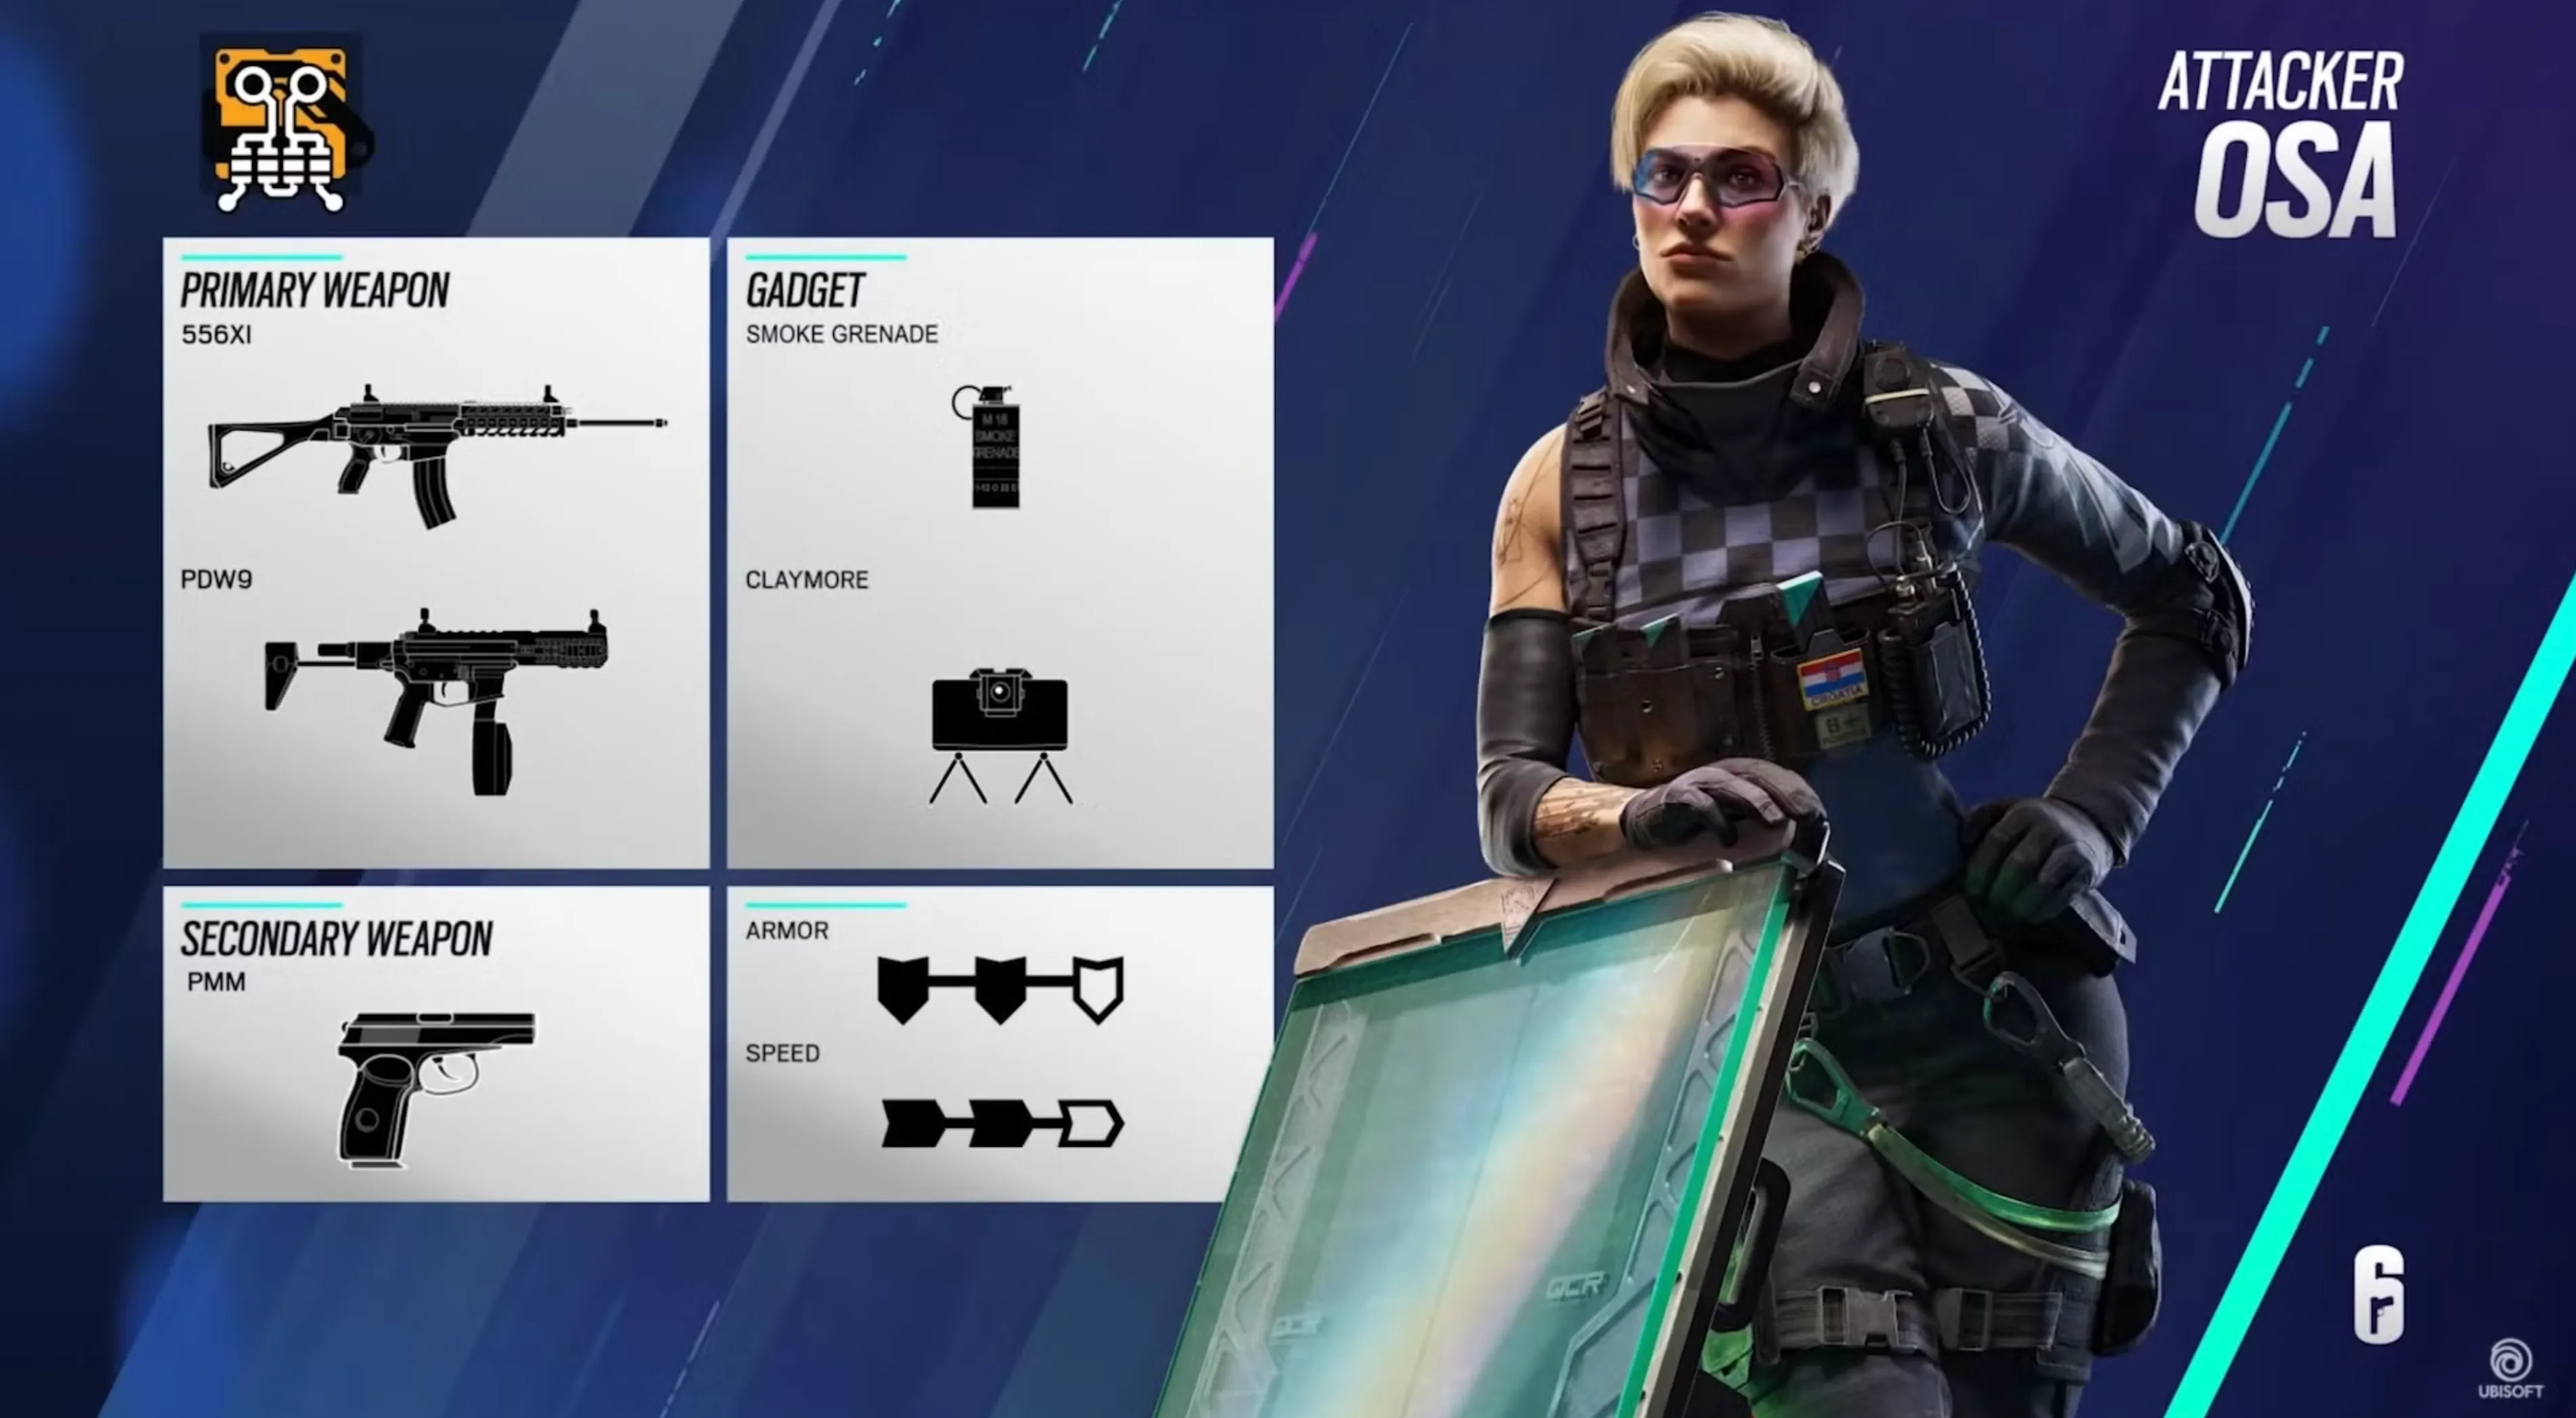
Osa brings a fresh perspective to the role of shield operators in Rainbow Six Siege. As an Attacker, her Talon-8 Clear Shield offers unparalleled utility by allowing players to deploy transparent bulletproof shields on almost any surface. This makes Osa an incredible asset for both gathering intel and creating temporary cover during high-pressure situations.
What sets Osa apart is her versatility. Unlike traditional shield operators who primarily rely on mobility, Osa’s gadget is stationary, making it perfect for holding angles, blocking sightlines, or securing key vantage points for teammates. Whether placed on windows, doorways, or at chokepoints, the Talon-8 shields provide unparalleled visibility while protecting the team from incoming fire.
Osa’s shields also allow her to spearhead pushes safely. Players can deploy her gadget to scout ahead, set up cover while planting the defuser, or create makeshift strongholds in contested areas. Her ability to carry and deploy the shield mid-move adds an extra layer of flexibility that other shield operators lack.
However, Osa’s shields are not invulnerable. Well-timed explosives, melee strikes, or attackers flanking her position can counter her setups. Additionally, her shields require careful placement to avoid giving enemies opportunities to exploit her positioning.
For attackers seeking an innovative and strategic operator, Osa is the perfect choice. Her gadget allows for creative plays, rewards tactical thinking, and fits seamlessly into almost any team composition, making her one of the most impactful shield operators in Rainbow Six Siege.
Conclusion
Shield operators in Rainbow Six Siege bring a unique dynamic to the game, offering both defensive and offensive capabilities that can shape the outcome of a match. Whether it’s Osa’s strategic Talon-8 shields, Blitz’s blinding charges, or Clash’s electrified shield for area control, each operator has a distinct role to play. Despite the controversy surrounding shields, mastering their mechanics can provide a tactical advantage for both shield users and their teams. Understanding how to counter these operators is equally important for maintaining balance in gameplay. By leveraging their strengths and addressing their weaknesses, shield operators can turn the tide of battle and become invaluable assets in any match.
Posted On: January 31st, 2025
Recent Articles


💬 Need help?
Our 1v9 support team is available 24/7 to help you with any questions or issues you may have.
support@1v9.gg
Loading...
1v9.gg is not endorsed or affiliated by any game developers or publishers.
2025 1v9, All Rights Reserved, Created By NightDev