

Sierra is a mobile Recon damage hero who turns one accurate Tracking Shot into sustained homing pressure. Her best loop is to establish high ground with Anchor Drone, mark a vulnerable target, maintain Helix Rifle fire, then keep the drone or nearby cover available for the exit.
She is strongest on maps with useful vertical angles and narrow lanes for Trailblazer. She is less comfortable into layered barriers, fast burst damage, or teams that can destroy her Anchor Drone and punish the predictable grapple path.
Last verified: August 26, 2026 — Overwatch Season 4 live rules
This guide incorporates Sierra's April launch hotfix, June 25 mobility changes, and June 30 perk update. Full Flight is now part of her base kit, not a selectable Minor Perk.
Sierra abilities and how to use them
| Ability | What it does | Best practical use |
|---|---|---|
| Helix Rifle | Automatic projectiles fire in a spiral and tighten with sustained fire. Each projectile deals 9 damage. | Track from a stable off-angle and avoid resetting the spread without a reason. |
| Tracking Shot | Marks one enemy so Helix Rifle projectiles home toward that target. The dart itself deals 9 damage. | Open on a target leaving cover. A critical dart makes the follow-up homing shots critical too. |
| Anchor Drone | Deploys Dorothy, then grapples Sierra to it on reactivation. The drone has 80 health; current deploy and grapple ranges are 16m and 19m. | Pre-place an exit or reach high ground without walking through the main choke. |
| Tremor Charge | Creates a damaging shockwave on impact and displaces enemies. | Push a target from cover, disrupt a clustered group, or protect your retreat. |
| Trailblazer | Sends a drone forward to drop explosives along its path. | Aim down a lane, objective, or forced retreat path instead of firing across open space. |
| Recon passive | Damaging an enemy below half health reveals them through walls for a limited time. | Call the revealed target and cut off the escape rather than chasing alone. |
The dart is still the skill check. Homing fire only helps after Tracking Shot lands. Barriers, cover, cleanses, and the target dying before you capitalize can all break the sequence.
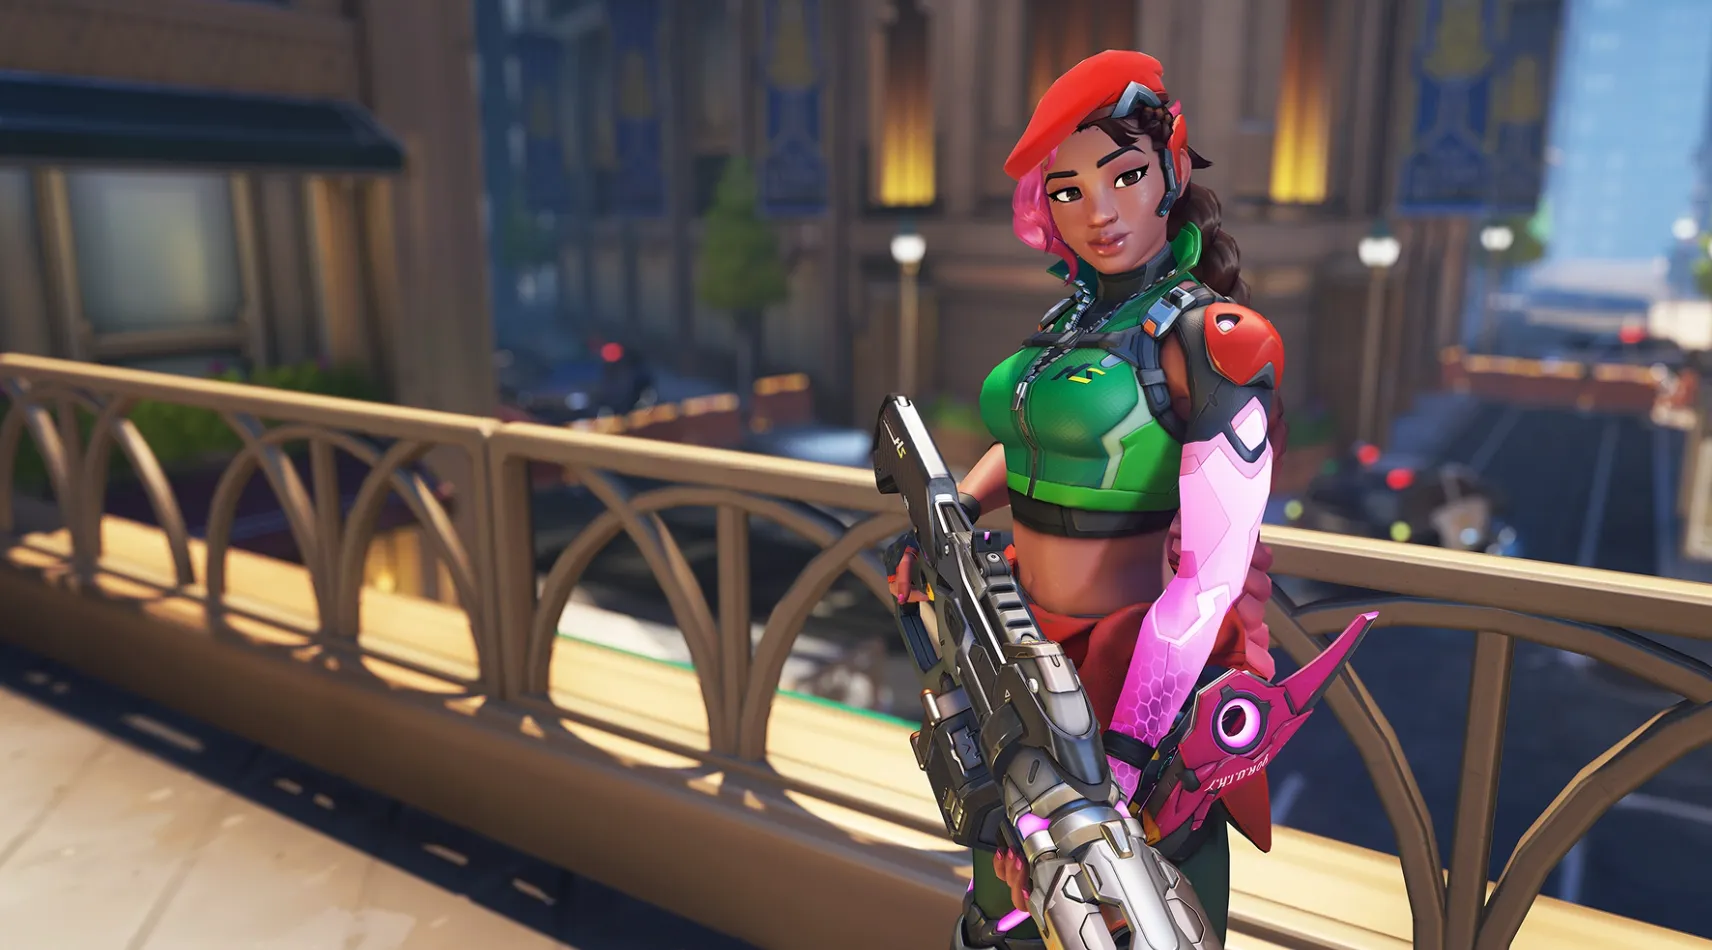
Best Sierra perks after the June update
Blizzard moved Full Flight into Sierra's base kit on June 30. The live perk choices are therefore different from her launch infographic and older guides.
| Tier | Perk | Effect | Choose it when… |
|---|---|---|---|
| Minor | Tight Grip | Spread tightens 70% faster and widens 30% slower. | You need steadier neutral pressure and often fire without a mark. |
| Minor | Locked In | A Tracking Shot hit on an enemy hero grants 20% attack speed for 2 seconds. | Your darts are consistent and the team can focus the marked target. |
| Major | Medi-Drone | Anchor Drone carries a health pack that can heal Sierra for 100. | You are taking repeated chip damage or supports cannot safely follow the angle. |
| Major | Dart Redeployment | If a marked target dies, Tracking Shot's cooldown is refunded. | Your team is converting focus fire and you can immediately mark the next target. |
Default recommendation: Tight Grip plus Medi-Drone is the safer independent setup. Locked In plus Dart Redeployment has the higher snowball potential, but only when your darts land and marked targets die quickly.
How to play Sierra: pressure without overcommitting
- Start near the team, not behind the enemy. Scout the first fight and identify a high-ground or side angle that still has line of sight to your supports.
- Place Anchor Drone with an exit in mind. Do not spend the grapple just to arrive at an angle if walking there keeps your escape available.
- Pressure barriers before committing the dart. Tracking Shot is far more valuable after a shield moves, breaks, or turns away.
- Mark the exposed target your team can reach. A nearby low-health DPS is usually better than a distant support who can instantly break line of sight.
- Leave when attention shifts to you. Grapple before burst damage lands; the route is readable, and a destroyed drone removes the escape.
- Re-enter from a fresh lane. Repeating the same balcony or window makes the next duel predictable.
If your biggest weakness is keeping the rifle steady while moving between elevations, the current Overwatch aim-training code guide gives you hero-movement drills without turning this page into a separate training list.
Sierra combos and target priorities
Tracking Shot → sustained Helix Rifle fire
This is the core damage sequence. Pre-aim the dart at a predictable strafe, then hold the rifle on the marked target while maintaining line of sight. A headshot with the dart improves the follow-up because homing shots also become critical.
Tremor Charge → Tracking Shot
Use the shockwave to move someone away from a barrier edge or out of a doorway, then place the dart while the displacement narrows their options. Do not waste both cooldowns on a healthy tank that your team cannot finish.
Trailblazer → off-angle pressure
Fire the ultimate down the route the enemy must use, then shoot from a different angle. The explosives are more useful as forced movement plus damage than as a solo highlight attempt across an open courtyard.
Target order: exposed support or damage hero, a low-health Recon-revealed target, then a tank only when the frontline is already committed. Sierra creates pressure well, but spending every cooldown into armor and mitigation can leave her with no finishing window.
How to counter Sierra
There is no hero that automatically defeats Sierra. The reliable counterplay is to deny the mark, pressure the drone, and force her to choose between maintaining rifle fire and returning to safety.
- Barriers: Sigma, Reinhardt, and other barrier users can intercept Tracking Shot and split Sierra's angle from its intended target.
- Projectile denial: Defense Matrix and similar mitigation can erase the dart or follow-up projectiles when timed toward her firing lane.
- Hitscan burst: Ashe, Cassidy, and Widowmaker can punish Sierra while she exposes herself for sustained fire. This is an aim and sightline matchup, not a guaranteed counterpick.
- Drone pressure: Dorothy has 80 health. Destroying it can cancel the planned escape and make a wide angle punishable.
- Hard cover: Break line of sight immediately after being marked. Do not keep peeking just because the rifle projectiles curve.
- Ultimate spacing: move sideways out of Trailblazer's lane rather than retreating along the same path as the explosives.
Common mistake: chasing Sierra to the drone alone. The grapple often leads you through her team's sightline. Pressure the destination or cut off her return instead.
Sierra FAQ
Is Sierra a hitscan hero?
No. Helix Rifle fires projectiles. Tracking Shot causes those projectiles to home toward the marked enemy, but the dart must land first.
What is Sierra's role and subrole?
She is a Damage hero in the Recon subrole. Recon reveals low-health enemies after Sierra damages them, helping the team finish targets that retreat behind cover.
Is Full Flight still a Sierra perk?
Its effect was moved into her base kit on June 30, 2026. An older launch infographic or hero page may still list it as a selectable Minor Perk.
Which Sierra perk combination is best?
Tight Grip plus Medi-Drone is the consistent choice for independent angles. Locked In plus Dart Redeployment rewards accurate darts and coordinated focus fire, but it loses value when marked targets survive.


-a6d5b3e156bb.webp)