

Overwatch: Domina Guide (Tips, Abilities, And More)
Domina is one of the most unique damage heroes in Overwatch. She combines long-range pressure with strong area control, making her a constant threat in team fights. If you enjoy controlling space, forcing enemies to move where you want them, and dealing steady damage from safe angles, Domina is a hero worth learning.
What makes Domina stand out is her ability to apply pressure without overcommitting. She can chip away at enemies from a distance, punish players who group too tightly, and even sustain herself during fights when she plays correctly. That mix of poke damage, zone control, and self-survivability gives her real carry potential in the right hands.
Domina rewards smart positioning more than reckless aggression. She performs best when she holds strong angles, denies key areas of the map, and slowly forces the enemy team into bad decisions. In this Domina hero guide, you will learn how her kit works, when to engage, how to position correctly, and how to get maximum value from her abilities in real matches.
Domina Abilities Overview
Understanding Domina’s full kit is key if you want to get real value out of her in Overwatch. She is built around controlled damage, smart ability timing, and strong positioning. Every part of her kit works together, so learning how her abilities connect will separate average Domina players from great ones.
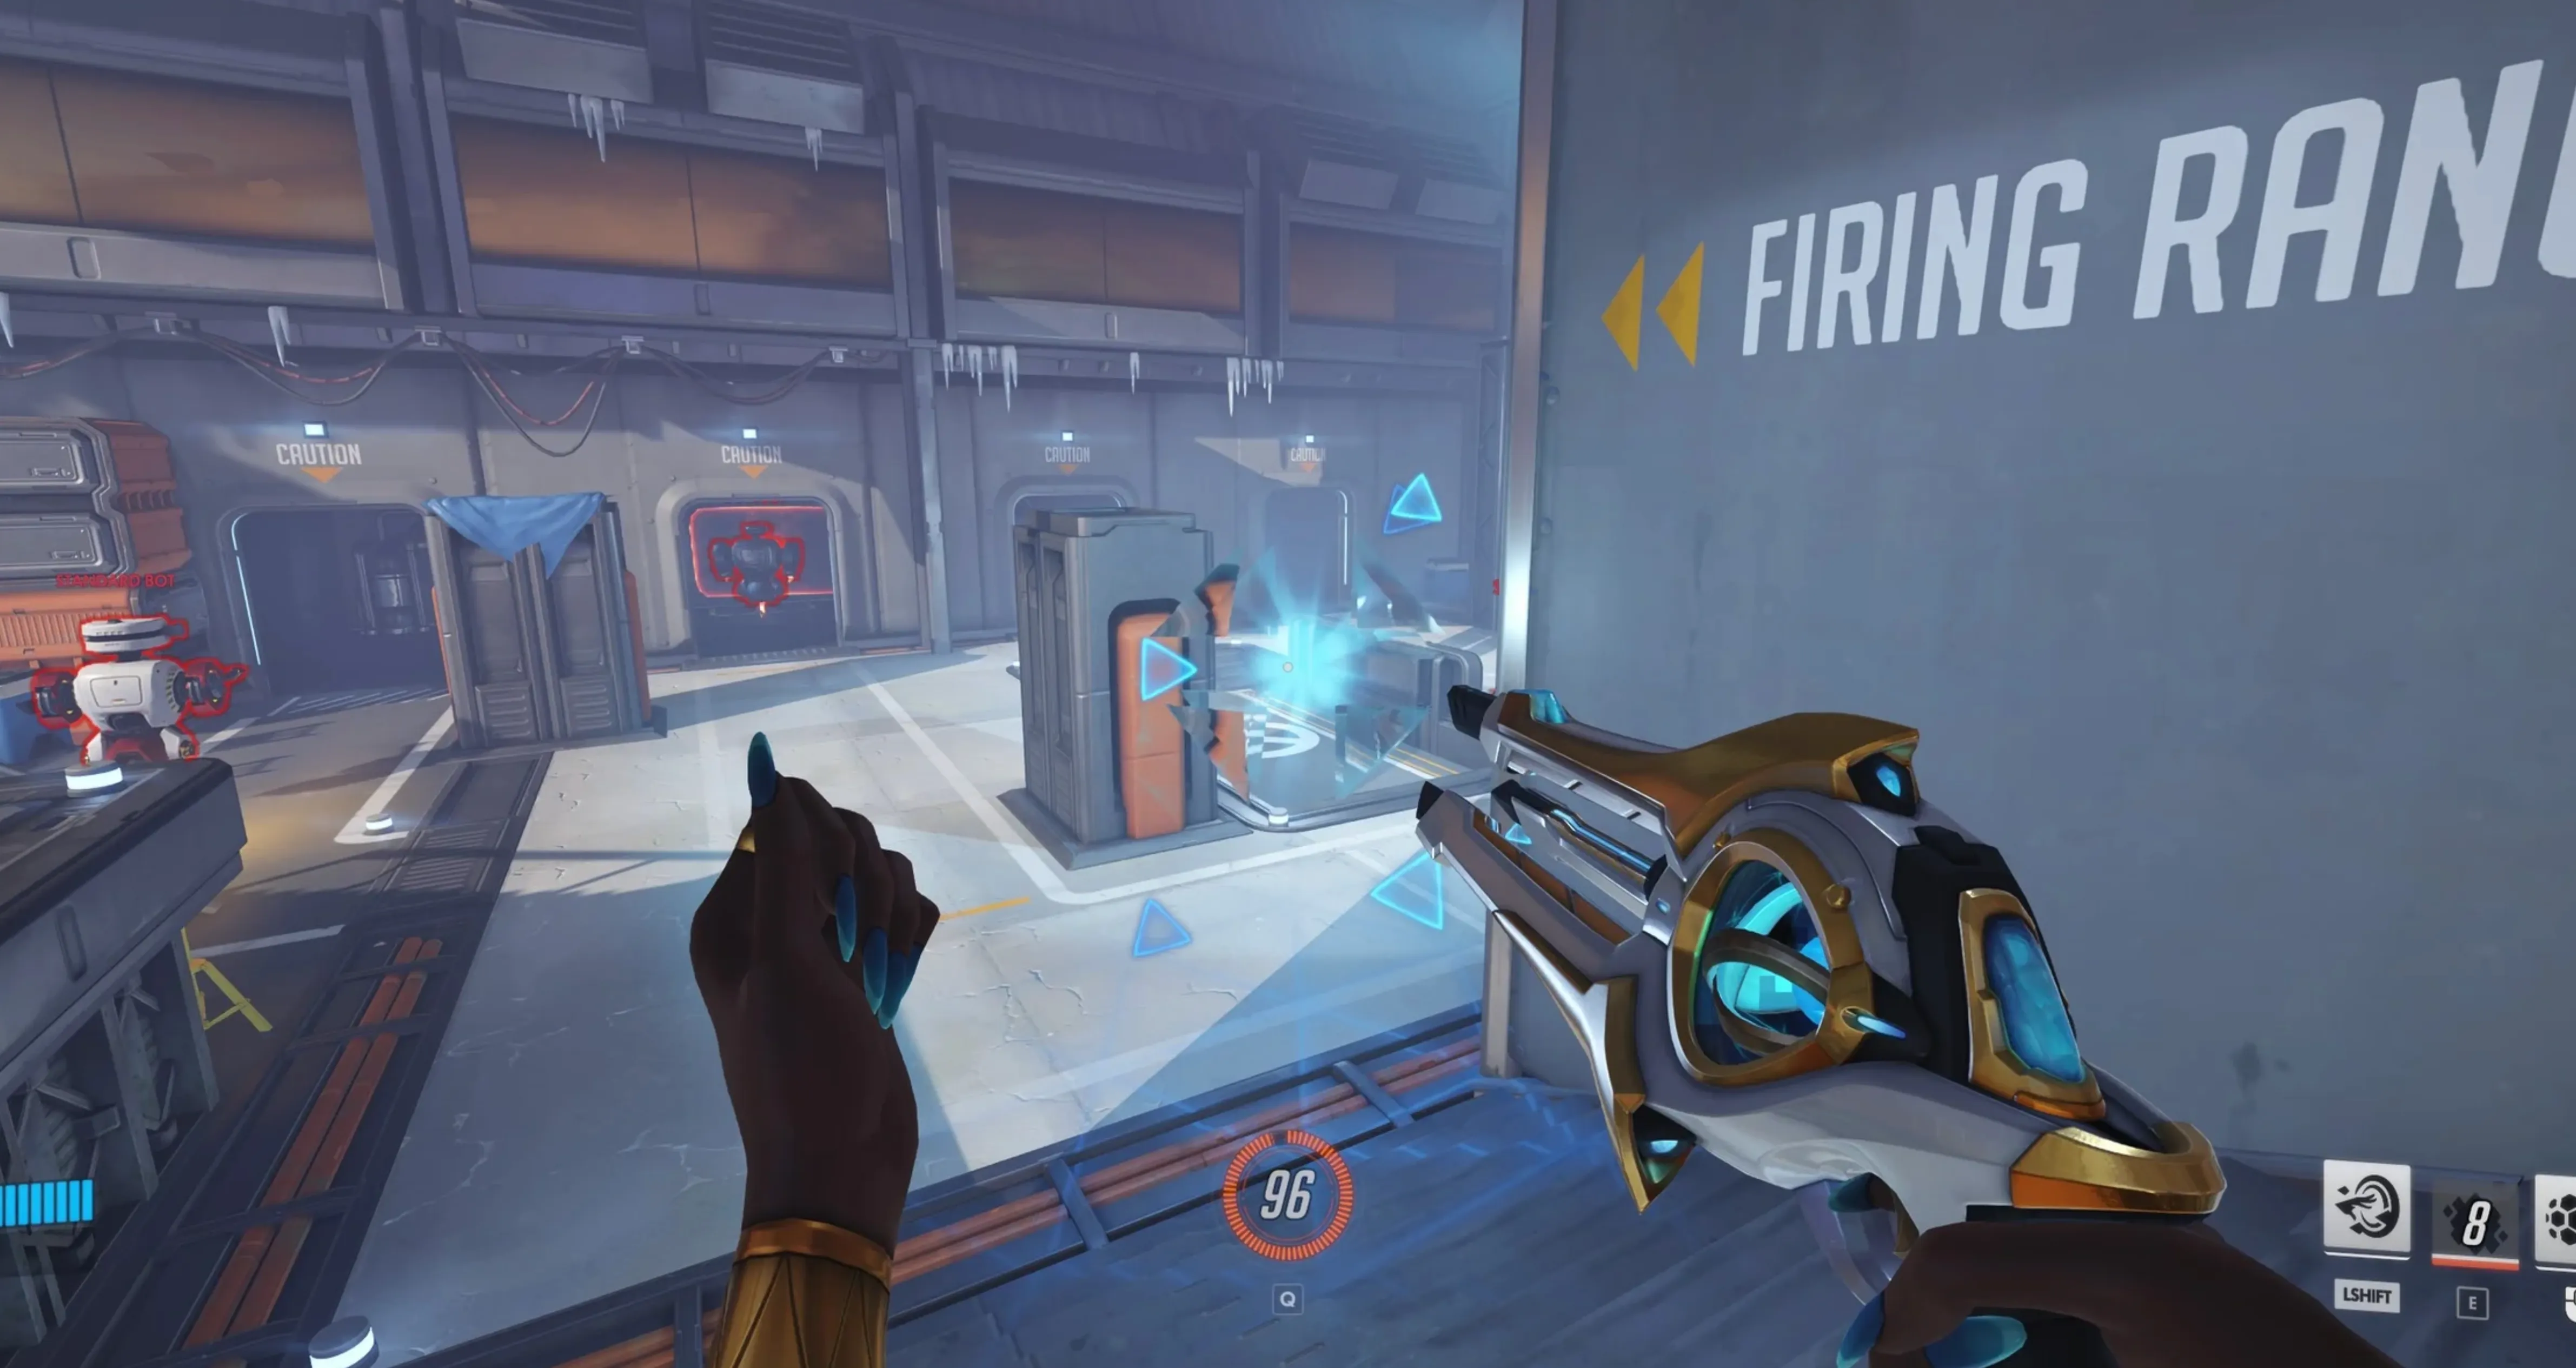
Photon Magnum
Domina’s main weapon is the Photon Magnum. It fires a consistent beam at mid range that can charge into a stronger burst shot. The longer you maintain accurate tracking, the more threatening you become. A fully powered shot can heavily pressure squishy targets or force tanks to back off. Good aim and patience matter here, especially when holding tight angles or contesting choke points.
Barrier Array
Barrier Array lets Domina place a segmented energy shield in front of her. Instead of one solid barrier, it is divided into sections that enemies can break piece by piece. This gives you flexibility. You can shift your position behind the remaining segments and continue applying pressure while opponents waste time shooting specific sections. It is best used to control space rather than to mindlessly block damage.
Crystal Charge
Crystal Charge launches an energy crystal that you can manually detonate. Offensively, it is great for forcing enemies out of cover or finishing low-health targets. Defensively, it can be placed between you and a diving enemy to slow their push. The key to mastering this ability is timing the detonation correctly. Early explosions can secure quick damage, while delayed detonations can zone off important areas.
Sonic Repulsors
Sonic Repulsors knock enemies backward and briefly stun them if they hit a wall. This is one of Domina’s strongest control tools. It can punish flankers who dive too deep, interrupt aggressive tanks, or set up easy follow-up damage. When combined with Crystal Charge or a charged Photon Magnum shot, it creates reliable burst windows.
Panopticon
Panopticon is Domina’s ultimate ability. She fires a hard-light projectile that traps enemies in place before exploding. It is extremely strong for starting team fights or punishing players who overextend. A well-timed ultimate can isolate key targets and give your team an immediate advantage.
Reconstruction
Reconstruction is Domina’s passive ability. Whenever her abilities deal damage, she regenerates part of her shields. This rewards active play. The more effectively you land abilities, the longer you can stay in fights. Managing cooldowns properly allows you to sustain yourself without relying entirely on your supports.
Domina’s kit revolves around control, damage pressure, and smart combos. When used together, her abilities allow her to dominate key areas of the map and force enemies into uncomfortable positions.
How To Play Domina in Overwatch
If you want to get the most value out of Domina in Overwatch, you need to understand that she is not a frontline brawler. She performs best at mid range, where she can control space and punish enemies who push too far forward. Playing too close removes her advantage and makes her much easier to focus down.
Domina’s ideal position is slightly behind your main tank or holding a strong off-angle near cover. From there, you can constantly pressure enemies with Photon Magnum. Focus on steady beam damage and look for chances to release a fully charged shot on squishy targets. Your goal is not to dive in, but to slowly force the enemy team to give up space.
Barrier Array should be used with intention. Instead of dropping it randomly, place it where fights are actually happening. Protect teammates holding important angles or shield players who are being pressured. Because the barrier is segmented, reposition yourself behind the intact sections as parts of it get destroyed. This allows you to extend fights and maintain control.
Crystal Charge becomes much stronger when paired with your other abilities. Launch it into areas where enemies are grouped, then detonate at the right moment to disrupt their positioning. It is especially effective around choke points and tight corridors where players have fewer escape options. You can also use it to slow down an enemy push and buy time for your team to regroup.
Sonic Repulsors are most effective near walls and corners. The knockback combined with a wall stun creates easy opportunities for follow-up damage. Use it to punish aggressive flankers, stop tanks from walking forward freely, or secure kills on low-health targets trying to escape. Good timing with this ability can completely shut down enemy momentum.
Panopticon should be activated when your team is ready to follow up. It works best as an initiation tool or when several enemies are grouped together. A well-placed ultimate can instantly shift control of a team fight. Avoid using it when your team is scattered or unable to capitalize on the lockdown.
To play Domina well, focus on positioning, ability timing, and controlled aggression. She rewards players who think ahead, manage cooldowns carefully, and understand when to apply pressure versus when to hold space.
How To Counter Domina in Overwatch
If you are struggling against Domina in Overwatch, the key is understanding what makes her strong. She thrives at mid range, controls space with her barrier, and punishes enemies who overextend. To counter her effectively, you need to deny her comfort zone and force her into bad positions.
First, close the distance. Domina is strongest when she has time and space to charge Photon Magnum shots and cycle her abilities. Dive heroes and fast flankers can pressure her before she sets up. Heroes with mobility can bypass her Barrier Array and attack from angles she cannot easily cover. Once she is forced into close-range fights, her ability to control space drops significantly.
Second, break her barrier quickly and coordinate focus fire. Barrier Array is segmented, so teams that concentrate damage on one section can open a clear path fast. Do not spread damage across multiple segments. Call out one side, destroy it, and push immediately before she repositions.
Third, avoid clumping together. Crystal Charge and Panopticon are much more dangerous against grouped targets. Spread out during neutral fights so she cannot get maximum value from area control abilities. When you see her preparing an ultimate, use mobility or defensive cooldowns to disengage instead of fighting inside it.
Fourth, pressure her cooldowns. Domina becomes much easier to deal with when Sonic Repulsors and Crystal Charge are unavailable. Bait out these abilities with light pressure, then engage once they are down. Without knockback or crowd control, she is far more vulnerable.
Finally, sustained poke from long range can also work. Hitscan or precision heroes can pressure her before she fully charges Photon Magnum. Since she relies on ability damage to restore shields through Reconstruction, denying her consistent ability value limits her survivability.
To beat Domina, stay coordinated, avoid predictable pushes, and attack from multiple angles. Force her out of mid-range control, collapse on her when cooldowns are used, and do not give her grouped targets to punish.
Conclusion
Domina is a control-focused tank who rewards smart positioning, calm decision-making, and strong ability timing. She is not built to rush into fights blindly. Instead, she dominates space from mid range, protects her team with layered barriers, and punishes enemies who step too far forward. When played correctly, she can slow the pace of a match and force opponents to fight on her terms.
To get real value out of Domina in Overwatch, focus on positioning first, cooldown management second, and ultimate timing third. Use Photon Magnum to apply steady pressure, place Barrier Array with intention, and look for wall stuns with Sonic Repulsors to secure picks. Her ultimate can swing entire team fights, but only when your team is ready to follow up.
If you understand when to hold space and when to push advantage, Domina becomes one of the most reliable frontline options in the game. Master her range, control engagements carefully, and you will consistently lead your team to stronger, cleaner fights.
Posted On: February 15th, 2026
Recent Articles


💬 Need help?
Our 1v9 support team is available 24/7 to help you with any questions or issues you may have.
support@1v9.gg
Loading...
1v9.gg is not endorsed or affiliated by any game developers or publishers.
2025 1v9, All Rights Reserved, Created By NightDev