


How To Add Friends In Overwatch 2: Complete Guide
Adding friends in Overwatch 2 is the first step to teaming up, coordinating strategies, and enjoying the game together. Blizzard makes the process easy with its built-in Battle.net system, which lets you connect with players across platforms. Whether you’re inviting someone you just met in a match or adding a longtime friend, knowing how to use the friend request feature ensures you never miss a chance to play together. In this complete guide, we’ll walk you through how to add and remove friends in Overwatch 2, making it simple to build your squad and stay connected.
How To Add Friends In Overwatch 2
To add friends in Overwatch 2, you’ll need to use Blizzard’s Battle.net system, which connects players across all platforms. Here’s a step-by-step guide:
1. Launch Overwatch 2 and sign in with your Battle.net account.
2. From the main menu, open the Social tab by pressing “O” on PC or selecting the Social icon on console.
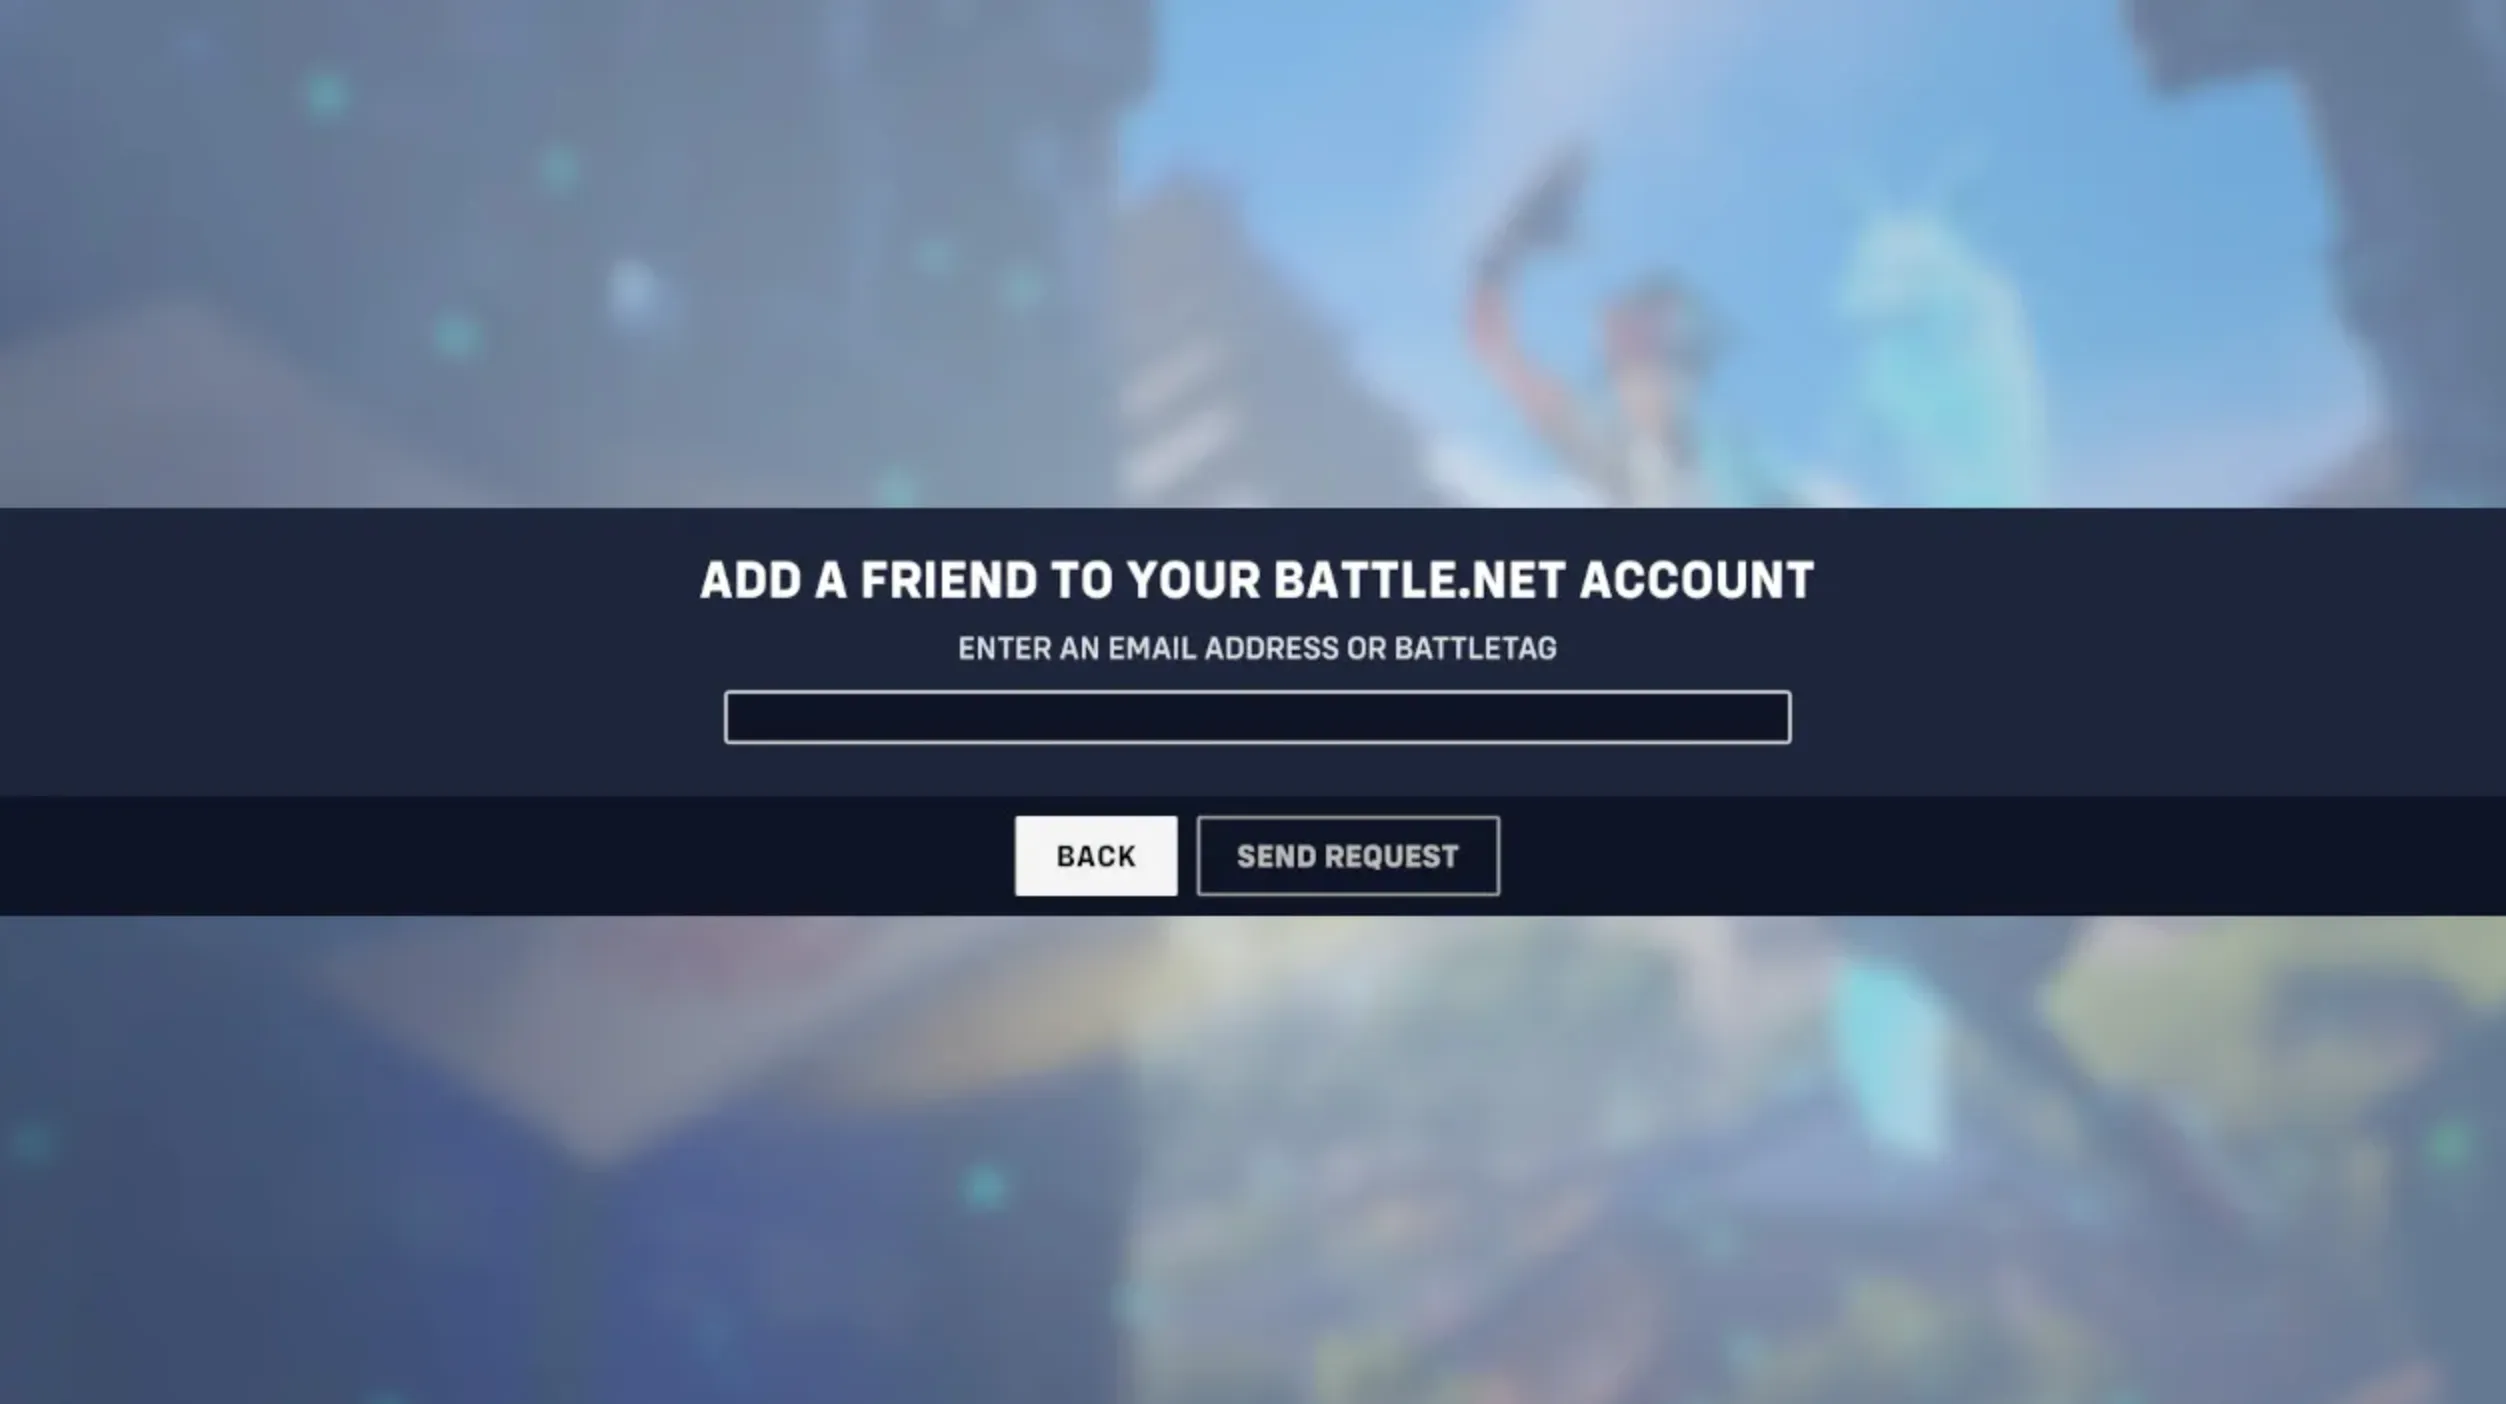
3. Click “Add a Friend” in the top-right corner.
4. Enter your friend’s BattleTag (name + #numbers), email address, or in-game name depending on the platform.
5. Press Send Request and wait for your friend to accept.
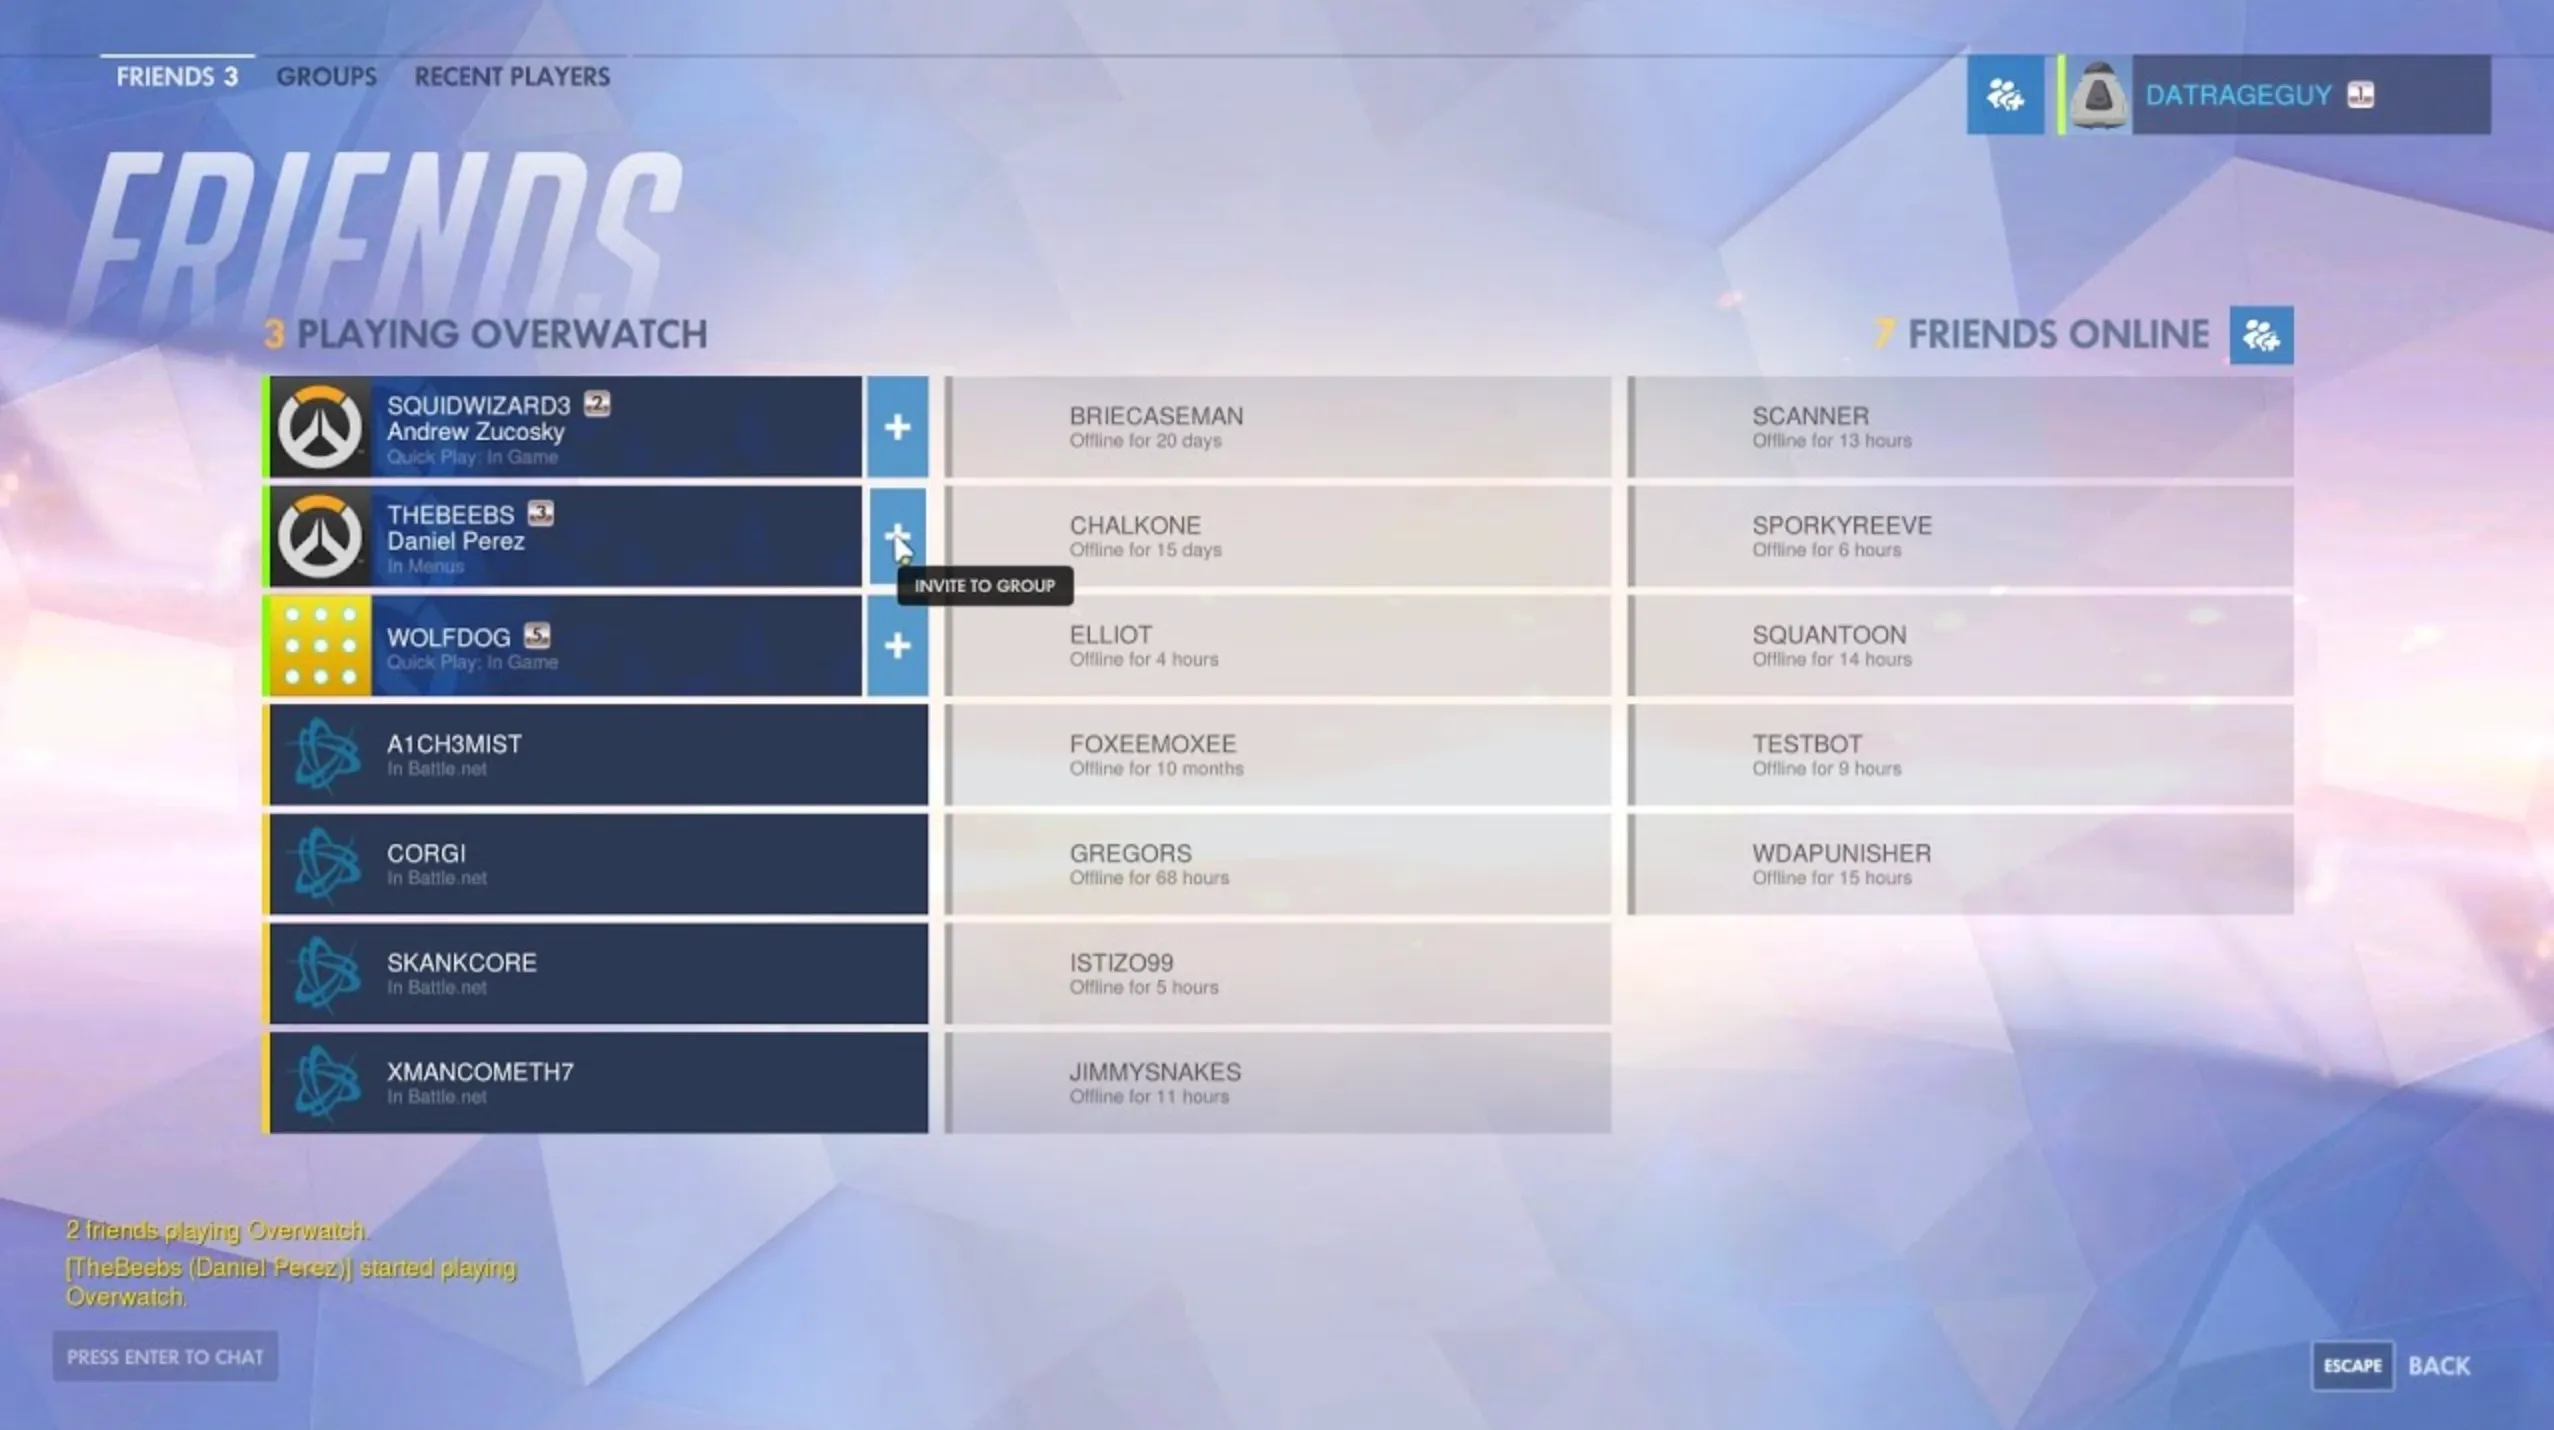
Once they accept, your friend will appear in your friends list, where you can see their online status, invite them to groups, or join their games directly. This system works seamlessly across PC, Xbox, PlayStation, and Nintendo Switch, making it easy to stay connected no matter where your friends play.
How To Remove Friends In Overwatch 2
To remove friends in Overwatch 2, you’ll need to manage your list through Blizzard’s Battle.net system. The process is quick and easy, and here’s how to do it step by step:
1. Open Overwatch 2 and go to the Social tab by pressing “O” on PC or selecting the Social icon on console.
2. In your friends list, find the friend you want to remove.
3. Right-click their name (or press the appropriate button on console) to open the options menu.
4. Select “Remove Friend” from the dropdown menu.
5. Confirm the action, and they will be permanently removed from your list.
Once removed, the player won’t receive a notification, but they will no longer see your online status or be able to send you group invites. If you change your mind later, you’ll need to send a new friend request using their BattleTag, email, or in-game name.
Conclusion
To wrap things up, adding and managing friends in Overwatch 2 is an important part of enjoying the game’s team-based experience. Whether you’re inviting new players to your list, grouping up with old teammates, or removing someone you no longer play with, the process is simple and streamlined through the in-game Social tab and Battle.net system. Mastering these steps ensures you can always team up with the right people, making every match smoother, more strategic, and a lot more fun.
Posted On: September 25th, 2025
Recent Articles


💬 Need help?
Our 1v9 support team is available 24/7 to help you with any questions or issues you may have.
support@1v9.gg
Loading...
1v9.gg is not endorsed or affiliated by any game developers or publishers.
2025 1v9, All Rights Reserved, Created By NightDev