

Bloodveld OSRS Guide: Locations, Drops & Slayer Tips
Bloodveld tasks in Old School RuneScape may not be flashy, but they’re among the most efficient and reliable ways to grind Slayer XP. These creatures are well-loved for their low defense, high hitpoints, and simple mechanics that make them perfect for both beginners and advanced players. You can find them scattered throughout Gielinor, in locations suited for all playstyles — from safe, AFK-friendly areas to cannonable zones that maximize XP rates.
In this guide, we’ll cover everything you need to know about Bloodvelds in OSRS — including the best locations to fight them, gear setups for maximum efficiency, Slayer tips for every combat style, and the most valuable drops they offer. Whether you’re doing your first assignment or optimizing your high-level Slayer runs, this Bloodveld guide will help you make every kill count and level up faster than ever.
Best Places to Kill Bloodvelds in OSRS
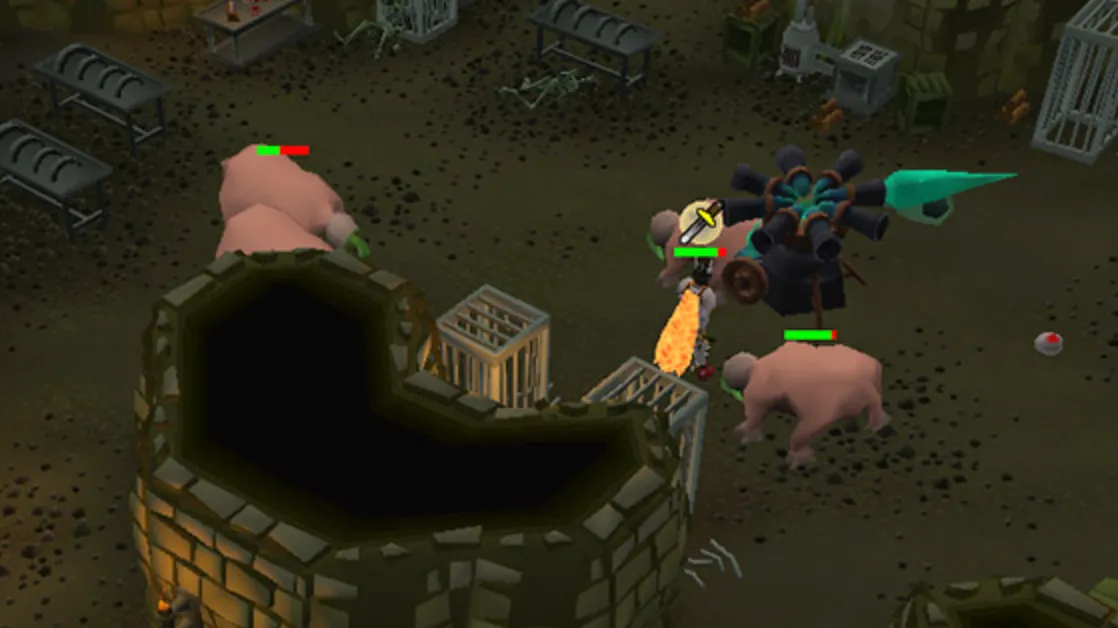
Bloodvelds can be found across multiple Slayer locations in OSRS, each offering unique advantages depending on your level, gear, and goals. If you’re chasing the fastest possible Slayer XP, Meiyerditch Laboratories is the top pick. It’s the only multi-combat zone where you can use a cannon against Bloodvelds, allowing XP rates of up to 90–95k per hour. However, access requires partial completion of Sins of the Father.
A close second is the Iorwerth Dungeon, unlocked after completing Song of the Elves. It’s also cannonable and offers great XP with quick banking access in Prifddinas, making it perfect for extended Slayer sessions without downtime.
For mid-level players, the Stronghold Slayer Cave is the best cannonable location that doesn’t require any quest completion. It’s simple, efficient, and offers solid XP for those still building their Slayer levels.
If you’re looking for a more relaxed or AFK-friendly option, head to the Catacombs of Kourend. This area lets you tag multiple Bloodvelds and rely on Protect from Melee while enjoying passive rewards like ancient shards and totem pieces, adding extra value to each task.
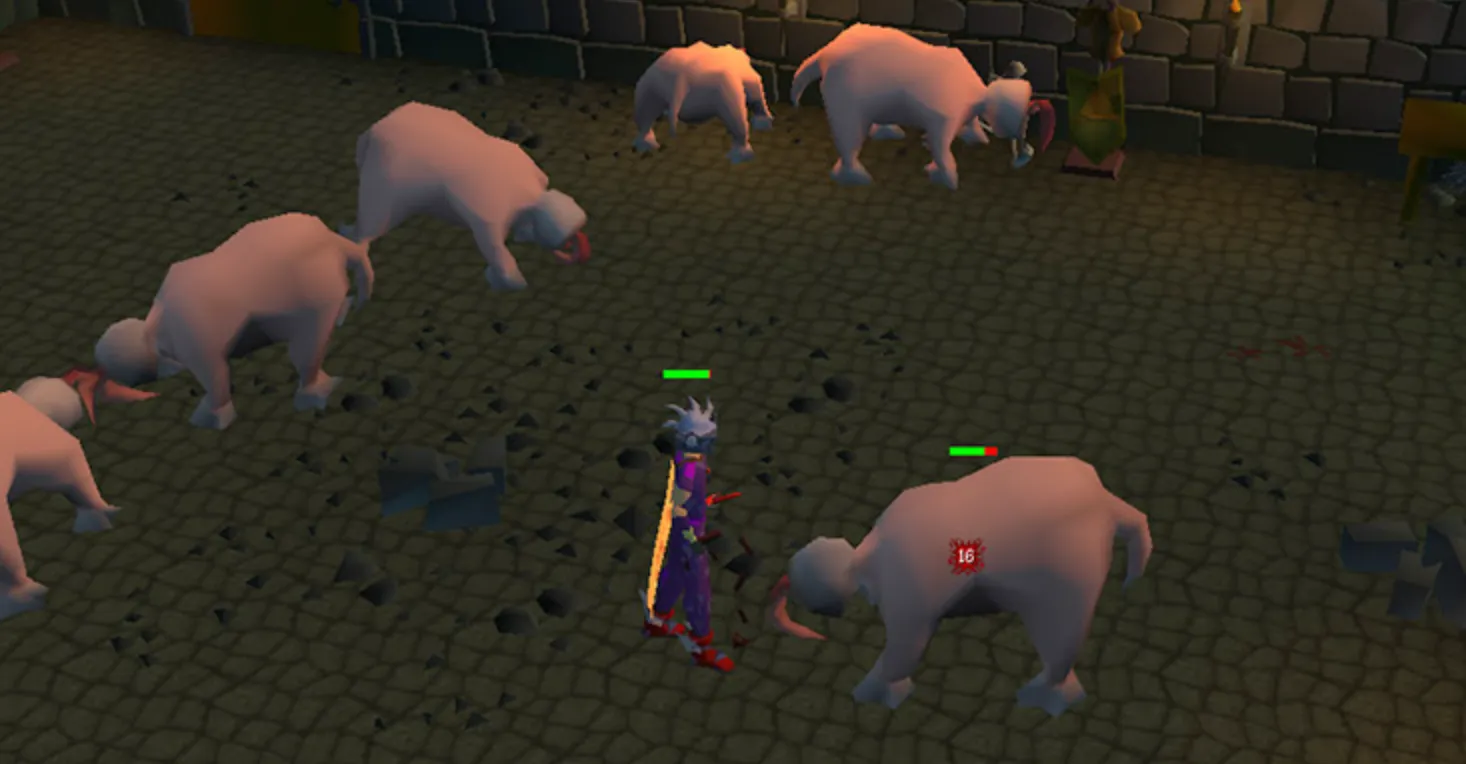
Finally, the Slayer Tower is ideal for early-game players or anyone without a cannon. You’ll find Bloodvelds on both the second floor and in the basement (the latter requires a Slayer task). It’s not the fastest XP, but the safespots and accessibility make it a dependable, low-effort choice for training.
Are Bloodvelds Worth Killing for Profit in OSRS?
While Bloodvelds aren’t known for massive money-making potential, they’re one of the most consistent and steady profit sources among mid-level Slayer monsters. Their common drops—such as fire runes, blood runes, coins, and various mithril or rune items—provide reliable income across every task. You’ll also collect plenty of bones for extra value if you choose to bank them or use them later for Prayer training.
Killing Bloodvelds in premium zones like the Catacombs of Kourend or Iorwerth Dungeon increases your profit thanks to valuable bonus drops. Catacombs Bloodvelds can drop ancient shards and dark totem pieces, while Iorwerth Dungeon variants may yield crystal shards. On average, players earn between 700 and 2,400 GP per kill, depending on location and Slayer Master bonuses.
Overall, Bloodvelds strike a great balance between profit and XP. They might not make you rich overnight, but their consistent loot and low effort make them a solid choice for sustainable Slayer training.
Best Gear and Inventory Setup for Bloodvelds in OSRS
Bloodvelds attack with a magic-based melee strike, which can confuse newer players, but it’s fully countered by Protect from Melee. This makes prayer the most effective defensive option for both active grinding and semi-AFK Slayer sessions. Keeping this prayer active means you can stay in combat indefinitely with little to no damage taken.
If you’d rather skip prayer or are running on a tight potion budget, prioritize gear with strong magic defense. Sets like Karil’s, blessed dragonhide, or Masori armor drastically reduce damage and are perfect for passive or prayer-free setups.
For combat styles, melee remains the most efficient way to kill Bloodvelds. Weapons like Osmumten’s Fang, Abyssal Whip, and Dragon Scimitar perform exceptionally well. Since Bloodvelds count as demons, Arclight offers the highest potential DPS, but most players prefer saving its charges for tougher demon tasks such as Abyssal or Greater Demons.
Ranged and Magic approaches also work great, particularly in areas with safespots like the Slayer Tower, Catacombs of Kourend, or Iorwerth Dungeon. These methods allow you to eliminate Bloodvelds from a distance with minimal risk—ideal for low-effort Slayer XP farming.
Recommended Inventory Setup:
• Prayer potions if using Protect from Melee
• Combat potion that matches your build (Super Strength, Super Attack, or Ranging Potion)
• Fire staff + Nature runes for High Alchemy on mithril/rune drops
• Herb sack for space-saving if you plan to loot herbs
• Dwarf cannon + cannonballs if using a cannon setup
• A few food items as backup, especially for multi-combat areas or riskier setups like Dharoks
Overall, keeping your setup simple and focused—high DPS, good sustain, and prayer efficiency—will make your Bloodveld tasks smooth, profitable, and highly efficient for Slayer XP.
Bloodveld Combat Strategy and Safe Spots in OSRS
Bloodvelds are simple but efficient Slayer monsters, and understanding their combat behavior lets you maximize both XP and profit with minimal risk. In Catacombs of Kourend, Bloodvelds spawn in large multi-combat zones, perfect for players using Protect from Melee. Here, you can tag multiple enemies at once for steady XP while staying completely safe. Ranged and magic users can use the pillars and walls around the area as reliable safespots, making this one of the best semi-AFK Slayer methods in the game. You’ll also gain bonus rewards like ancient shards and dark totem pieces while you grind.
The Iorwerth Dungeon is another excellent location thanks to its bank proximity and cannon support. Bloodvelds here are tightly packed, and you can create safespots near the crystal formations close to the entrance. This layout makes it perfect for a hybrid strategy — you can go fully active with a cannon for maximum XP or take a more relaxed approach using safespots and ranged attacks.
For players chasing the fastest XP rates, Meiyerditch Laboratories remains the best option. Place your cannon in the multi-combat chamber and take cover behind the long wooden table at the back of the room. This setup allows for uninterrupted cannon fire and rapid XP gains of up to 95,000 Slayer XP per hour. Keep in mind, though, that you’ll need partial completion of the Sins of the Father quest to access this area.
Lastly, the Slayer Tower provides a safe and accessible choice for early- and mid-level players. You can find Bloodvelds on both the second floor and in the basement (task-only). Use the furniture, chairs, or bookshelves as safespots to safely attack without taking damage. While XP rates are slower than in cannonable zones, this location offers a calm, low-effort experience perfect for beginners or those training on a budget.
Conclusion
Bloodvelds may not be the flashiest Slayer monsters in Old School RuneScape, but they’re easily among the most consistent and rewarding to train on. With multiple great locations suited to every playstyle — from high-intensity cannon setups in Meiyerditch Labs to relaxed, AFK-friendly grinding in the Catacombs of Kourend — they provide excellent Slayer XP for players of all levels. Their predictable attack patterns, solid drop table, and flexible combat options make them a reliable choice for anyone looking to progress efficiently. Whether you’re farming XP, gathering totem pieces, or simply stacking GP over time, Bloodvelds remain one of the best-balanced Slayer tasks in OSRS.
Posted On: November 5th, 2025
Recent Articles


💬 Need help?
Our 1v9 support team is available 24/7 to help you with any questions or issues you may have.
support@1v9.gg
Loading...
1v9.gg is not endorsed or affiliated by any game developers or publishers.
2025 1v9, All Rights Reserved, Created By NightDev