

FragPunk Maps Ranked: Every Map in Season 6
FragPunk has 10 verified Shard Clash maps in Season 6 Chapter 1, and Tundra is our strongest all-around competitive layout. Black Market and Dongtian follow closely, while the rest of the game’s named environments belong to Deathmatch, Outbreak, Duel Master, Toy Front Line, training, or rotating Arcade modes.
How this FragPunk map ranking works
“Ranked” in the headline means our editorial ordering. It does not mean every map appears in the Ranked queue. We rank only the 10 Shard Clash layouts, using competitive readability, attack and defense options, rotation paths, site design, choke quality, weapon-range variety, solo-queue accessibility, and how Shard Cards can alter the map. No win-rate or side-balance figures are used because comparable first-party data is not available.
Tundra
Black Market
Itzamna
Caesarea
FragPunk Shard Clash maps ranked
| Rank | Map | Best quality | Best weapon ranges | Main limitation |
|---|---|---|---|---|
| 1 | Tundra | Clear lanes with meaningful mid and portal control | Close to medium, with selected long angles | Teams can overcommit to the obvious central fight |
| 2 | Black Market | Dense, readable pressure routes and fast rotations | Close to medium | Utility and sudden Shard effects can crowd tight spaces |
| 3 | Dongtian | Flexible site approaches and purposeful cover | Medium | B Short and A-site cover changes punish stale lineups |
| 4 | Outpost | Intuitive macro and sensible space for team utility | Medium to long | Predictable early routes can make defaulting repetitive |
| 5 | Itzamna | Route-changing devices create real round-to-round choices | Mixed | Coordination matters more than on straightforward maps |
| 6 | Naos | Structured long-lane control and familiar site reads | Medium to long | A Long and A-site cover were changed, so old peeks age badly |
| 7 | Akhet | Strong angle-clearing tests and utility value | Medium to long | Open approaches can be unforgiving for solo entries |
| 8 | Yggdrasil | Layered routes reward planned crossfires | Mixed | Vertical information is harder to communicate in solo queue |
| 9 | Tulix | Distinct spaces and less-solved attack patterns | Close to medium | Newer-map knowledge gaps make random teams inconsistent |
| 10 | Caesarea | Fresh volcanic-city setting and unusual sightline breaks | Mixed | High visual complexity and limited shared route knowledge |
Why every Shard Clash map is placed here
Tundra
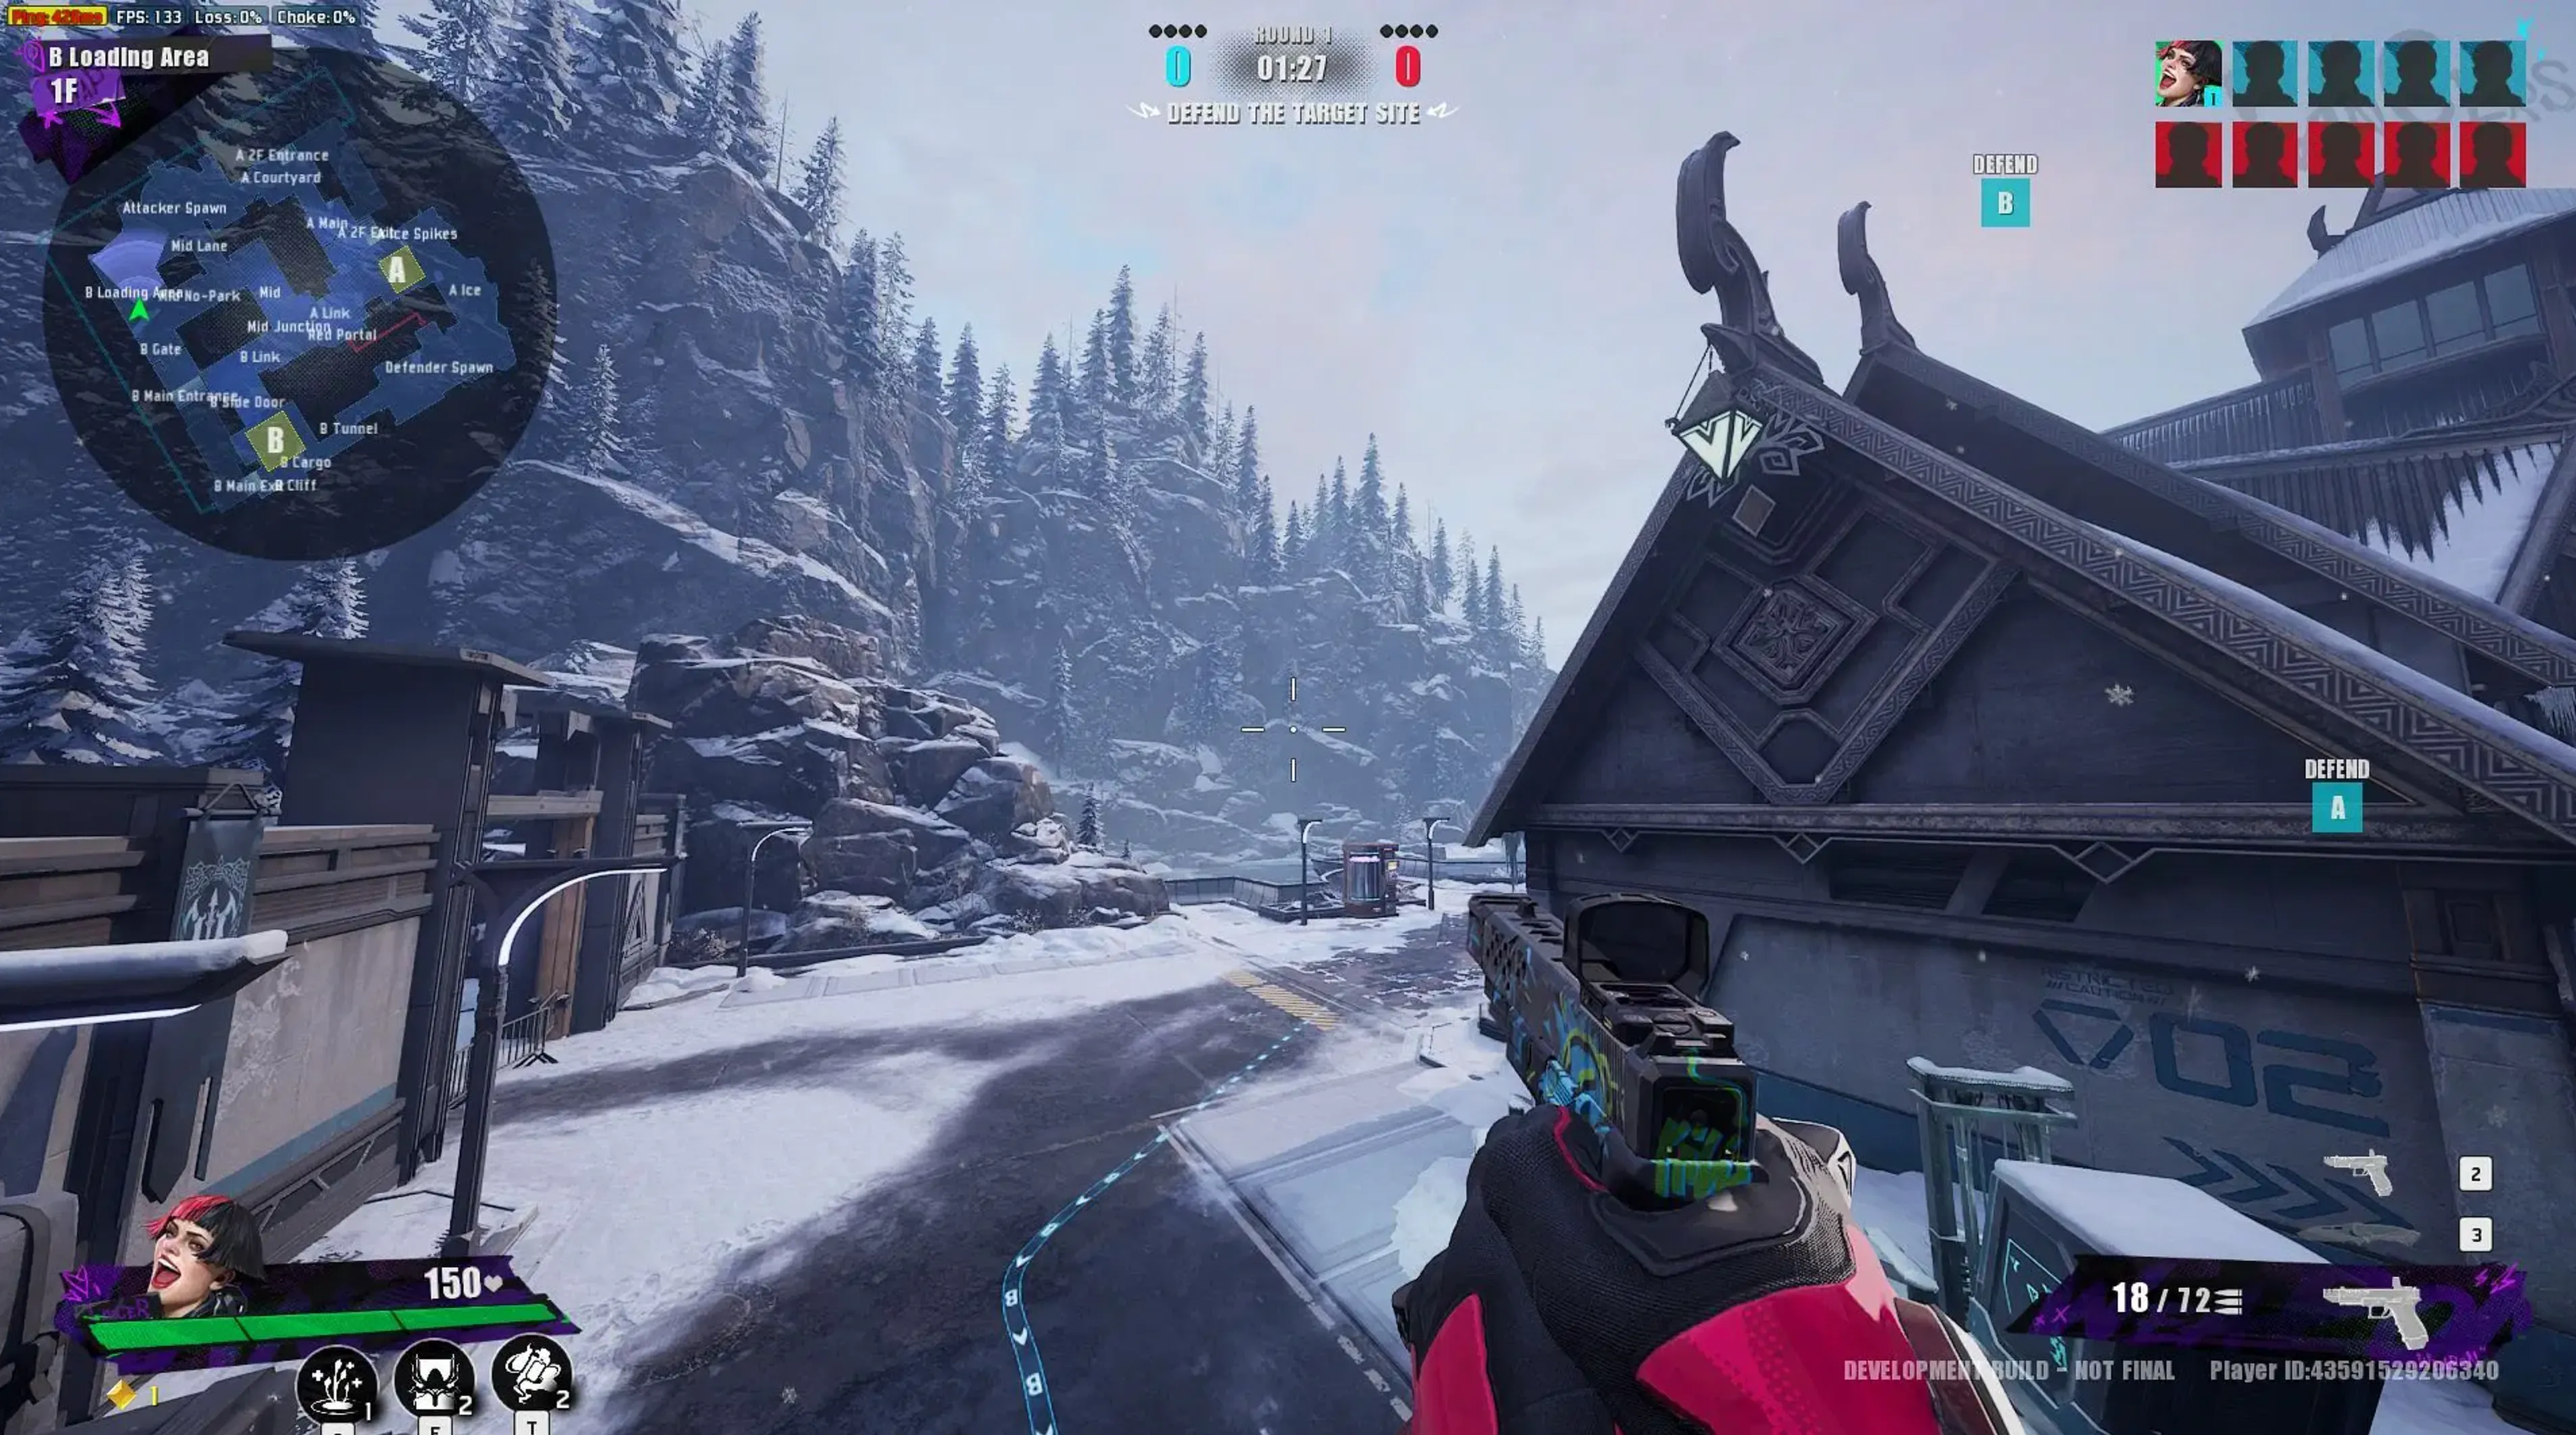
Tundra sits first because teams can build understandable plans around mid control, site entries, and portal pressure without every round collapsing into one choke. Its weak point is temptation: when both teams obsess over central control, a simple side hit can gain more ground than the loud fight.
Black Market
Black Market supports decisive close-quarters clears while preserving alternate routes for fakes. That makes it readable for solo players and expressive for coordinated teams. Cards that add deployables or area hazards can make the compact spaces messy, so teams need an exit plan after the Converter goes down.

Dongtian
Dongtian rewards patient cover-to-cover pressure. Official updates changed A-site cover and the height of cover at B Short, so old crosshair placements and setup videos need to be rechecked. Its versatility earns third place; the map rarely forces only one viable gun range.
Outpost
Outpost is easy to call and gives utility-oriented Lancers room to contribute. It falls behind the top three because early patterns can become predictable. Vary pace, show pressure on one lane, and save a movement or vision tool for the late pivot.
Itzamna
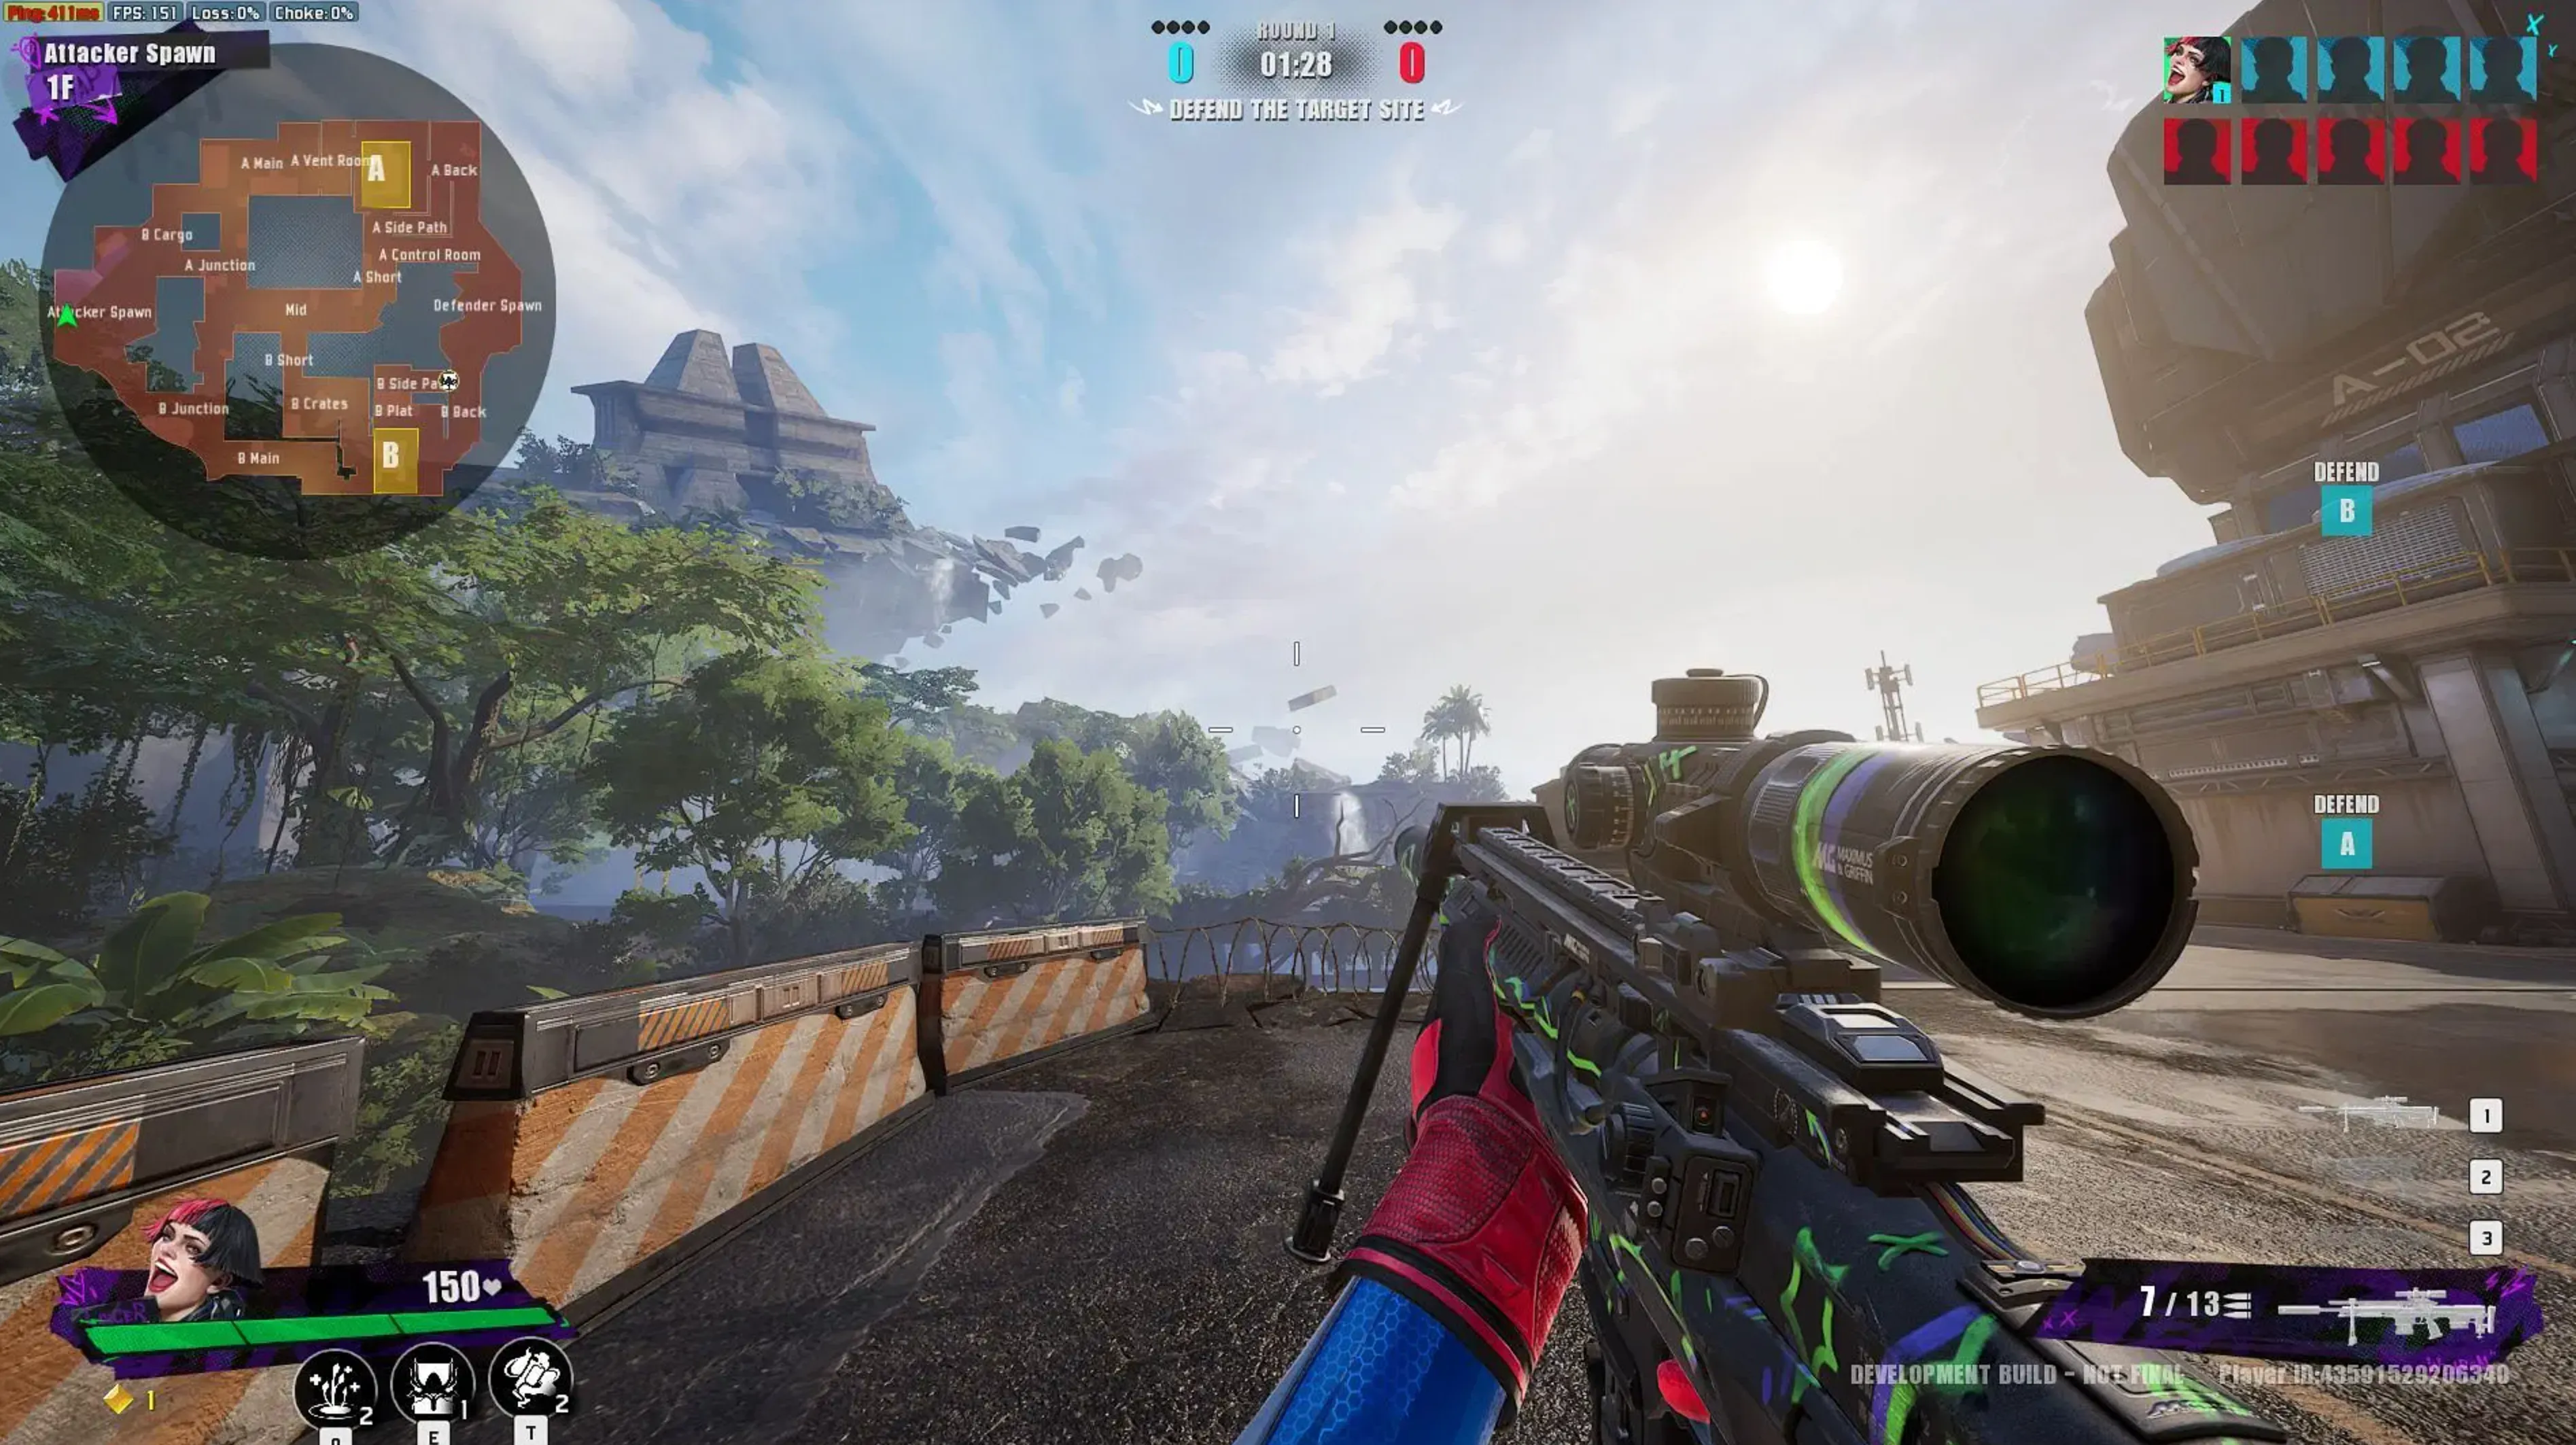
FragPunk describes Itzamna as a sky harbor where devices create different offensive routes. That is real strategic depth, but it also raises the coordination tax: a route is only useful when teammates understand which space it opens and when to move.
Naos
Naos offers clean long-lane fundamentals, but repeated cover changes around A Long and A Site make outdated guides especially risky. Use map training to refresh clearing order instead of trusting an old lineup blindly.
Akhet
Akhet gives rifles and marksman weapons useful space, and organized utility can isolate its angles. Solo entries are less forgiving. A team that spends all its vision and denial on the first contact can have nothing left for the plant.

Yggdrasil
Yggdrasil becomes stronger with clear height callouts and planned crossfires. It ranks lower for the average queue because players often hear an accurate enemy call but still do not know whether the threat is above, below, or rotating behind them.
Tulix
Tulix arrived in Season 3 Chapter 2, so its routes are less universally understood than launch maps. That can create creative attacks, but it also makes solo defaults fragile. Specialists may rank it higher once their team has reliable site and rotation calls.
Caesarea
Caesarea is the newest Shard Clash map in this verified roster, added in Season 4 Chapter 1. Its volcanic, dust-filled city has a strong identity, but the map asks more visual parsing and team communication from players still learning it. Tenth does not mean unusable; it means less consistently readable for the broad Ranked audience.
Complete FragPunk map directory
The directory below lists 27 verified named environments exactly once. A map may support several modes, so the category shows its primary or originally announced use. Rotating playlists can temporarily hide a map without removing it from the game.
| Category | Maps | Verified use | Status note |
|---|---|---|---|
| Shard Clash (10) | Naos, Outpost, Tundra, Yggdrasil, Akhet, Black Market, Dongtian, Itzamna, Tulix, Caesarea | Standard/Ranked Shard Clash and supported custom modes | Current master pool; playlist rules can filter maps |
| Deathmatch and Arcade (8) | Garden, Tzab, Yord, Core, Kepler Station: Aesir, Toyland, Cyber Dome, Suburbia | Team Deathmatch, Free-for-All, Glunite Grab, Hot Zone, Prop Hunt, or custom Deathmatch | Queue availability rotates; Toyland also supports training and selected Arcade rules |
| Outbreak (4) | Defiled, Ghost Town, Xibalba, Apeph | Outbreak | PvE/asymmetric-mode environments, not Shard Clash maps |
| Duel Master (1) | Arena | Duel Master | Dedicated duel space |
| Toy Front Line (3) | Collège Alpin, Acme Underpass, Art Town | Toy Front Line Endless Mode | Co-op stages; not PvP Shard Clash maps |
| Training (1) | Training Base | Weapon, movement, and Lancer practice | Utility location |
Map eligibility changes with the mode
Shard Clash, Deathmatch, Outbreak, and Arcade do not share one universal map pool. The original launch structure already separated seven Shard Clash maps from Garden, Tzab, Yord, and Core, while later updates added maps such as Itzamna, Xibalba, Toyland, Tulix, Cyber Dome, Suburbia, and Caesarea to different categories.
That is why our FragPunk game-modes guide is the better place to compare scoring and queue rules. For the main tactical queue, see the Converter plant and defuse guide.
How to learn a FragPunk map efficiently
- Learn the stable geometry first. Identify site entrances, the safest rotation, and one fallback angle before studying card-specific tricks.
- Track the active Shard Cards. A door, portal, route, or cover plan can change after rule-making. Treat the card reveal as part of the map briefing.
- Match range to route. Don’t carry a long-range weapon into a forced close clear simply because it worked on the previous map.
- Use simple solo-queue calls. Name the site, route, and height. Add the card effect only when it changes the plan.
- Review current cover. Official updates have changed specific positions on Tundra, Dongtian, and Naos.
New to the wider system? Start with the FragPunk beginner guide, then choose from the best Ranked Lancers. Shard Cards can overturn a rehearsed setup, so use the Shard Card tier list as a decision aid, not a fixed map script.
FragPunk maps FAQ
How many Shard Clash maps are in FragPunk?
Ten are verified through Season 6 Chapter 1: Naos, Outpost, Tundra, Yggdrasil, Akhet, Black Market, Dongtian, Itzamna, Tulix, and Caesarea.
Are all FragPunk maps in Ranked?
No. Ranked Shard Clash uses Shard Clash layouts. Deathmatch, Outbreak, Duel Master, Toy Front Line, and training have their own environments.
What is the newest Shard Clash map?
Caesarea, added with Season 4 Chapter 1 in January 2026. Season 6 Chapter 1 did not announce another Shard Clash map.
Can Shard Cards change the map?
Yes. Some cards modify routes, doors, portals, cover, visibility, or traversal. The underlying layout remains recognizable, but the correct round plan can change after the card vote.
Is the ranking based on win rates?
No. It is an editorial assessment of competitive clarity and practical consistency. FragPunk does not publish the complete comparable map statistics needed for a defensible numerical ranking.
Sources and update log
Primary references: the official Season 6 Chapter 1 notes, global launch map list, and the official releases for Itzamna, Tulix and Cyber Dome, and Caesarea.
- expanded the outdated six-map article into a 10-map Shard Clash ranking and 27-environment directory; added Season 6 status and mode eligibility.
Posted On: April 4th, 2025
Recent Articles


Our 1v9 support team is available 24/7 to help you with any questions or issues you may have.
support@1v9.gg


-a6d5b3e156bb.webp)




Loading...
1v9.gg is not endorsed or affiliated by any game developers or publishers.
2026 1v9, All Rights Reserved, Created By Ritesh (riteshsahoo.com)