

Rainbow Six Siege: Osa Operator Guide
Osa is one of the most unique and strategic attackers in Rainbow Six Siege, known for her innovative use of transparent shields that completely change how gunfights are approached. As a member of Nighthaven, she brings a tactical edge to any attacking team, using her gadgets to create safe sightlines and control key areas of the map. Whether you’re pushing into a bomb site or holding an angle, Osa’s ability to deploy bulletproof cover on the move allows her to adapt to almost any situation. This guide will cover everything you need to know about Osa — from her abilities and loadout to the best ways to use her effectively in every Rainbow Six Siege match.
Osa Ability Overview In Rainbow Six Siege
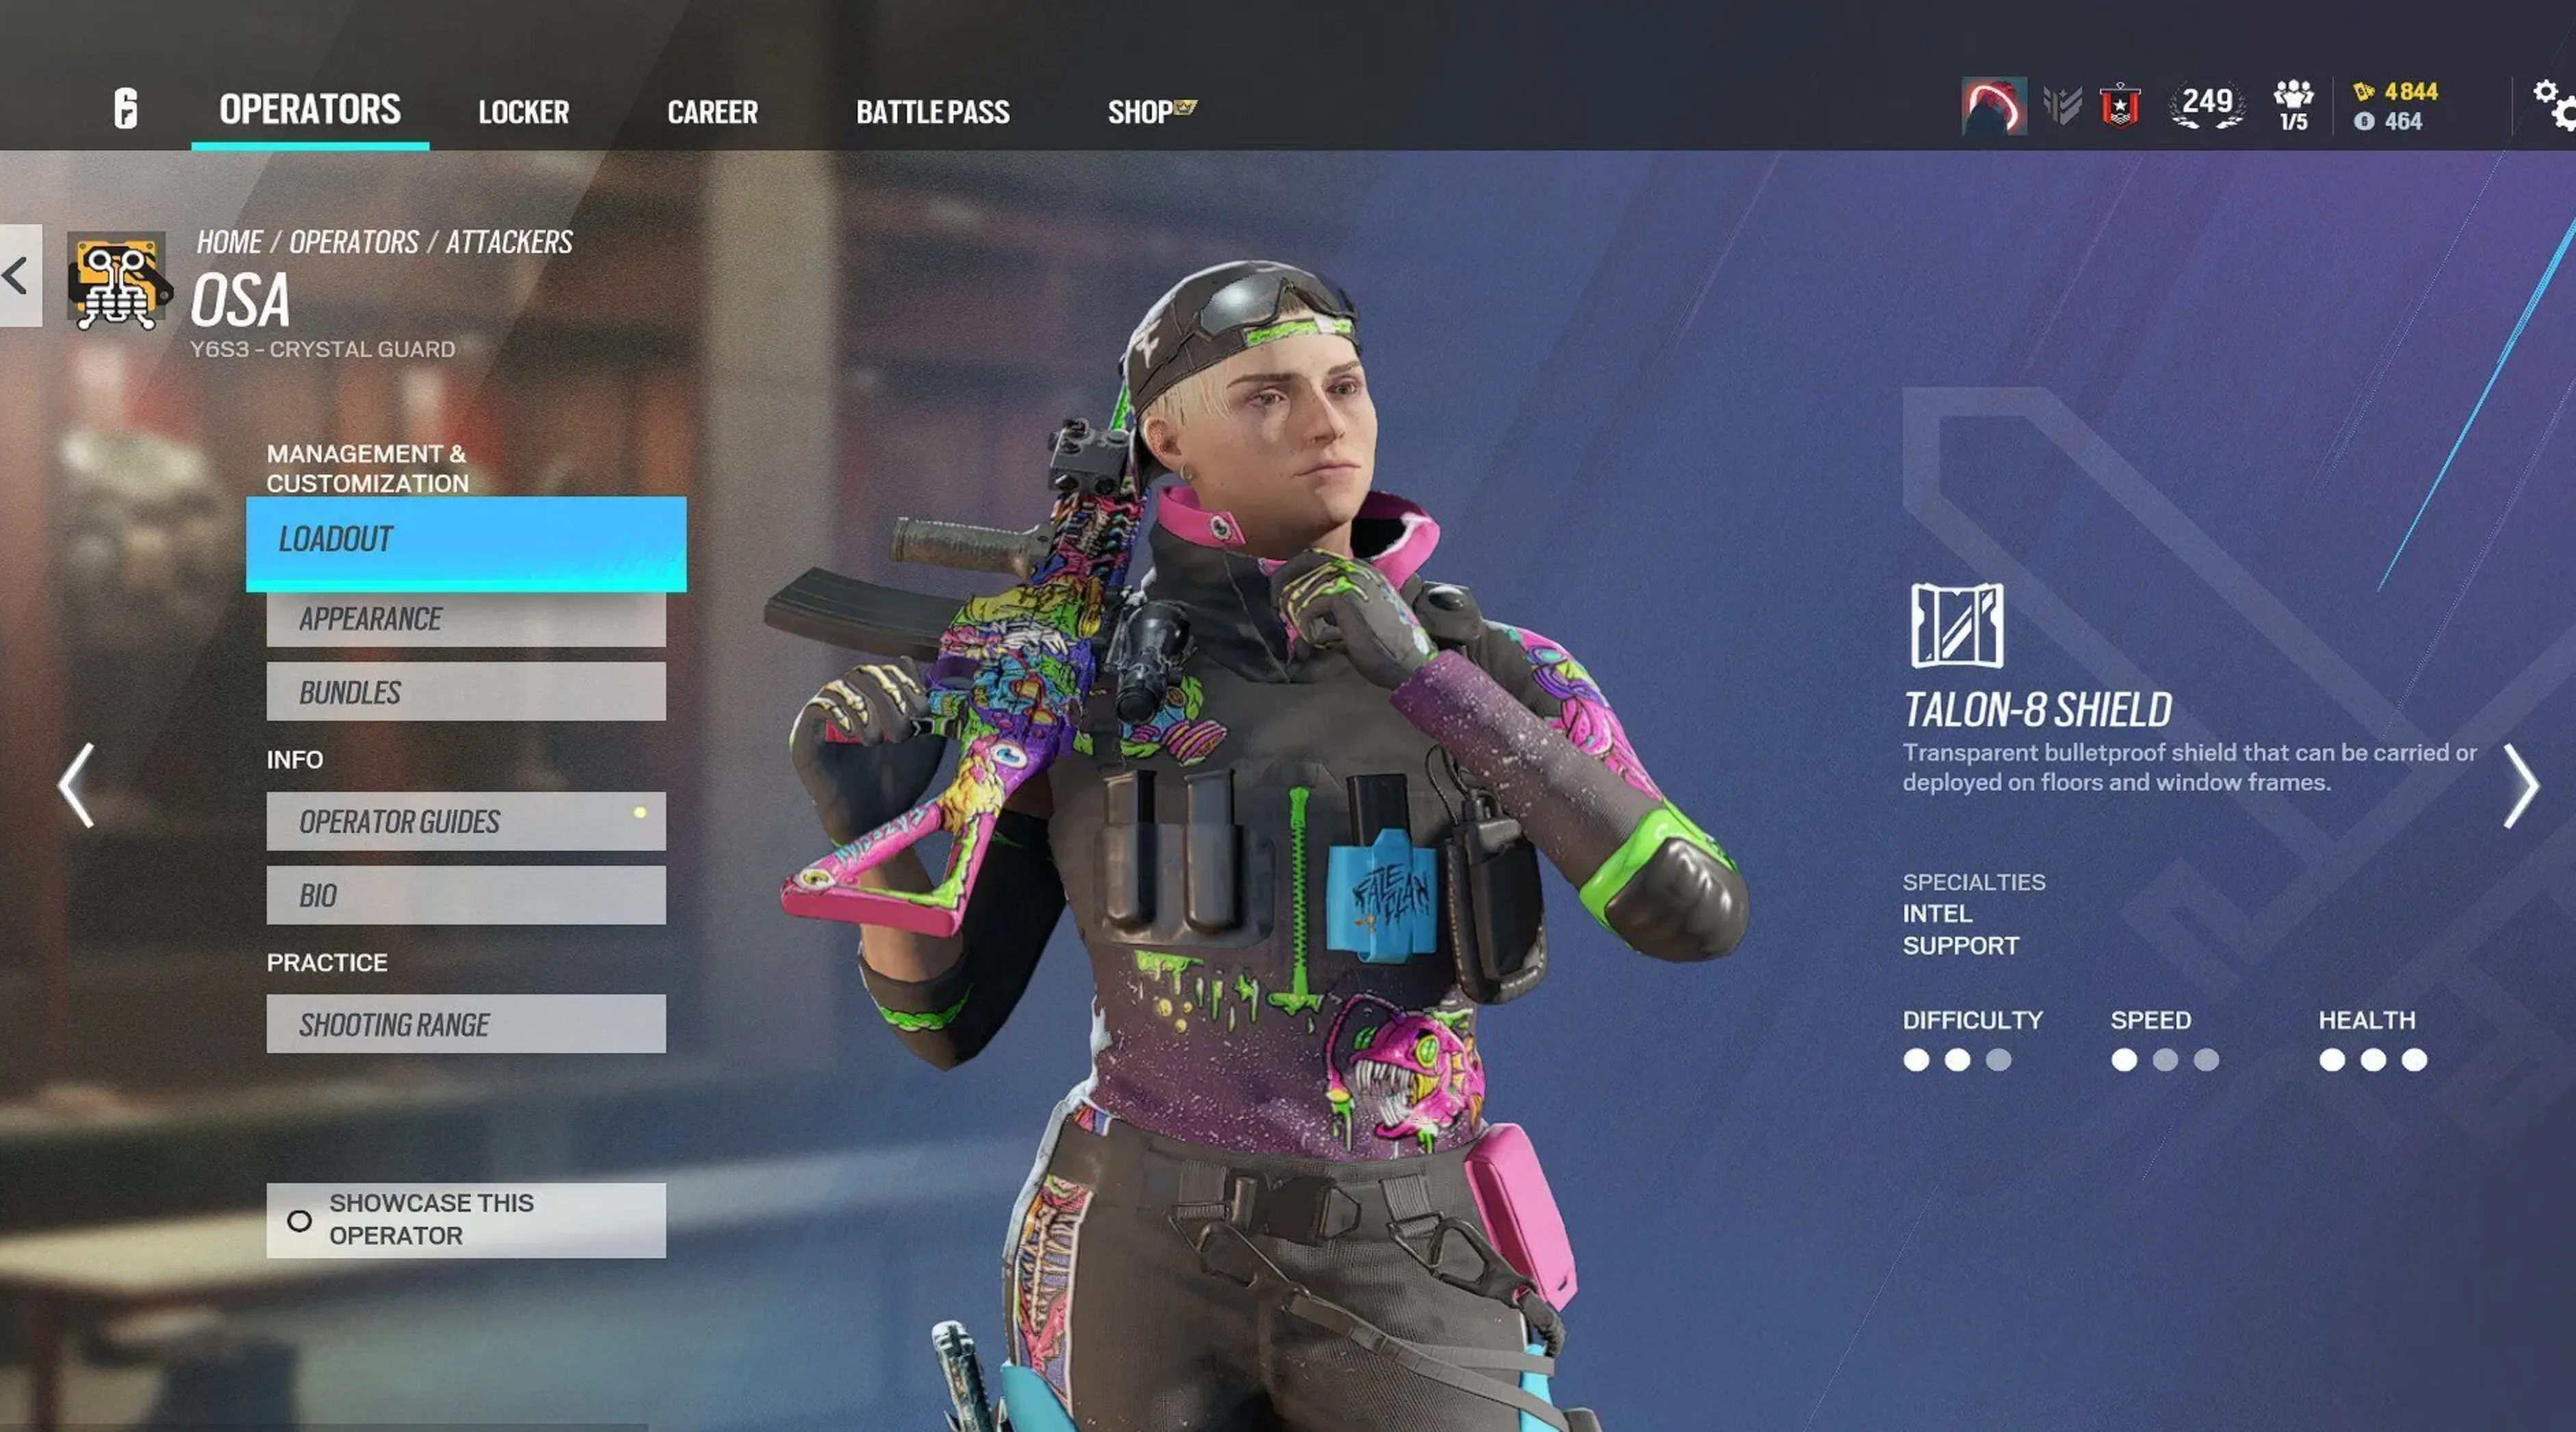
Osa’s signature gadget is the Talon-8 Clear Shield, a transparent, bulletproof barrier that she can deploy on the ground or in window frames to gain protection while maintaining visibility. What makes her shield so powerful is its flexibility — it can be used both offensively and defensively. Players can carry up to two shields at a time and choose to deploy them standing or crouched, depending on the situation. When placed on windows or doorways, the Talon-8 allows attackers to safely hold angles or peek into rooms without exposing themselves.
However, the Talon-8 isn’t invincible. Enemies can destroy it by shooting the small gas canister at the base, which causes the glass to shatter and renders it useless. Osa can also choose to manually remove and reposition the shield if needed. When used strategically, her gadget can completely change the flow of a round — giving attackers vision, cover, and control over critical choke points.
Best Osa Loadout In Rainbow Six Siege
Osa’s loadout is built for versatility, giving players options for both close-quarters and long-range engagements. Her primary weapons include the 556XI assault rifle and the PDW9 submachine gun. The 556XI is ideal for precise, mid-range fights thanks to its solid damage and controllable recoil, making it a favorite among players who prefer to hold angles behind her shields. On the other hand, the PDW9 offers a massive magazine size and great mobility, perfect for more aggressive pushes or close-range combat.
For her secondary weapon, Osa carries the PMM pistol, which packs high stopping power and serves as a reliable backup in tight situations. When it comes to gadgets, she can equip either smoke grenades or a claymore. Smoke grenades are excellent for covering shield placements or cutting off defender sightlines, while claymores help prevent flank attacks. Altogether, Osa’s weapon and gadget setup complements her tactical playstyle, letting her adapt to any situation on attack.
How To Play Osa in Rainbow Six Siege
Playing Osa effectively in Rainbow Six Siege is all about smart positioning, patience, and teamwork. Her Talon-8 Clear Shields are best used to create safe lines of sight for your team while denying defenders the ability to peek freely. At the start of a round, use your drone to identify key choke points or objectives where you can deploy your shields for maximum control — windows overlooking bomb sites or long hallways work especially well. Once deployed, Osa can safely hold angles or provide overwatch for teammates planting the defuser.
It’s important to remember that her shields are not indestructible, so always be aware of C4, impact grenades, or melee hits that can destroy them. Pairing Osa with operators like Thatcher, Thermite, or Glaz can amplify her effectiveness by helping clear utility and provide long-range cover through her transparent shields. When moving through the map, consider carrying a shield in hand for temporary cover, especially when entering open spaces. Whether you’re setting up for a coordinated push or defending a planted defuser, Osa shines when used methodically — turning open sightlines into strongholds that favor the attackers.
Conclusion
Osa is one of the most tactical and flexible operators in Rainbow Six Siege, offering attackers a perfect blend of protection, visibility, and map control. Her Talon-8 Clear Shields can completely shift the momentum of a round when used intelligently, giving teams the advantage in both coordinated pushes and defensive holds. Mastering Osa means learning when and where to deploy her shields, how to combine them with other operators, and staying aware of her vulnerabilities. With good positioning and teamwork, Osa can easily turn tight angles and dangerous hallways into safe zones for her squad, making her a must-learn operator for strategic players.
Posted On: October 26th, 2025
Recent Articles


💬 Need help?
Our 1v9 support team is available 24/7 to help you with any questions or issues you may have.
support@1v9.gg
Loading...
1v9.gg is not endorsed or affiliated by any game developers or publishers.
2025 1v9, All Rights Reserved, Created By NightDev