


Overwatch 2: Moira Guide
Released on October 4, 2022, Overwatch 2 introduced significant changes to its iconic hero shooter gameplay, including a shift from 6v6 to 5v5 matches. Despite these changes, the game retains its core mechanics, with players choosing from Tank, DPS, and Support roles to lead their teams to victory.
While the Support and Tank roles have a smaller roster compared to Damage heroes, the importance of Support heroes cannot be overstated. They serve as the backbone of any team, ensuring everyone stays in fighting shape. Among the standout Support heroes is Moira, known for her versatile playstyle that combines high-impact healing with the ability to eliminate weakened enemies.
In this guide, we’ll dive into everything you need to know about playing Moira effectively in Overwatch 2, helping you maximize her potential and dominate the battlefield. Let’s get started!
Moira Overview
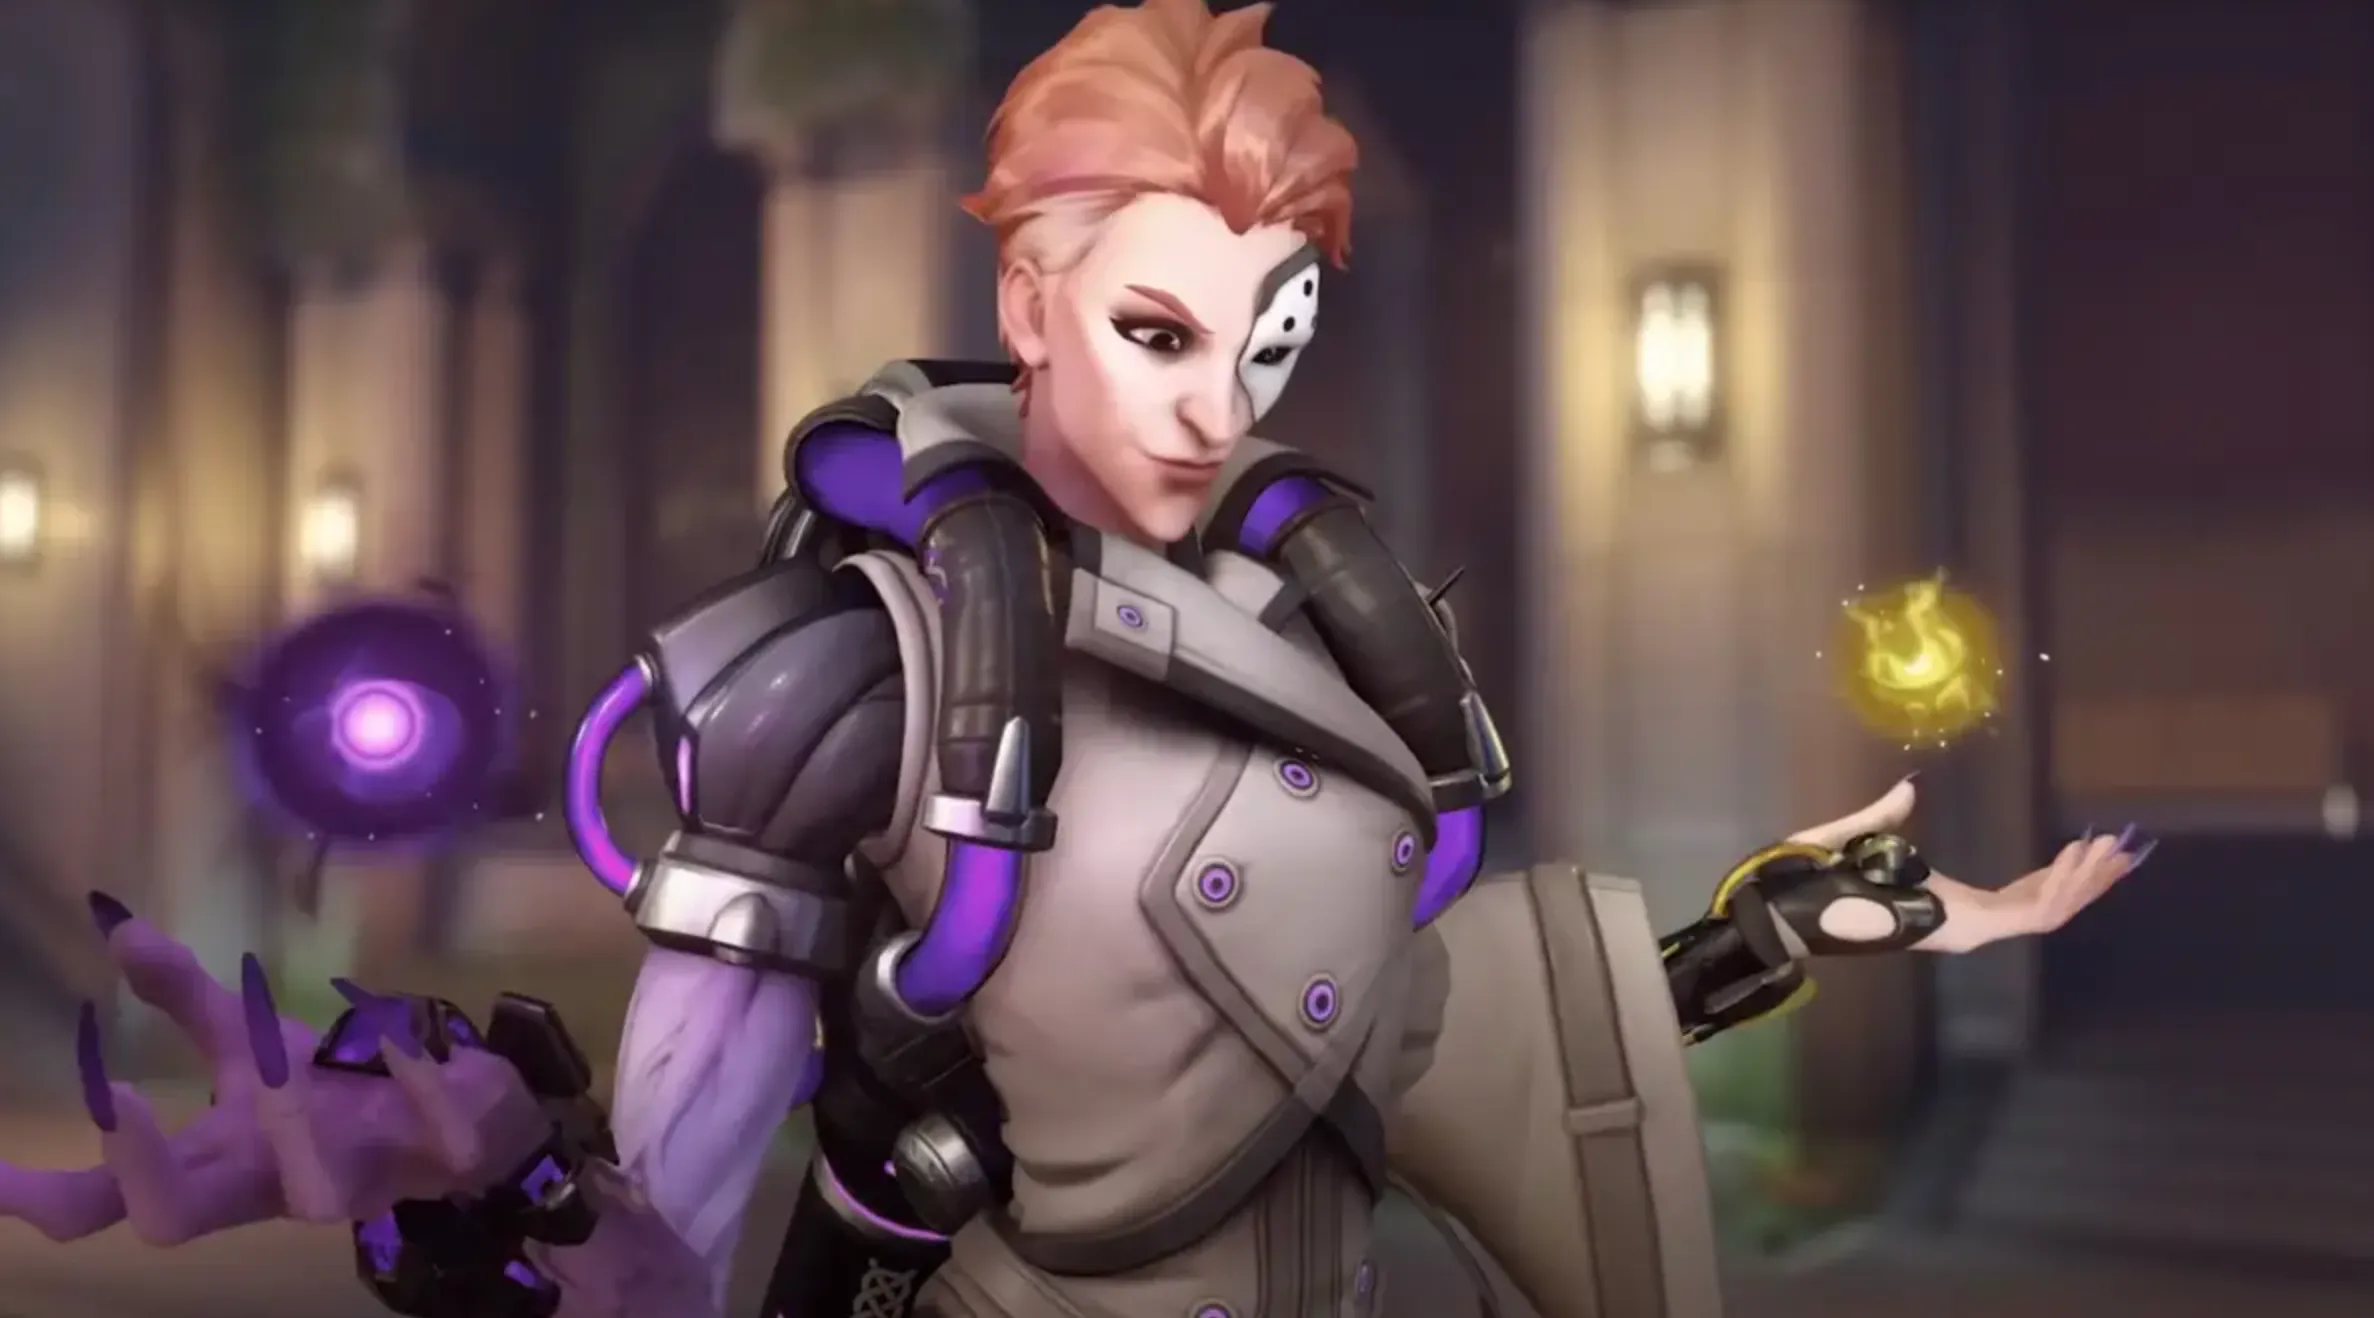
Moira’s gameplay in Overwatch 2 remains largely consistent with her Overwatch 1 iteration, making her a solid choice as a primary Support. Known for her exceptional hybrid playstyle, Moira excels at both healing and dealing damage, setting her apart from many other Supports. Her toolkit revolves around managing resources effectively, making her a versatile asset in any team composition.
At the core of Moira’s abilities are Biotic Grasp and Biotic Orb, which allow her to adapt to the situation by either healing her team or damaging foes. However, her healing reserves are limited, so strategic usage is crucial. Damaging enemies with Biotic Grasp replenishes her healing energy while also sustaining her health, enabling her to stay effective in prolonged engagements.
By switching seamlessly between healing allies and dealing damage, Moira can turn the tide of battle, making her a dynamic and impactful hero in Overwatch 2.
Moira’s Abilities
Biotic Grasp
Moira’s primary and secondary fires are represented by her hands, each fulfilling a distinct role.
• Primary Fire (Yellow Hand): Emits a healing spray to restore health to allies within range. Healing should be your top priority, but her Biotic Energy depletes quickly, requiring mindful bursts rather than constant use.
• Secondary Fire (Purple Hand): Fires a damaging beam with decent range. This damage not only harms enemies but also replenishes her Biotic Energy and restores her own health. Alternating between healing and damaging ensures Moira remains resourceful and effective.
Biotic Orb
Biotic Orb is a versatile, bouncing projectile that heals allies or damages enemies depending on your selection.
• Healing Orb (Yellow): Provides sustained healing to allies within its range, ideal for flanking teammates or groups outside the reach of Biotic Grasp.
• Damage Orb (Purple): Deals consistent damage to enemies, especially effective in narrow corridors or against grouped opponents.
To maximize its effectiveness, aim Biotic Orb carefully to avoid it bouncing into inaccessible areas. Straight paths or enclosed spaces are ideal for controlling its trajectory.
Fade
Moira’s mobility skill, Fade, lets her disappear momentarily, granting invulnerability and increased speed for a brief period.
• Use Fade to reposition yourself, escape danger, or cleanse negative effects like Ana’s Biotic Grenade or Mei’s slow.
• For extra utility, jump right as Fade ends to gain a small boost in height or distance.
Coalescence (Ultimate)
Moira’s Ultimate, Coalescence, is a powerful beam of biotic energy that heals allies and damages enemies simultaneously.
• The beam pierces barriers (except Zarya’s energy shields) and has a 30m range, lasting for 8 seconds.
• During Coalescence, Moira gains increased movement speed and health regeneration, making her harder to eliminate.
• Maximize this ability by firing a Biotic Orb beforehand, adding an extra layer of healing or damage while you channel the beam.
Tips for Moira’s Abilities
• Manage Biotic Energy wisely by balancing healing and damage output. Avoid running out of healing resources during critical moments.
• Position carefully when using Fade, and plan your next move during the invulnerability period.
• Coordinate with your team when using Coalescence to capitalize on its dual effects and secure impactful plays.
Moira’s combination of high healing output, damage potential, and evasive capabilities makes her a valuable asset in Overwatch 2, capable of adapting to almost any situation.
How to Play Moira in Overwatch 2

Moira is a versatile Support hero in Overwatch 2, best suited for teams that play tightly around objectives. Her unique balance of high healing output and offensive capabilities makes her an excellent choice for players who want to support their team while also holding their own in combat. Here are some essential tips for maximizing her potential:
General Playstyle
Moira shines when working closely with her team, particularly in situations where allies are grouped together, such as on payload maps or tight control points. Her Biotic Grasp and Biotic Orb allow her to heal multiple allies simultaneously, making her invaluable in team fights. However, managing her healing resource effectively is key, as overusing it can leave her unable to heal in crucial moments.
Her Fade ability is both a mobility and defensive tool, perfect for escaping dangerous situations or repositioning quickly. Use it strategically to dodge ultimates or disengage when overwhelmed.
Moira is vulnerable to burst damage and crowd control, so staying aware of enemy positioning is critical. She is at her best when she can alternate between healing allies and dealing damage to enemies to maintain her resources and presence on the battlefield.
Combos and Synergies
Reaper
Reaper thrives in close-quarters combat, and Moira’s Biotic Orb and Biotic Grasp can provide the sustain he needs to stay aggressive. With Moira healing him, Reaper can safely dive into the enemy team and deal devastating damage.
Reinhardt and Zarya
Both of these tanks pair exceptionally well with Moira.
• Reinhardt: His strong frontline presence allows Moira to stay close and deliver consistent healing. During his Earthshatter, Moira can follow up with a Coalescence or Biotic Orb to chip away at the stunned enemies’ health while keeping Rein alive.
• Zarya: Zarya’s Graviton Surge traps enemies in one location, creating the perfect opportunity for Moira’s Coalescence to deal damage and heal allies simultaneously.
Brigitte and Zenyatta
• Brigitte: While Brigitte supports the frontline alongside the tank, Moira can stay focused on healing DPS heroes and providing consistent output from a safe position.
• Zenyatta: His Orb of Discord amplifies Moira’s damage-dealing potential, while his Transcendence offers a defensive complement to Moira’s high offensive impact during team fights.
Key Matchups: Advantages
• D.Va (Pilot Form): When D.Va’s mech is destroyed, Moira can quickly finish her off with Biotic Grasp and Biotic Orb to prevent her from re-meching.
• Mercy: Moira’s Biotic Grasp makes quick work of Mercy due to her lack of strong defensive options. Even if Mercy tries to escape using Guardian Angel, the range of Biotic Grasp can finish her off.
• Tracer and Genji: These squishy heroes are vulnerable to Moira’s consistent damage. Tracer’s low health pool makes her an easy target, while Genji’s Deflect cannot counter Moira’s Biotic Grasp.
• Zenyatta: Zenyatta’s lack of mobility makes him an easy target for Moira’s Biotic Orb and Biotic Grasp, especially if he’s low on health.
Key Matchups: Counters
• Ana: Ana’s Biotic Grenade can completely negate Moira’s healing, including her Coalescence. Players should keep an eye on Ana’s cooldowns to avoid being shut down during critical moments.
• Doomfist: With his crowd control-heavy kit, Doomfist can interrupt Moira’s abilities and cancel her Coalescence.
• Roadhog: A well-placed hook from Roadhog is a major threat to Moira, often leading to instant death if he follows up correctly.
• Sombra: Sombra’s Hack can disable Moira’s abilities, leaving her vulnerable and unable to escape. EMP is particularly dangerous, as it can end her Coalescence prematurely.
• Widowmaker: Moira’s 200 HP makes her an easy target for Widowmaker. Always use cover, crouch frequently, and rely on tank shields to avoid being sniped.
Conclusion
Moira remains one of the most versatile and dynamic Support heroes in Overwatch 2, capable of excelling in both healing and damage roles. Her unique kit allows her to adapt to a variety of situations, whether topping up allies’ health during intense firefights or dealing significant damage to maintain her resources. Proper positioning, smart use of Fade, and effective management of her Biotic Energy are key to maximizing her impact.
While Moira can be countered by heroes like Ana and Roadhog, her ability to weave between healing and damage makes her a formidable presence on the battlefield. Whether supporting aggressive teammates or turning the tide with her Coalescence ultimate, Moira proves that a well-rounded Support can truly make the difference between victory and defeat. With practice and strategy, you can master Moira and lead your team to success in Overwatch 2.
Posted On: January 4th, 2025
Recent Articles


💬 Need help?
Our 1v9 support team is available 24/7 to help you with any questions or issues you may have.
support@1v9.gg
Loading...
1v9.gg is not endorsed or affiliated by any game developers or publishers.
2025 1v9, All Rights Reserved, Created By NightDev