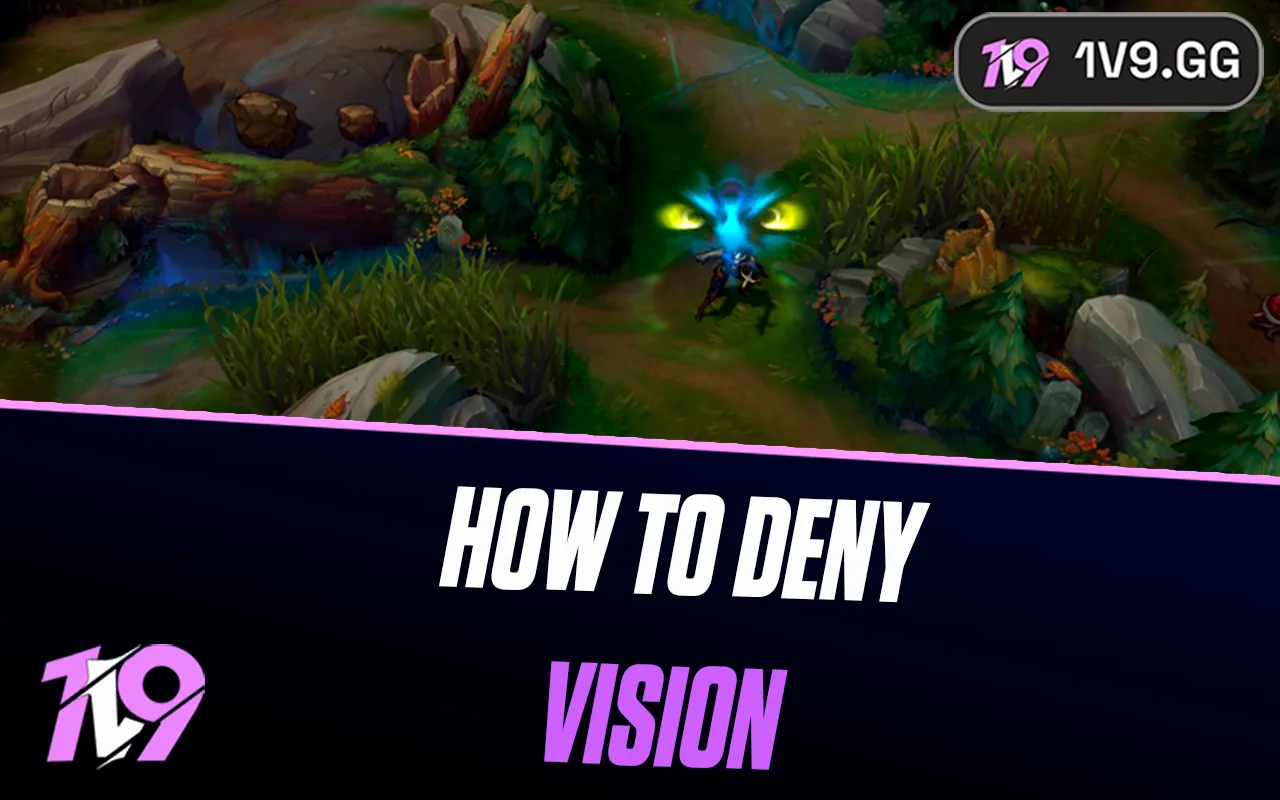


How To Deny Vision In League of Legends: Complete Guide
Vision can easily decide the outcome of a game in League of Legends, and knowing how to deny it is just as important as placing wards. If your opponents can’t see what you’re doing, they’ll have a harder time predicting your movements, setting up ambushes, or contesting objectives. Denying vision isn’t just about clearing wards—it’s about controlling the map, forcing enemies to play blindly, and creating opportunities for your team to secure fights and objectives safely. In this guide, we’ll break down the best ways to deny vision and how to use it to gain a real advantage over your opponents.
Warding During the Laning Phase

Warding during the laning phase is one of the most important habits to develop in League of Legends, as it directly impacts how safe you are, how you play the lane, and how valuable you’ll be to your team later on. While the fundamentals of warding are the same in most matchups, the exact placement and timing of your wards depend on whether you’re pushing, getting pushed in, or playing evenly.
Good Wards
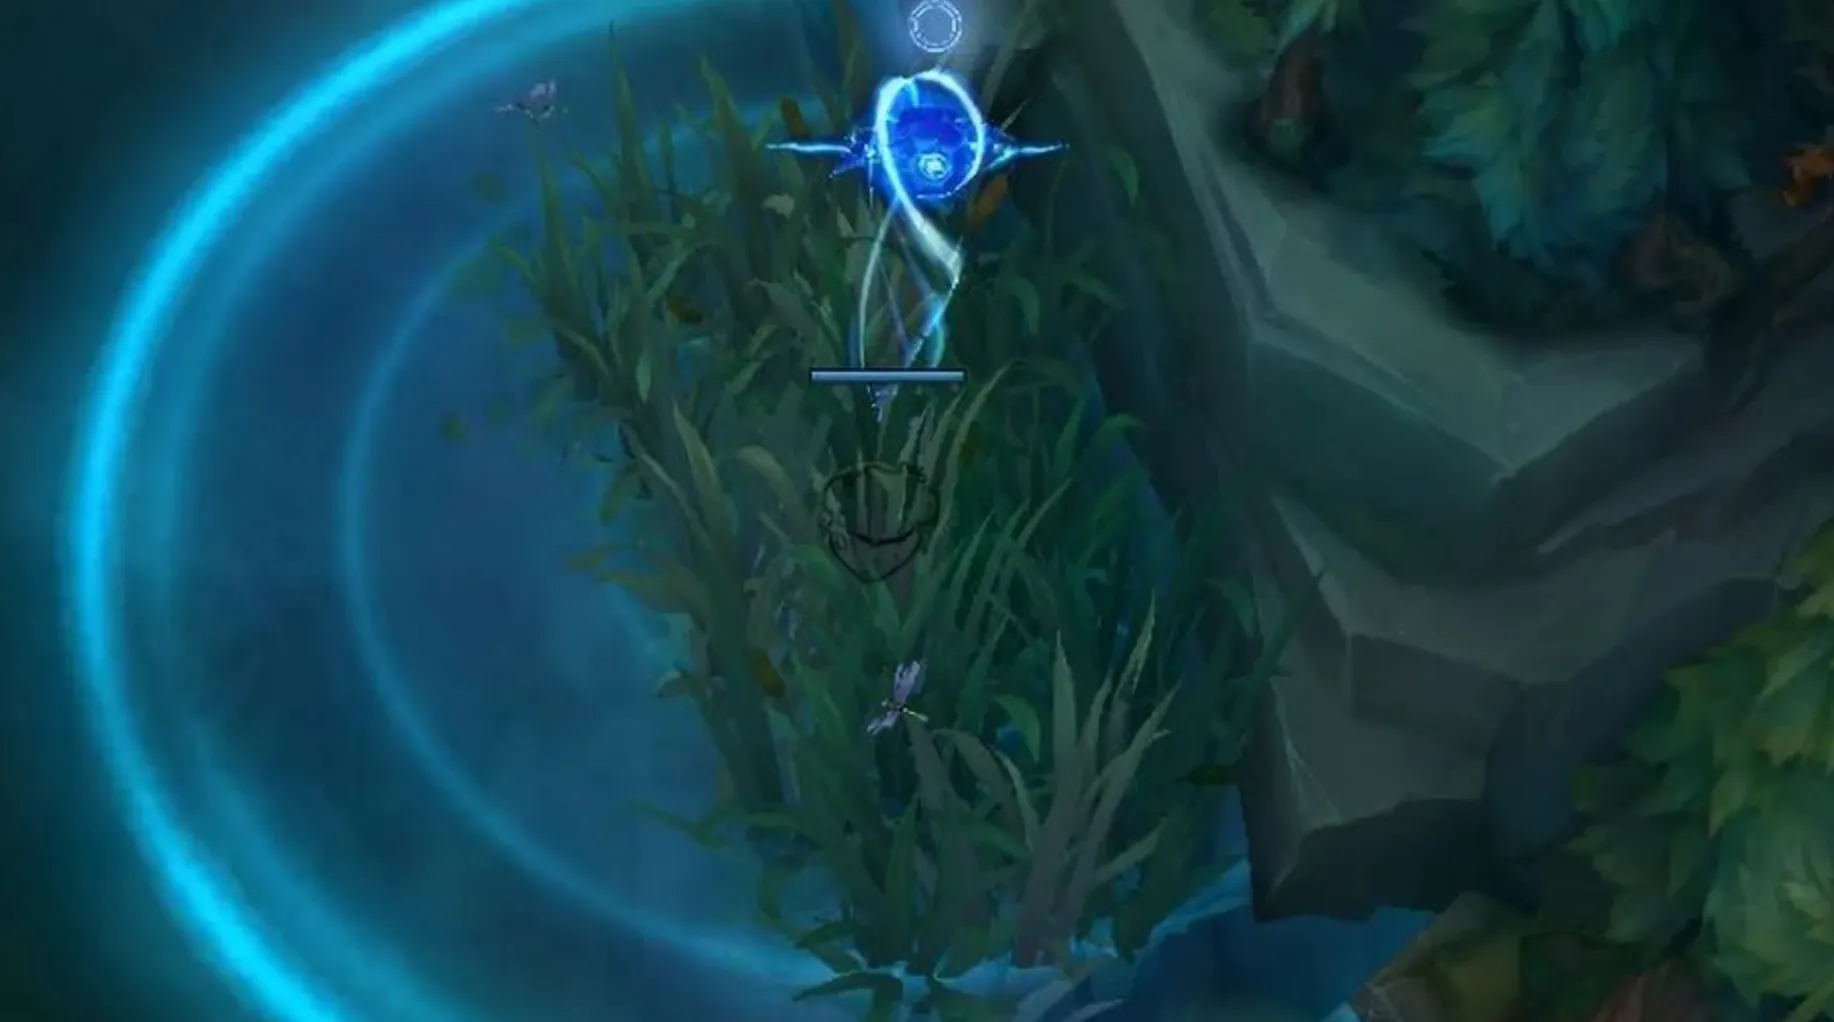
When you’re pushing the wave and applying pressure, one of the best spots to place a Control Ward is in the river bush. This placement gives you crucial information on incoming ganks and gives you time to back off safely. However, this ward is only effective if you’re consistently pushing; if you’re stuck under your own turret, placing a Control Ward here will usually get it cleared immediately, wasting both gold and vision. As the Blue Team, offensive wards in the river or jungle entrances are great when you’re pushing. As the Red Team, you can do the same on your side of the river, but only when you’re safely extending your lane control.
Bad Wards
A common mistake many players make is dropping a Control Ward in locations where it either dies instantly or provides little to no useful information. These are considered “bad wards” because they give you no value while burning through your gold. For example, if the enemy bot lane is constantly pushing you under tower, placing a Control Ward in the river bush is a waste—it will be cleared right away and give you nothing in return. Always think about whether your ward will last and whether it will actually give vision that helps you make better decisions.
Smart warding in lane is about efficiency. Place wards in positions that will survive long enough to matter and provide vision that influences how you and your team play. Every Control Ward should either buy you safety, set up aggression, or deny your opponent information—otherwise, it’s not worth placing.
Warding Objectives
Warding around major objectives like Baron and Dragon is one of the most effective ways to secure vision control and make these fights as safe as possible for your team. Placing a Control Ward directly inside the pit instantly denies enemy vision, forcing them to either face-check or use abilities to scout, which gives your team a massive advantage. But it’s not just about one ward—it’s about consistently refreshing your vision and adapting to how the game is progressing. Even if you already have a Control Ward placed and alive, replacing it with a new one can provide better coverage or deny fresh enemy wards, making sure you always maintain control of the area.
Objective Warding Tips
• Always place a Control Ward in Baron or Dragon pit when your team is preparing to start it. This blocks enemy vision and prevents them from reacting in time.
• Yellow trinket wards only give temporary information, so never rely on them as your main source of vision around objectives.
• If the enemy drops a yellow ward in the pit while you have a Control Ward, don’t attack it unless necessary—hitting the ward can reveal the objective’s health bar and alert them to your attempt.
• Avoid standing directly on top of enemy trinkets near objectives, since your presence can give away that your team is preparing to start it.
• Remember that Control Wards don’t cancel each other out. If both teams place one, they will remain until destroyed, so always clear the enemy’s whenever possible.
Properly warding Dragon and Baron is about more than just dropping a ward in the pit—it’s about maintaining long-term control, denying enemy vision, and creating safe conditions for your team to secure the objective without risking a throw. Good objective vision often decides the outcome of a match.
Vision Around The LoL Map
Vision control isn’t something you set once and forget—it needs to evolve with the game. As lanes shift and teamfights break out, updating your Control Wards is essential for keeping your team safe and maintaining pressure. You should always replace old wards and move them into areas where the action is happening. Placing Control Wards in high-traffic zones, such as jungle entrances, river bushes, or near objectives, gives your team the information needed to prevent ambushes and set up fights on your terms. Just like with regular wards, positioning them to the side of your team can stop enemy flanks and keep your carries protected. On top of that, use your trinket and Control Wards together to actively clear enemy vision, denying them the same advantages you’re trying to build.
Key Tips for Map Vision
• Always refresh Control Wards in high-traffic areas and near where your team is focusing.
• Use wards on the side of your team’s path to prevent surprise engages and flanks.
• Actively clear enemy vision with Control Wards and trinkets to maintain map dominance.
• Balance vision control with your item build—don’t overspend on wards at the cost of falling behind in your power spikes.
Strong vision around the map is what separates good teams from great ones. By consistently updating and adapting your wards, you not only protect your team but also create winning opportunities across the map.
Late Game Vision Control

Late game vision control in League of Legends can make the difference between closing out a match or throwing away your lead. At this stage, warding becomes riskier since moving alone to place vision can easily get you caught out and cost your team major objectives—or even the game itself. Always ward with your teammates nearby, especially around Baron and Dragon, to stay safe and secure vision together. If the enemy team snowballs their advantage, one poorly timed death can give them full control, so patience and coordination are key.
Clearing enemy vision is just as crucial as placing your own. Control Wards and your trinket are your best tools to deny information and create fog of war for your opponents. Once you purchase your warding item, switch to a red Sweeping Lens, and when you reach level 9, upgrade it to Oracle Lens to maximize your vision denial. Be smart about when and where you sweep—don’t waste it in areas the enemy hasn’t visited. Instead, focus on high-traffic zones or places you know they’ve recently warded.
Late Game Vision Tips:
• Always ward objectives with your team to avoid unnecessary deaths.
• Place defensive Control Wards when you’re under pressure, and offensive ones only when you can protect them.
• Buy Control Wards often, but balance it with your core item build so you don’t fall behind.
• Use Sweeping Lens and Oracle Lens strategically in areas where the enemy has been active.
• Clearing vision denies enemy control, but remember—attacking wards gives away your position, so play carefully.
In the late game, vision is power. Proper warding and vision denial will secure safer rotations, prevent flanks, and give your team the confidence to close out the game.
Conclusion
Mastering vision control is one of the most underrated but game-changing skills in League of Legends. Knowing where to place wards, how to deny enemy vision, and when to sweep the map can turn close games in your favor and prevent costly mistakes. Whether it’s setting up for Baron, securing Dragon, or protecting your team from flanks, good vision wins games just as much as strong mechanics or good macro play. If you consistently practice denying vision and controlling the map, you’ll find yourself climbing the ranks much faster and leading your team to more victories.
Posted On: September 1st, 2025
Recent Articles


💬 Need help?
Our 1v9 support team is available 24/7 to help you with any questions or issues you may have.
support@1v9.gg
Loading...
1v9.gg is not endorsed or affiliated by any game developers or publishers.
2025 1v9, All Rights Reserved, Created By NightDev