


OSRS Zulrah Boss Guide
Zulrah is one of the most iconic solo bosses in Old School RuneScape, known for its steep learning curve and long-term profit potential. Since its release back in 2015, this serpent boss has remained a favorite for players looking to make serious gold while testing their mechanical skill. Zulrah isn’t about brute force—it rewards players who learn rotations, manage prayers correctly, and switch gear smoothly under pressure. Once mastered, it becomes one of the most consistent money-makers in the game. In this guide, you’ll find everything you need to get started and improve fast, including entry requirements, recommended gear, how Zulrah’s rotations work, and a clear breakdown of the drops that make killing the “profit snake” worth the effort.
Zulrah Boss Requirements
Before taking on Zulrah in Old School RuneScape, you’ll want to make sure your account is properly prepared. While Zulrah doesn’t have extreme entry barriers compared to raids, going in underprepared will make learning the fight far more punishing and frustrating. Having solid combat stats and basic unlocks will massively increase your survival rate and help you get consistent kills sooner rather than later. To access Zulrah at all, you must complete the Regicide quest, as it unlocks the area where the fight takes place. In terms of stats, a baseline of around 70 Defence, Attack, Strength, Ranged, and Hitpoints is strongly advised, along with at least 44 Prayer to access protection prayers. That said, these should be seen as bare minimums. For a much smoother experience, higher stats are highly recommended—75+ Ranged and Magic will noticeably improve your damage output, while 75+ Hitpoints gives more breathing room for mistakes. Prayer levels around 77 are also ideal, as they unlock Rigour and Augury, which significantly boost both accuracy and damage. Going in with stronger stats won’t just make kills faster—it will make learning Zulrah’s rotations far less punishing and far more enjoyable.
Gear Recommendations for Zulrah
Your setup plays a huge role in how smooth your Zulrah kills feel, but raw gear value isn’t everything. Clean switches, correct prayers, and understanding rotations will always matter more than having the most expensive items. Below are three practical loadouts depending on your experience level, rewritten to focus on efficiency and learning rather than copy-paste metas.
Beginner Setup (First Kills & Learning Phase)
If you’re going for your first Zulrah kills, prioritize safety and simplicity over damage. Budget gear is more than enough to learn rotations and survive mistakes. A Magic Shortbow (imbued) with rune arrows works well for ranged phases, paired with blessed dragonhide for solid defense and prayer bonus. For accessories, Ava’s Accumulator, an Amulet of Glory, and a Ring of Recoil are all cheap and effective. Your inventory should focus on sustain: a ranging potion, anti-venom, a couple of prayer potions, reliable food, and a teleport out in case things go wrong. This setup is forgiving and perfect for learning.
Mid-Tier Setup (Consistent Farming)
Once you’re comfortable with Zulrah’s patterns, upgrading your gear will noticeably improve kill speed. A Toxic Blowpipe combined with a Trident of the Seas gives strong DPS across phases. Many players use Void Knight gear at this stage for easy switches, then gradually move into blessed dragonhide for ranged and Ahrim’s robes for magic as their confidence grows. Ava’s Assembler and an Amulet of Fury are solid upgrades that boost accuracy and damage without breaking the bank. This setup is ideal for steady GP and reliable kills per hour.
Endgame Setup (Maximum Efficiency)
For players fully committed to farming Zulrah, high-end gear pushes kills to their fastest possible pace. The Twisted Bow dominates specific phases, especially when paired with Ancestral robes for magic accuracy and damage. A Serpentine Helm removes poison concerns entirely, making trips smoother and more relaxed. Advanced setups often include a Rune Pouch, Thralls, Death Charge, and Zul-Andra teleports to maximize uptime and kills per hour. This setup is built for profit-focused players who already have Zulrah fully mastered.
No matter which setup you use, remember that correct movement and prayer usage will always outweigh pure gear value. Even modest equipment can achieve consistent Zulrah kills once the mechanics click.
Zulrah Location
Zulrah can be found at a sacred shrine just east of Zul-Andra, deep within Tirannwn. Getting there is straightforward, but some methods are far more efficient than others depending on your budget and progress.
Zul-Andra Teleport Scrolls are the fastest and most popular option. These teleport you directly into Zul-Andra, only a few steps away from the shrine. They usually cost around 10–15k each, but the time saved makes them the go-to choice for consistent farming.
Fairy Ring Travel is a solid free alternative. Using fairy ring code BJS with a Dramen or Lunar staff will place you nearby. This route is slightly slower than teleport scrolls but works well if you’re trying to save GP.
Running from Port Tyras is technically possible but strongly discouraged. Teleporting to Camelot or Catherby, sailing to Port Tyras, then running southeast takes much longer and exposes you to aggressive jungle creatures along the way, making it inefficient for repeated trips.
If you’ve completed the Elite Western Provinces Diary, you get a major quality-of-life boost. You can speak to High Priestess Zul-Harcinqa once per day for a free teleport to Zul-Andra, which is perfect for saving gold on your first Zulrah kill each day.
For regular farming, teleport scrolls remain the most efficient method, while fairy rings and diary teleports are great budget-friendly alternatives.
Zulrah Mechanics Explained
Beating Zulrah consistently comes down to understanding how the fight flows and reacting correctly to each phase. While the boss can feel overwhelming at first, its mechanics are very structured once you learn what to look for.
Attack Rotations
Zulrah always follows one of four fixed rotation patterns. Every kill starts the same way, with Zulrah appearing in the center before moving to a specific spot around the arena. That first movement tells you exactly which rotation you’re on. Once you recognize it, you can pre-position for upcoming phases instead of reacting late, which massively improves survival and DPS.
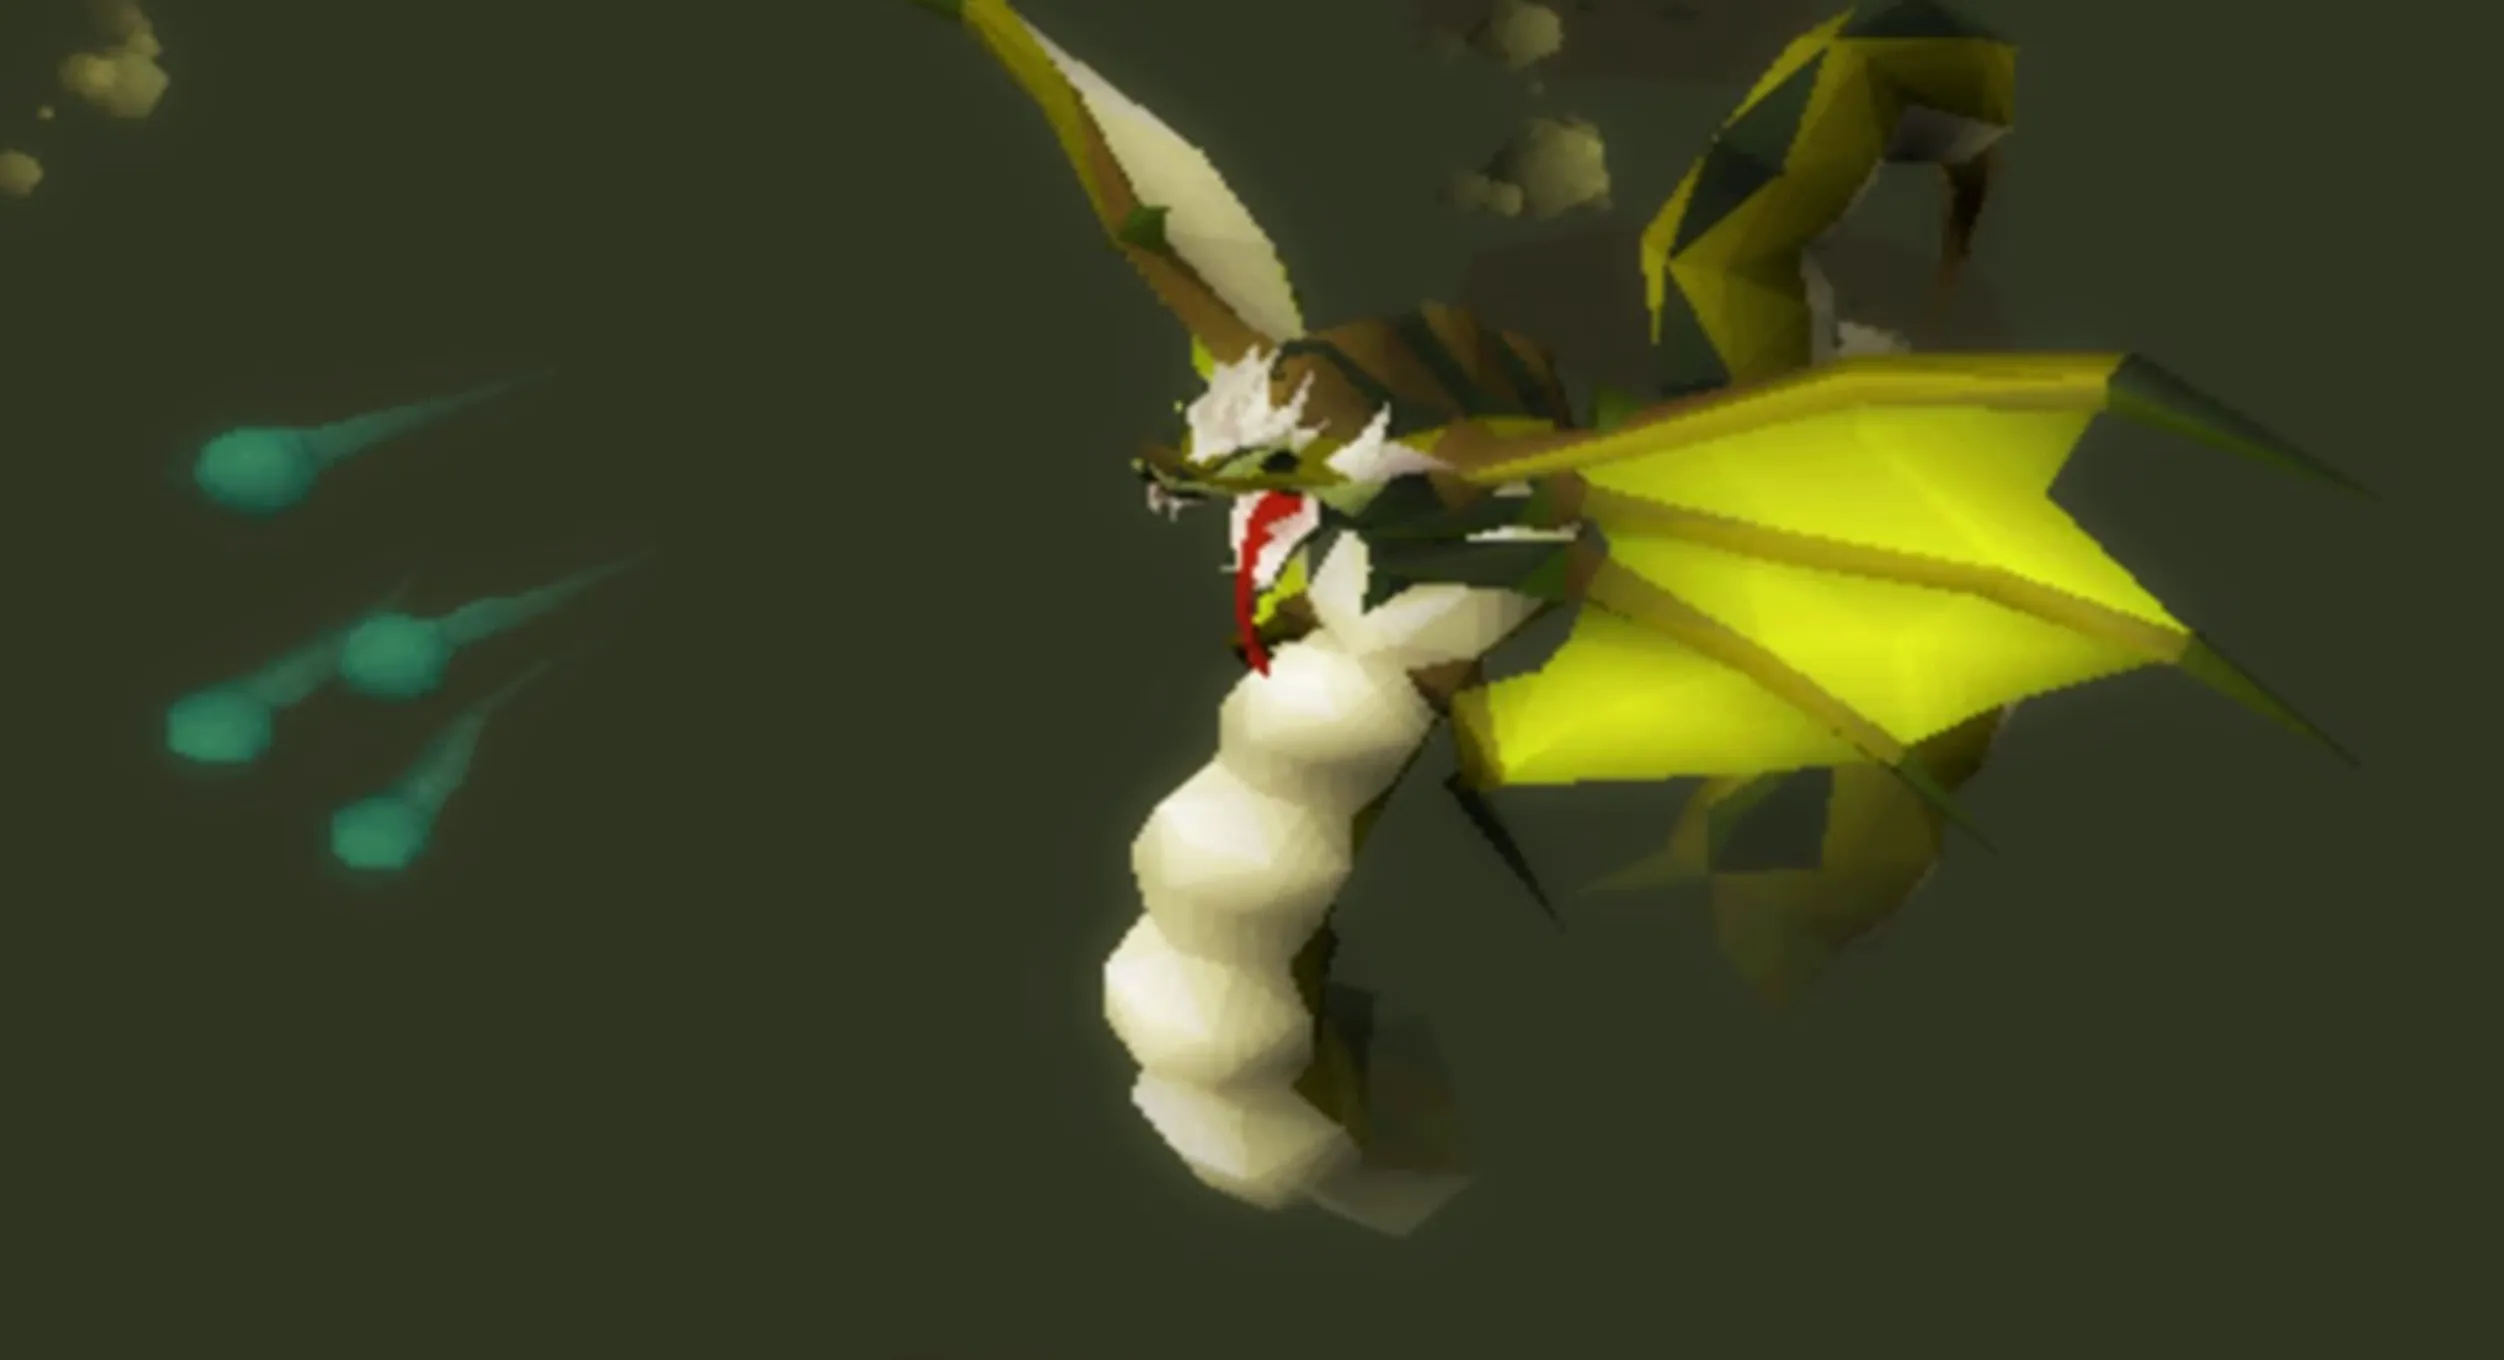
Color-Based Combat Styles
Zulrah’s color determines both how it attacks and how you should fight back.
When Zulrah is green, it uses ranged attacks and is weak to magic, making this a safe phase to deal strong damage with spells.
When it turns blue, it can use both magic and ranged, so this is the phase where ranged gear performs best while you swap prayers as needed.
The red phase is melee-based and the most dangerous if you’re out of position. Staying at range is mandatory here, and magic is the correct attack style while you avoid getting dragged into melee distance.
Arena Hazards
Zulrah isn’t just about the boss itself—the arena is constantly trying to kill you too.
Venom clouds spawn across the platform and deal heavy damage if you step on them, while also inflicting venom. Anti-venom potions or a Serpentine Helm are almost mandatory for longer trips.
Snakelings also spawn throughout the fight. These low-HP minions attack quickly and can stack a lot of damage if ignored. Most players rely on a Ring of Recoil or Ring of Suffering to deal with them passively while focusing on Zulrah.
Once these mechanics click, Zulrah becomes far more predictable. Learning rotations, respecting color phases, and managing arena hazards are the keys to turning this boss from intimidating to one of the most consistent money-makers in OSRS.
How to Defeat Zulrah
Defeating Zulrah becomes much easier once you understand that the fight always follows set rotations. The boss may look chaotic at first, but every phase is predictable, and success comes from recognizing the pattern early and moving before damage starts stacking.
First Kill Approach
Your first Zulrah kill should be focused on survival rather than speed. Start the fight by activating your best ranged prayer, using Eagle Eye if you don’t have Rigor unlocked yet. As soon as Zulrah enters a green phase, drink a Divine Ranging Potion and an Anti-Venom to stay ahead of damage. Pay close attention to your health during red phases, as mistakes there are the most common cause of deaths for first-time attempts. Once you secure your first kill, you’ll unlock the drop table, which can include Zulrah Teleport scrolls that make future trips much faster and more convenient.
Farming Zulrah Efficiently
After you’re comfortable with rotations, Zulrah becomes one of the most consistent bosses to farm in OSRS. Always begin each fight from the correct side of the arena so you’re ready for the first phase without panic movement. Between kills, the Desert Amulet 4 is extremely useful for quickly restoring stats and getting back into the next run faster. If sustain is an issue, casting Blood Barrage during green phases can provide extra healing and extend trips. Learning to tick eat can also save runs when mistakes happen, especially during high-damage phases or venom pressure.
The biggest long-term improvement comes from memorizing rotations instead of relying entirely on plugins. With enough practice, you’ll recognize each pattern within seconds, move confidently, and increase your kills per hour while reducing food and supply costs. Once that happens, Zulrah shifts from a learning challenge into a reliable and efficient money-maker.
Zulrah Loot and Rewards
One of the biggest reasons players keep coming back to Zulrah is the reliability of its drops. Even without hitting rare uniques, each kill still provides strong value, with an average payout hovering around 100k GP. Players who are comfortable with rotations and can push 15 or more kills per hour often see profits around 1.5M GP per hour, making Zulrah one of the most consistent solo money-makers in OSRS.
Zulrah’s most valuable rewards come from its unique drop table, which includes the Tanzanite Fang used to create the Toxic Blowpipe, the Magic Fang for the Toxic Trident, the Serpentine Visage for the Serpentine Helm, and uncut Onyx. On top of that, Zulrah can drop rare untradeables like mutagens for cosmetic upgrades and elite clue scrolls, adding long-term value beyond pure gold. There’s also the Snakeling pet, a highly desirable cosmetic reward with a very rare drop rate that keeps completionists grinding.
Even when uniques don’t show up, Zulrah remains profitable thanks to its strong common loot. Regular drops include items like dragon bones, battlestaves, herbs, seeds, and useful raw materials, all of which hold steady value on the Grand Exchange. This steady income is what makes Zulrah feel rewarding over time, as every trip contributes meaningful profit, not just the lucky ones.
Conclusion
Zulrah remains one of the most iconic and rewarding solo bosses in Old School RuneScape, offering a perfect mix of challenge, skill expression, and consistent profit. While the learning curve can feel steep at first, mastering rotations, gear switches, and positioning quickly turns Zulrah into a smooth and reliable grind. With strong GP per hour, valuable unique drops, and long-term goals like mutagens and the Snakeling pet, the boss stays relevant for both mid-level players pushing their limits and high-level accounts farming efficiently. If you’re willing to invest the time to learn the mechanics, Zulrah is one of the best bosses in OSRS to build wealth, improve combat skills, and enjoy a rewarding solo PvM experience.
Posted On: January 25th, 2026
Recent Articles


💬 Need help?
Our 1v9 support team is available 24/7 to help you with any questions or issues you may have.
support@1v9.gg
Loading...
1v9.gg is not endorsed or affiliated by any game developers or publishers.
2025 1v9, All Rights Reserved, Created By NightDev