


OSRS Nightmare Boss: Complete Guide
The Nightmare of Ashihama is one of the toughest PvM encounters in Old School RuneScape, built for experienced players who enjoy high-risk, high-reward bossing. Since its release, the Nightmare has remained a popular grind thanks to its unique mechanics and some of the most valuable drops in the game, including Inquisitor gear and powerful staff upgrades. This boss demands strong fundamentals, clean movement, and good teamwork, especially in small groups or solo attempts. In this guide, you’ll find a clear breakdown of everything you need to know to fight the Nightmare efficiently, including entry requirements, recommended stats, best gear setups, inventory planning, and an easy-to-follow explanation of each phase so you can survive longer and improve your kill consistency.
Nightmare Boss Location
The Nightmare of Ashihama can be found beneath the town of Slepe, a quiet settlement in eastern Morytania that hides one of the most punishing boss fights in OSRS. Slepe sits east of Darkmeyer and south-east of Port Phasmatys, and once you arrive, the path to the boss is straightforward. Head into the Sisterhood Sanctuary in the center of town and make your way down to the lower level, where the entrance to the Nightmare’s lair awaits.
There are several easy ways to reach Slepe depending on your unlocks. You can take the boat from Andras near the Ectofuntus, use fairy ring code ALQ and run south-east, or teleport to the spider cave and travel from there. All of these routes are relatively quick and safe. One of the nice things about the Nightmare is accessibility — aside from reaching Morytania itself, there are no quest requirements or skill gates to enter the fight, making it open to any player who feels confident enough to challenge one of the game’s hardest bosses.
Gear Recommendations
When preparing for the Nightmare, your setup should be built around heavy melee damage, specifically crush. This boss takes noticeably more damage from crush-based weapons, which is why items like the Abyssal bludgeon, Inquisitor’s mace, or a Scythe of Vitur set to crush perform so well. Even more affordable options such as a Zamorakian hasta still work fine if your stats are solid. Alongside your melee gear, bring a very light magic switch focused on raw damage rather than accuracy, as magic hits during this fight don’t rely heavily on landing consistently.
Your inventory should prioritize survival and sustain. A mix of Saradomin brews, solid food, and prayer restoration is essential, and it’s strongly recommended to bring divine potions or Sanfew serums to deal with the Nightmare’s parasite mechanic. Staying healthy and keeping your stats stable matters far more than squeezing in extra switches.
Stat-wise, higher levels make a massive difference, especially in smaller groups. For teams of fewer than five players, having 90+ Attack, Strength, Defence, Hitpoints, and Magic will make kills much smoother, while at least 70 Prayer is needed to comfortably manage overheads and protection. In larger teams of five or more, slightly lower combat stats can still work, with mid-to-high 80s across melee and magic being acceptable, though higher levels always help. Keep in mind that bigger teams spread the loot thinner, meaning your personal chance at unique drops is lower compared to small, efficient groups.
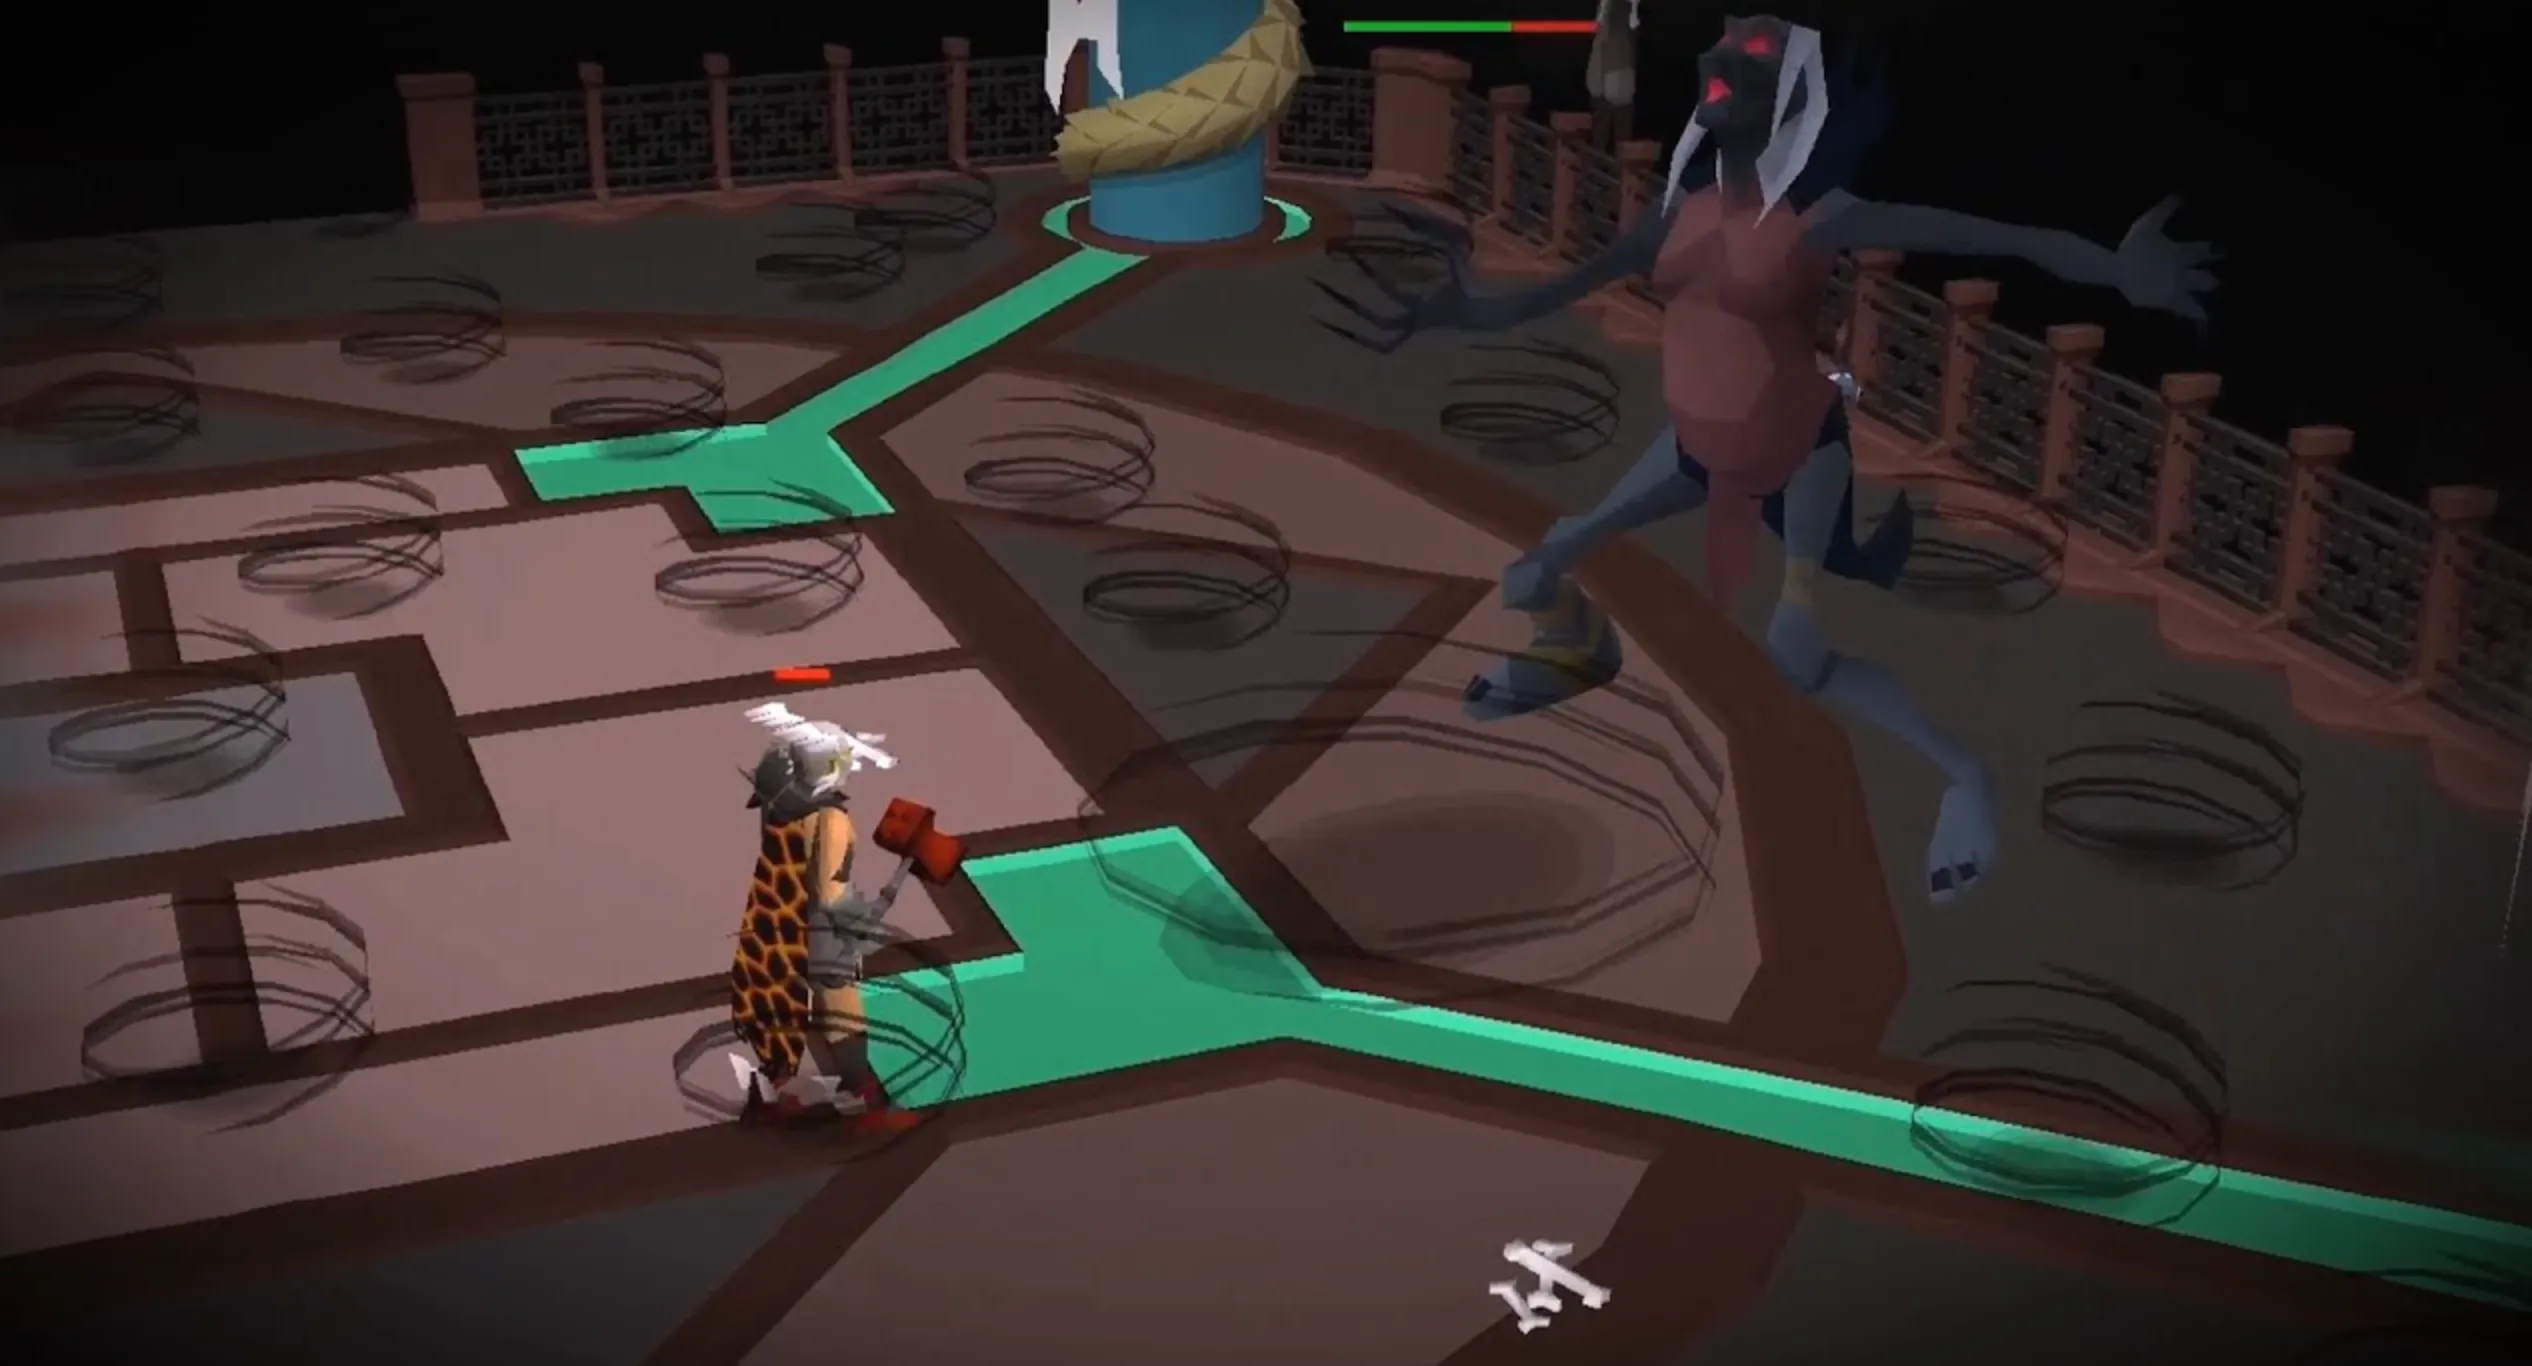
How To Defeat The Nightmare
The Nightmare’s drop table is split between reliable loot and extremely rare, high-value uniques, which is why the boss remains popular despite its difficulty. Damage contribution matters here — players who deal more damage slightly improve their odds — but there are no guarantees, and party size has a big impact on drop chances. Smaller teams generally have better individual odds at uniques, while larger teams trade those odds for faster and safer kills.
Every kill will always give bones, with the MVP also receiving Big Bones, but the real chase comes from the unique items. The Nightmare staff sits at the core of the table and can later be upgraded with orbs, while the Inquisitor’s armor pieces — the great helm, hauberk, and plateskirt — are among the most sought-after crush-focused melee gear in the game. The Inquisitor’s mace is even rarer and represents one of the highest-value drops you can see in your name. On top of that, the three orbs — Eldritch, Harmonised, and Volatile — are ultra-rare but massively valuable, each transforming the Nightmare staff into a powerful specialized weapon.
Outside of uniques, the Nightmare also drops coins in varying amounts along with a mix of resources, runes, consumables, ammunition, and other secondary items that help cover supply costs over time. While most of the profit comes from hitting a rare drop, the steady stream of standard loot makes grinding the boss feel less punishing during dry streaks. Overall, the Nightmare is a high-risk, high-reward boss where patience and consistency are eventually paid back with some of the most valuable items in Old School RuneScape.
Conclusion
The Nightmare is one of OSRS most demanding endgame bosses, rewarding players who take the time to learn its mechanics, positioning, and team coordination. While the fight can feel overwhelming at first, understanding each phase, handling special attacks correctly, and bringing the right gear turns it into a consistent and rewarding encounter. Whether you’re chasing Inquisitor’s armor, powerful orbs, or simply testing your PvM skill in one of the game’s toughest fights, the Nightmare offers a challenge that genuinely feels earned. With solid preparation, the right team size, and enough practice, this boss becomes less about survival and more about efficiency, making it a standout piece of high-level PvM content in Old School RuneScape.
Posted On: January 13th, 2026
Recent Articles


💬 Need help?
Our 1v9 support team is available 24/7 to help you with any questions or issues you may have.
support@1v9.gg
Loading...
1v9.gg is not endorsed or affiliated by any game developers or publishers.
2025 1v9, All Rights Reserved, Created By NightDev