

How To Ward in League of Legends: Complete Guide
Warding is one of the most important skills in League of Legends, yet it’s often overlooked by many players focused only on mechanics and kills. Good vision control gives your team information, safety, and the ability to make smarter decisions across the map. A single well-placed ward can prevent ganks, secure objectives, or set up winning fights before they even begin. In this complete warding guide, we’ll break down how vision works in League of Legends, where and when to place wards, and how to use them effectively to gain consistent advantages and win more League of Legends games.
Introduction to Warding In League of Legends
Before getting into advanced warding patterns and timings, it’s important to understand the basics of vision in League of Legends. Vision hasn’t always worked the way it does today. In the early years of the game, wards had to be purchased with gold, which meant vision was limited and often neglected. That changed when Riot introduced the trinket system, giving every player access to free vision and making warding a core part of gameplay rather than an optional extra.
A ward is any tool that removes fog of war in an area of the map, but vision isn’t limited to wards alone. Champions, abilities, and certain items can all provide information without placing a physical ward. Good vision control is about combining all of these tools, not just dropping wards randomly.
At the start of the game, players choose between two trinkets. For most champions, the Warding Totem is the correct choice, as it provides Stealth Wards that help protect your lane from ganks. Oracle Lens, on the other hand, is designed to deny enemy vision rather than provide your own. Because it doesn’t give direct safety early on, it’s usually picked up later in the game, most commonly by Junglers and Supports once laning begins to break down. Some experienced players will take it early for specific strategies, but this is the exception rather than the rule.
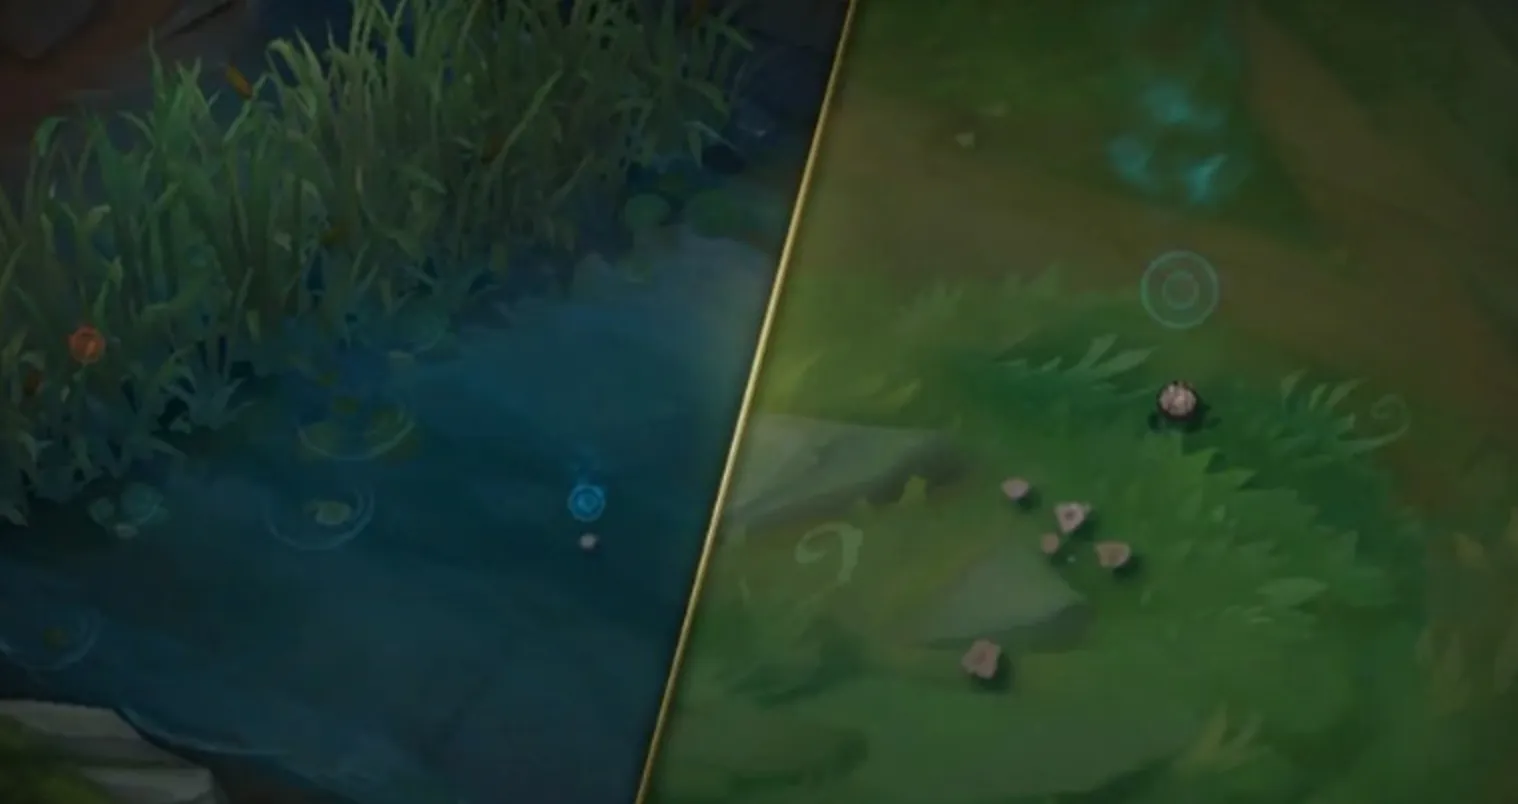
Stealth Wards, also known as Yellow Trinket or Totem Wards, are the most common form of vision in the game. These wards become invisible after a short delay and can only be cleared by Control Wards, Oracle Lens, or by being destroyed before they stealth. Their duration scales as the game progresses, starting at around 90 seconds and increasing based on average team level. Each Stealth Ward has three health points and can be used by allies for Teleport. You can store up to two charges at once, but sitting on full charges is a mistake—unused wards are wasted vision. A player can only have three Stealth Wards active at a time, so placing a fourth will remove the oldest one.
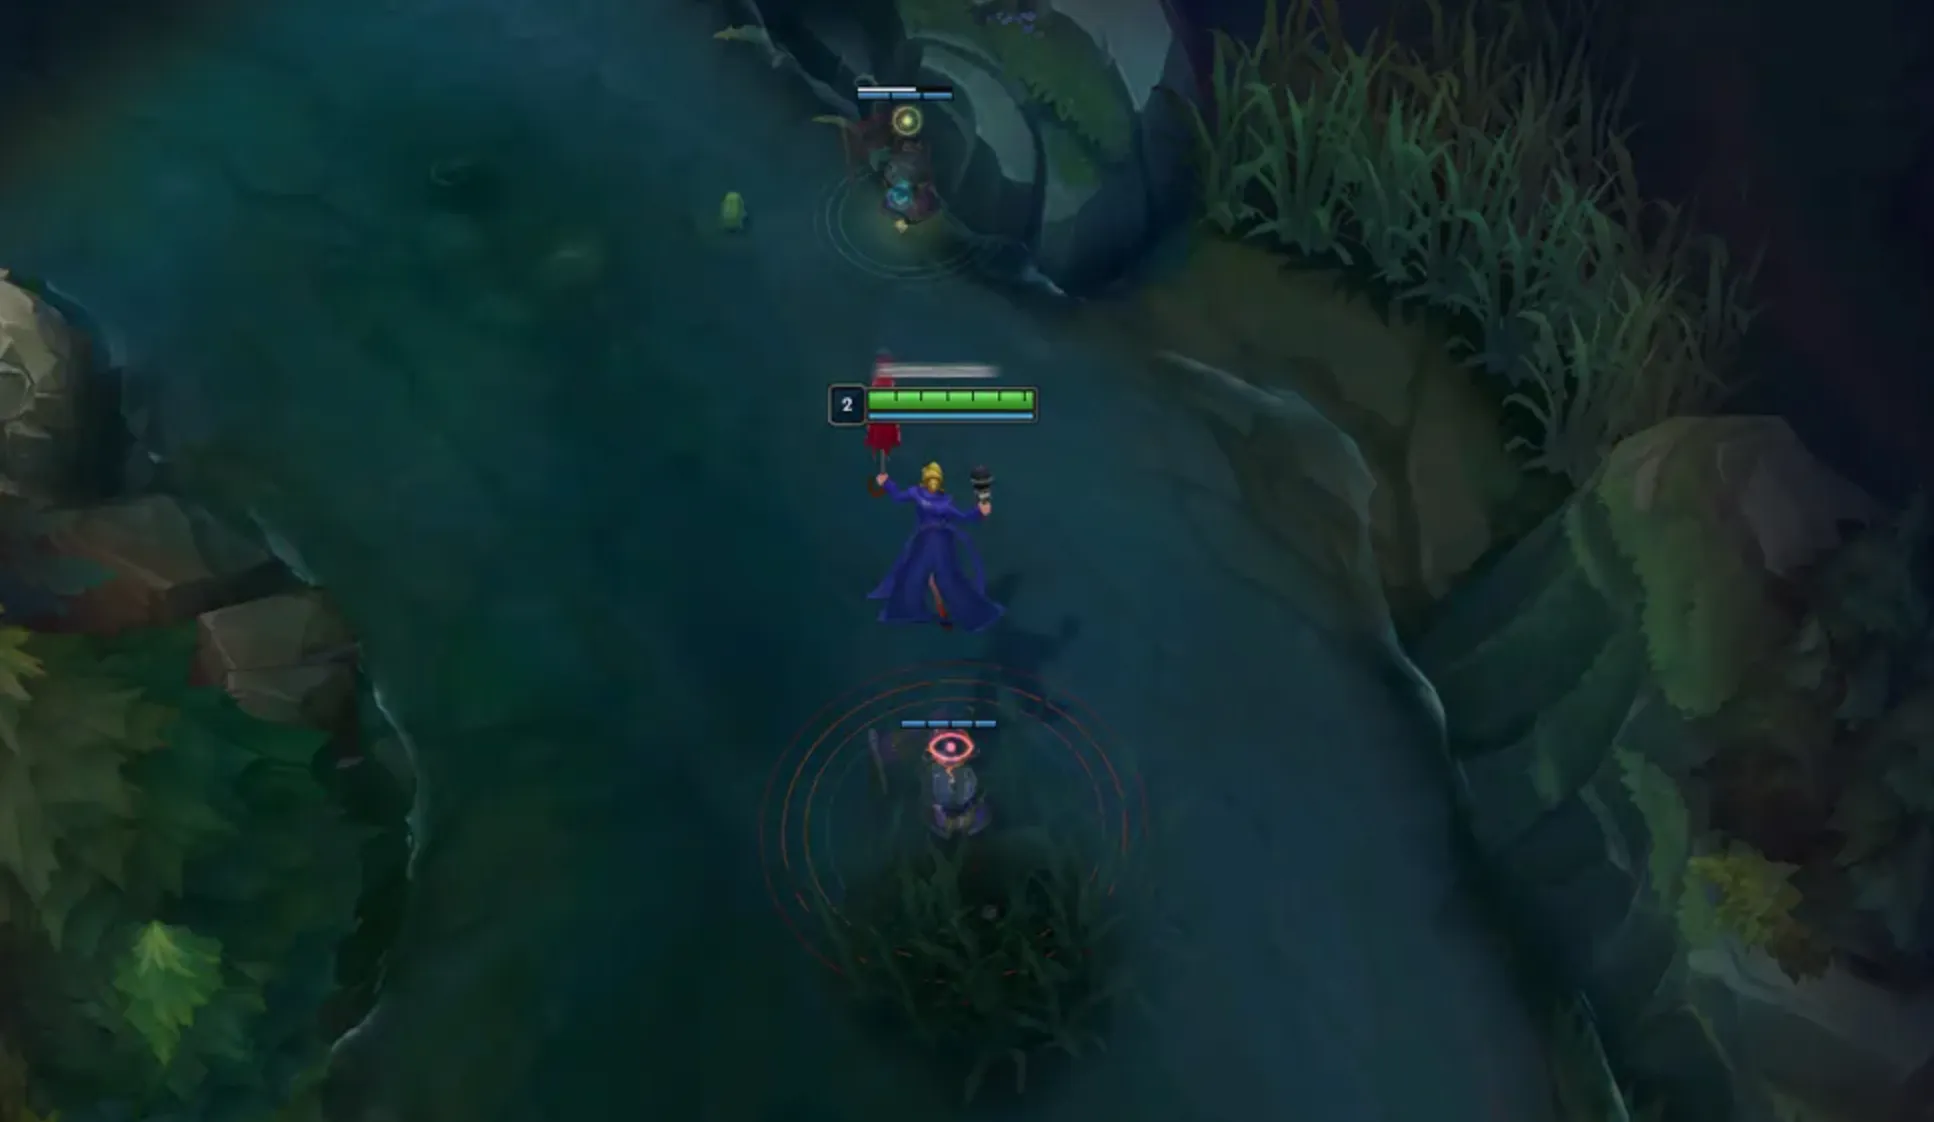
Control Wards are the second major vision tool and are arguably the most impactful. Unlike Stealth Wards, they are always visible to enemies and stay on the map indefinitely until destroyed or replaced. Each player can only have one Control Ward placed at a time, and after balance changes, you can carry a maximum of two. Control Wards reveal and disable enemy wards, uncover stealth traps like Teemo mushrooms or Shaco boxes, and reveal camouflaged champions such as Evelynn or Twitch. This makes them essential against stealth-heavy compositions and for controlling key areas around objectives. Control Wards have four health points, meaning they take longer to clear and can be used strategically to waste enemy time. Every role should be buying Control Wards when possible, with Supports placing them most frequently in high-traffic and objective-focused areas.
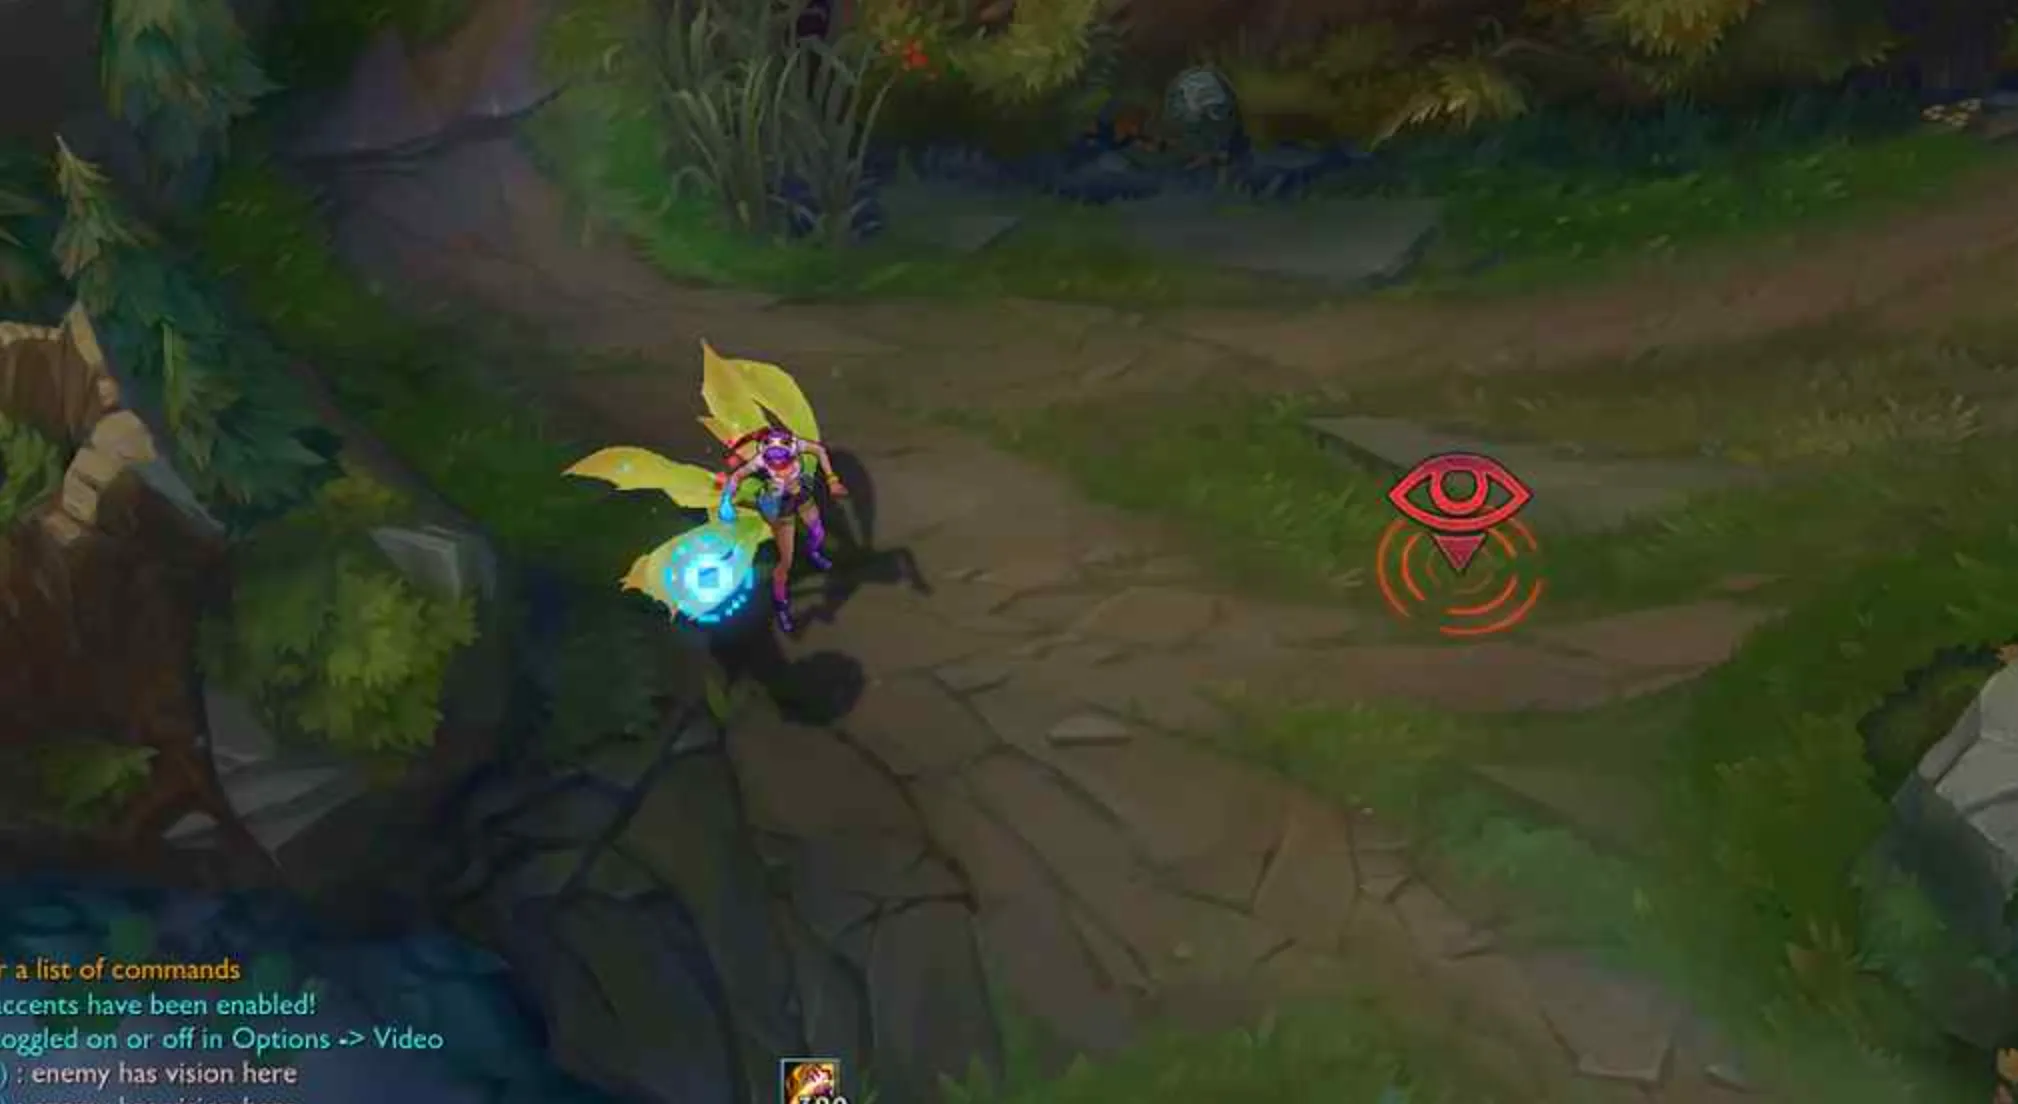
The Oracle Lens, often called the Red Trinket, is a vision-denial tool that temporarily reveals and disables wards and traps in an area around your champion. While active, it shows enemy wards, traps, and even nearby enemies as silhouettes, making it extremely useful for ganks, roams, and clearing vision before objectives. Junglers should swap to Oracle Lens early to improve gank success, and Supports should switch once their warding quest is completed to maximize vision control for the team.
Finally, the Farsight Alteration, or Blue Trinket, becomes available at level 9 and is mainly used by Top laners, Mid laners, and ADCs. This trinket allows you to place a ward from a very long distance, briefly revealing an area and any champions inside it. Its primary purpose is checking major objectives like Baron or Dragon without face-checking, though it can also be used to safely scout dangerous bushes when enemies are missing. Because of its long cooldown, it’s best saved for moments where information truly matters.
Understanding how each ward and trinket works is the foundation of strong vision control. Once you know what tools are available and when to use them, warding becomes less about habit and more about making smart, game-winning decisions.
How To Ward During Laning Phase in League of Legends
Warding during the laning phase is all about staying safe, tracking the enemy jungler, and protecting yourself while you farm. Since early deaths can quickly snowball a lane out of control, smart early vision often decides how comfortably you can play the first 10–15 minutes of the game.
Your first priority when warding in lane is timing. The safest moment to place an early ward is after the first few waves, usually around the 2:30–3:00 mark, when junglers are finishing their initial clear and looking for gank opportunities. Placing a ward too early often wastes its duration, while placing it too late can result in an avoidable death.
Next, focus on ward placement. If you’re in a side lane, the river bush is the standard and safest location, as it covers the most common gank path. When you’re pushed up, deeper wards—such as the enemy tri-bush or jungle entrances—give earlier warnings and more reaction time. Mid laners should prioritize wards on one side of the river and play toward that side, rather than trying to cover both entrances at once.
Wave state also matters a lot. You should almost always ward after pushing your wave. This gives you time to step away from minions without losing farm or pressure. Warding while the enemy wave is pushing into you is risky and can leave you vulnerable to trades or ganks.
Control Wards are extremely valuable during laning. Placing one in a high-traffic bush, like tri-bush or a river brush, can deny enemy vision while giving you long-lasting safety. Even if it gets cleared, it often forces the enemy to reveal their position or waste time, which is still a win.
Finally, adapt your wards based on the matchup and jungle pathing. If the enemy jungler has strong early ganks, prioritize defensive wards. If they’re farming-heavy, you can place more aggressive vision to spot rotations and set up plays. Good laning-phase warding isn’t about placing as many wards as possible—it’s about placing the right wards at the right time to keep yourself alive and informed.
How to Ward After Laning Phase in League of Legends
Warding after the laning phase shifts from simple self-protection to full map control and objective setup. Once towers start falling and players move around the map more freely, vision becomes a team responsibility rather than a solo habit, and good warding can completely control the pace of the game.
At this stage, your main goal is to track enemy movement and secure objectives. Instead of placing wards close to your lane, you should focus on high-value areas like jungle entrances, river paths, and zones around Dragon, Rift Herald, and Baron. Vision here gives your team early information, allowing you to decide whether to fight, disengage, or trade objectives.
Deep wards become much more important after laning. When your team has pressure or just won a fight, use that window to place vision inside the enemy jungle. These wards spot rotations, jungle camps being taken, and flanking attempts before they happen. Even a single deep ward can prevent ambushes and make it safer for your team to push side lanes.
Control Wards are essential in the mid and late game. Place them in choke points, objective pits, or bushes that enemies frequently pass through. Denying vision is just as powerful as gaining it, especially before major fights. Clearing enemy wards with Oracle Lens while setting up Control Wards creates “dark zones” where the enemy is forced to face-check or give up map control.
Always ward with purpose. Don’t place vision randomly—think about what information you need. If Baron is spawning soon, shift your wards toward the top side of the map. If Dragon is the next objective, move vision control toward the bot side river. Vision should always reflect the next play your team wants to make.
Finally, never ward alone without backup after laning phase. Death timers are longer, and getting caught while warding can instantly lose objectives or the game. Move with teammates, especially supports and junglers, and use abilities or trinkets to check fogged areas safely. Smart, coordinated warding after laning phase is one of the biggest differences between average teams and winning ones.
How To Clear Enemy Vision
Clearing enemy vision is just as important as placing your own wards, especially once the game moves past the laning phase. Removing vision denies the enemy information, forces them to play safer, and opens the door for picks, objectives, and map control without being spotted.
The most effective tools for clearing vision are Oracle Lens and Control Wards. Oracle Lens should be activated before you move into contested areas like river bushes, jungle entrances, or around objectives. This lets you spot hidden wards early and remove them safely instead of face-checking blindly. Supports and junglers should almost always have Oracle Lens in the mid game, as they’re usually the ones setting up vision first.
Control Wards are crucial for locking down key zones. Placing one in a bush or objective pit not only reveals enemy wards but also disables them, creating safe areas for your team to move through. A well-placed Control Ward can completely shut down vision around Dragon or Baron, forcing the enemy to walk into fog if they want information.
Timing matters when clearing vision. The best moments are after winning a fight, forcing recalls, or gaining lane priority. These windows let you move into enemy territory without being punished. Clearing wards right before an objective spawns is especially powerful, as it leaves the enemy blind when they need information the most.
Be patient and coordinated when denying vision. Don’t rush to clear a ward if it puts you at risk—sometimes leaving it for a few seconds while teammates are nearby is the safer play. Also, remember that clearing vision isn’t just about gold; it’s about control. Even if you don’t gain much gold from wards, the pressure and uncertainty you create for the enemy can decide fights before they even start.
Conclusion
Warding is one of the most important skills to master in League of Legends, no matter your role or rank. Good vision control isn’t just about placing wards on cooldown, but understanding when, where, and why to use them to protect yourself, support your team, and control the map. From learning the basics of trinkets and Control Wards to adapting your vision setup after the laning phase and actively clearing enemy vision, every step plays a role in winning games. If you consistently apply these warding habits, you’ll make smarter decisions, avoid unnecessary deaths, secure more objectives, and give your team a huge advantage that often goes unnoticed on the scoreboard but decides games all the same.
Posted On: December 14th, 2025
Recent Articles


💬 Need help?
Our 1v9 support team is available 24/7 to help you with any questions or issues you may have.
support@1v9.gg
Loading...
1v9.gg is not endorsed or affiliated by any game developers or publishers.
2025 1v9, All Rights Reserved, Created By NightDev