How To Play Support In League of Legends: Complete Guide
Support is one of the most influential roles in League of Legends, even if it doesn’t always get the spotlight. As a Support, you control the flow of the bot lane, protect your ADC, create plays, and set up your team for success long before late-game fights even begin. Whether you prefer peeling for your carry, locking enemies down with heavy CC, roaming to help other lanes, or outplaying opponents with utility and vision control, this role gives you countless ways to impact the map. A smart Support can shut down enemy pressure, secure objectives, and turn losing fights into clean wins. In this complete guide, we’ll break down everything you need to know to play Support properly—from laning and roaming to vision, itemization, and teamfighting—so you can climb with confidence and become the backbone every team wants.
Support Champion Types In League of Legends
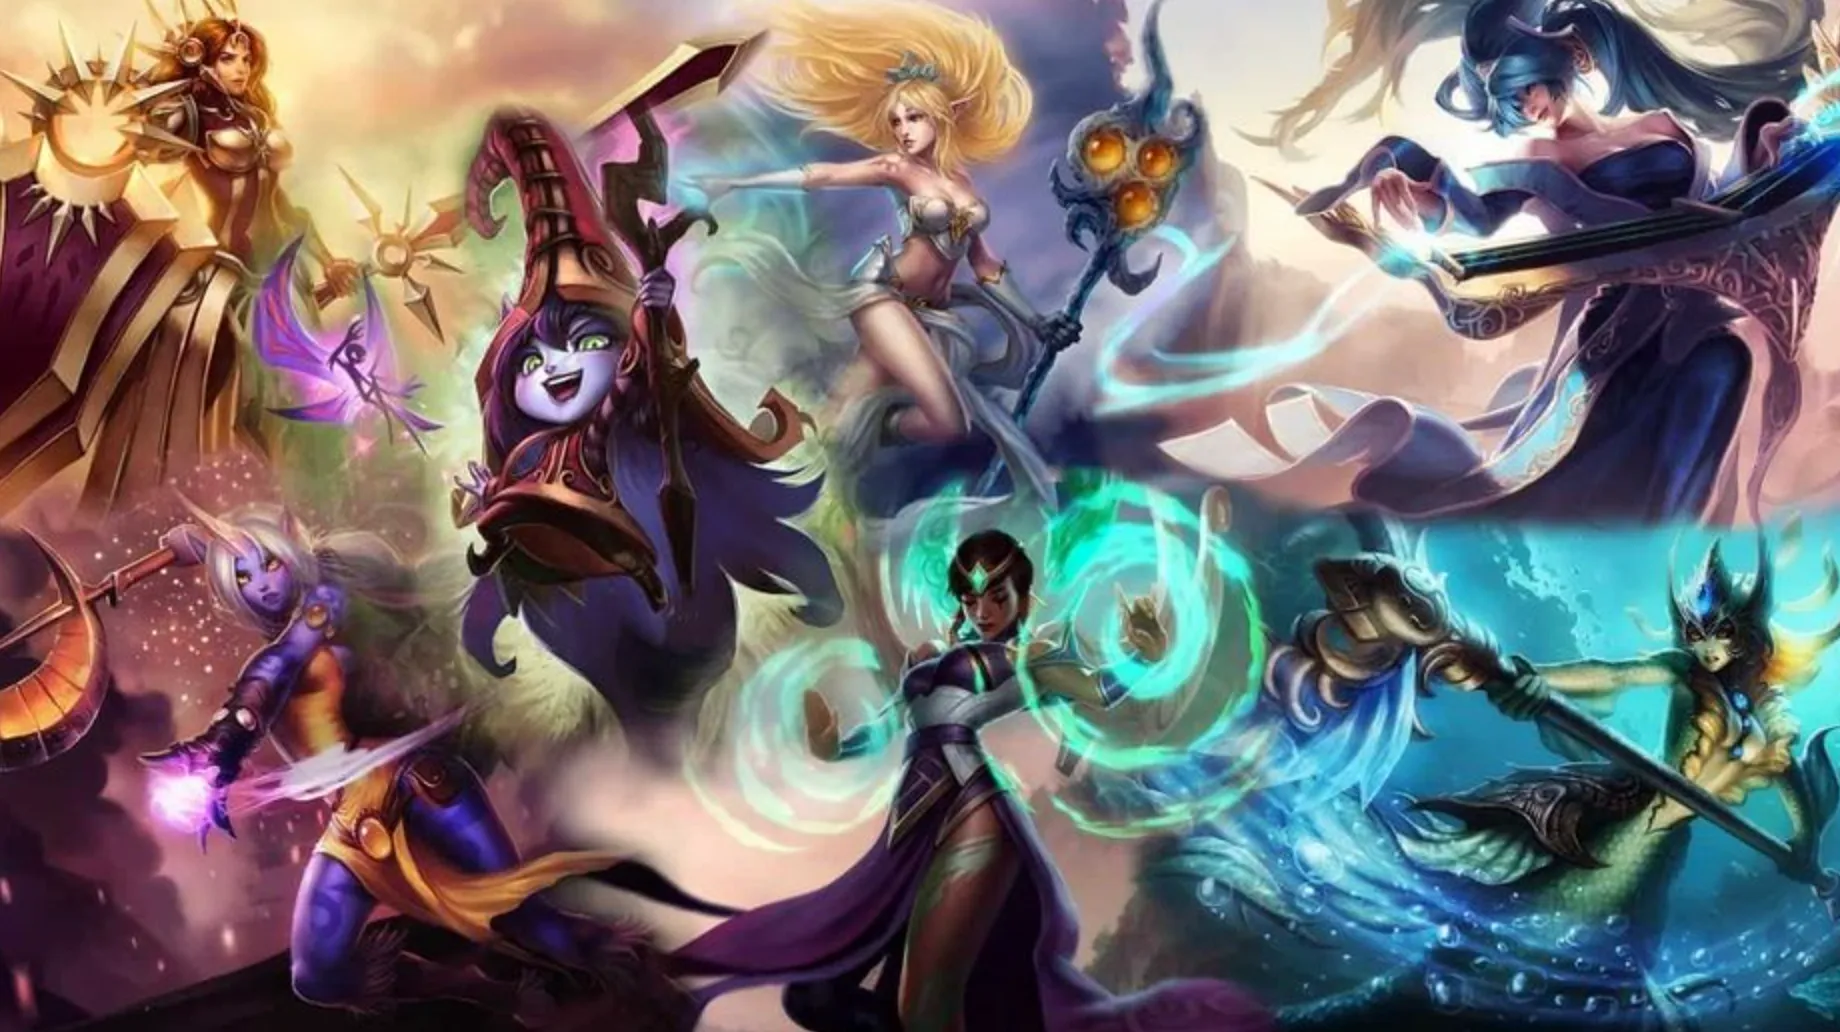
Support champions come in all shapes and playstyles, and understanding these categories makes it much easier to pick a champion that fits how you want to play. While many supports overlap—like Swain, who deals damage, pokes, and survives longer than most—these are the main playstyle groups you’ll see in bot lane.
Tank Supports
Tank supports are your frontline initiators. They start fights, peel for carries, and soak up damage so the rest of the team can follow up safely.
Examples: Alistar, Braum, Leona, Maokai, Tahm Kench
Enchanter Supports
Enchanters focus on healing, shielding, and empowering allies. They’re usually squishy, but they keep their team alive and make carries much harder to kill.
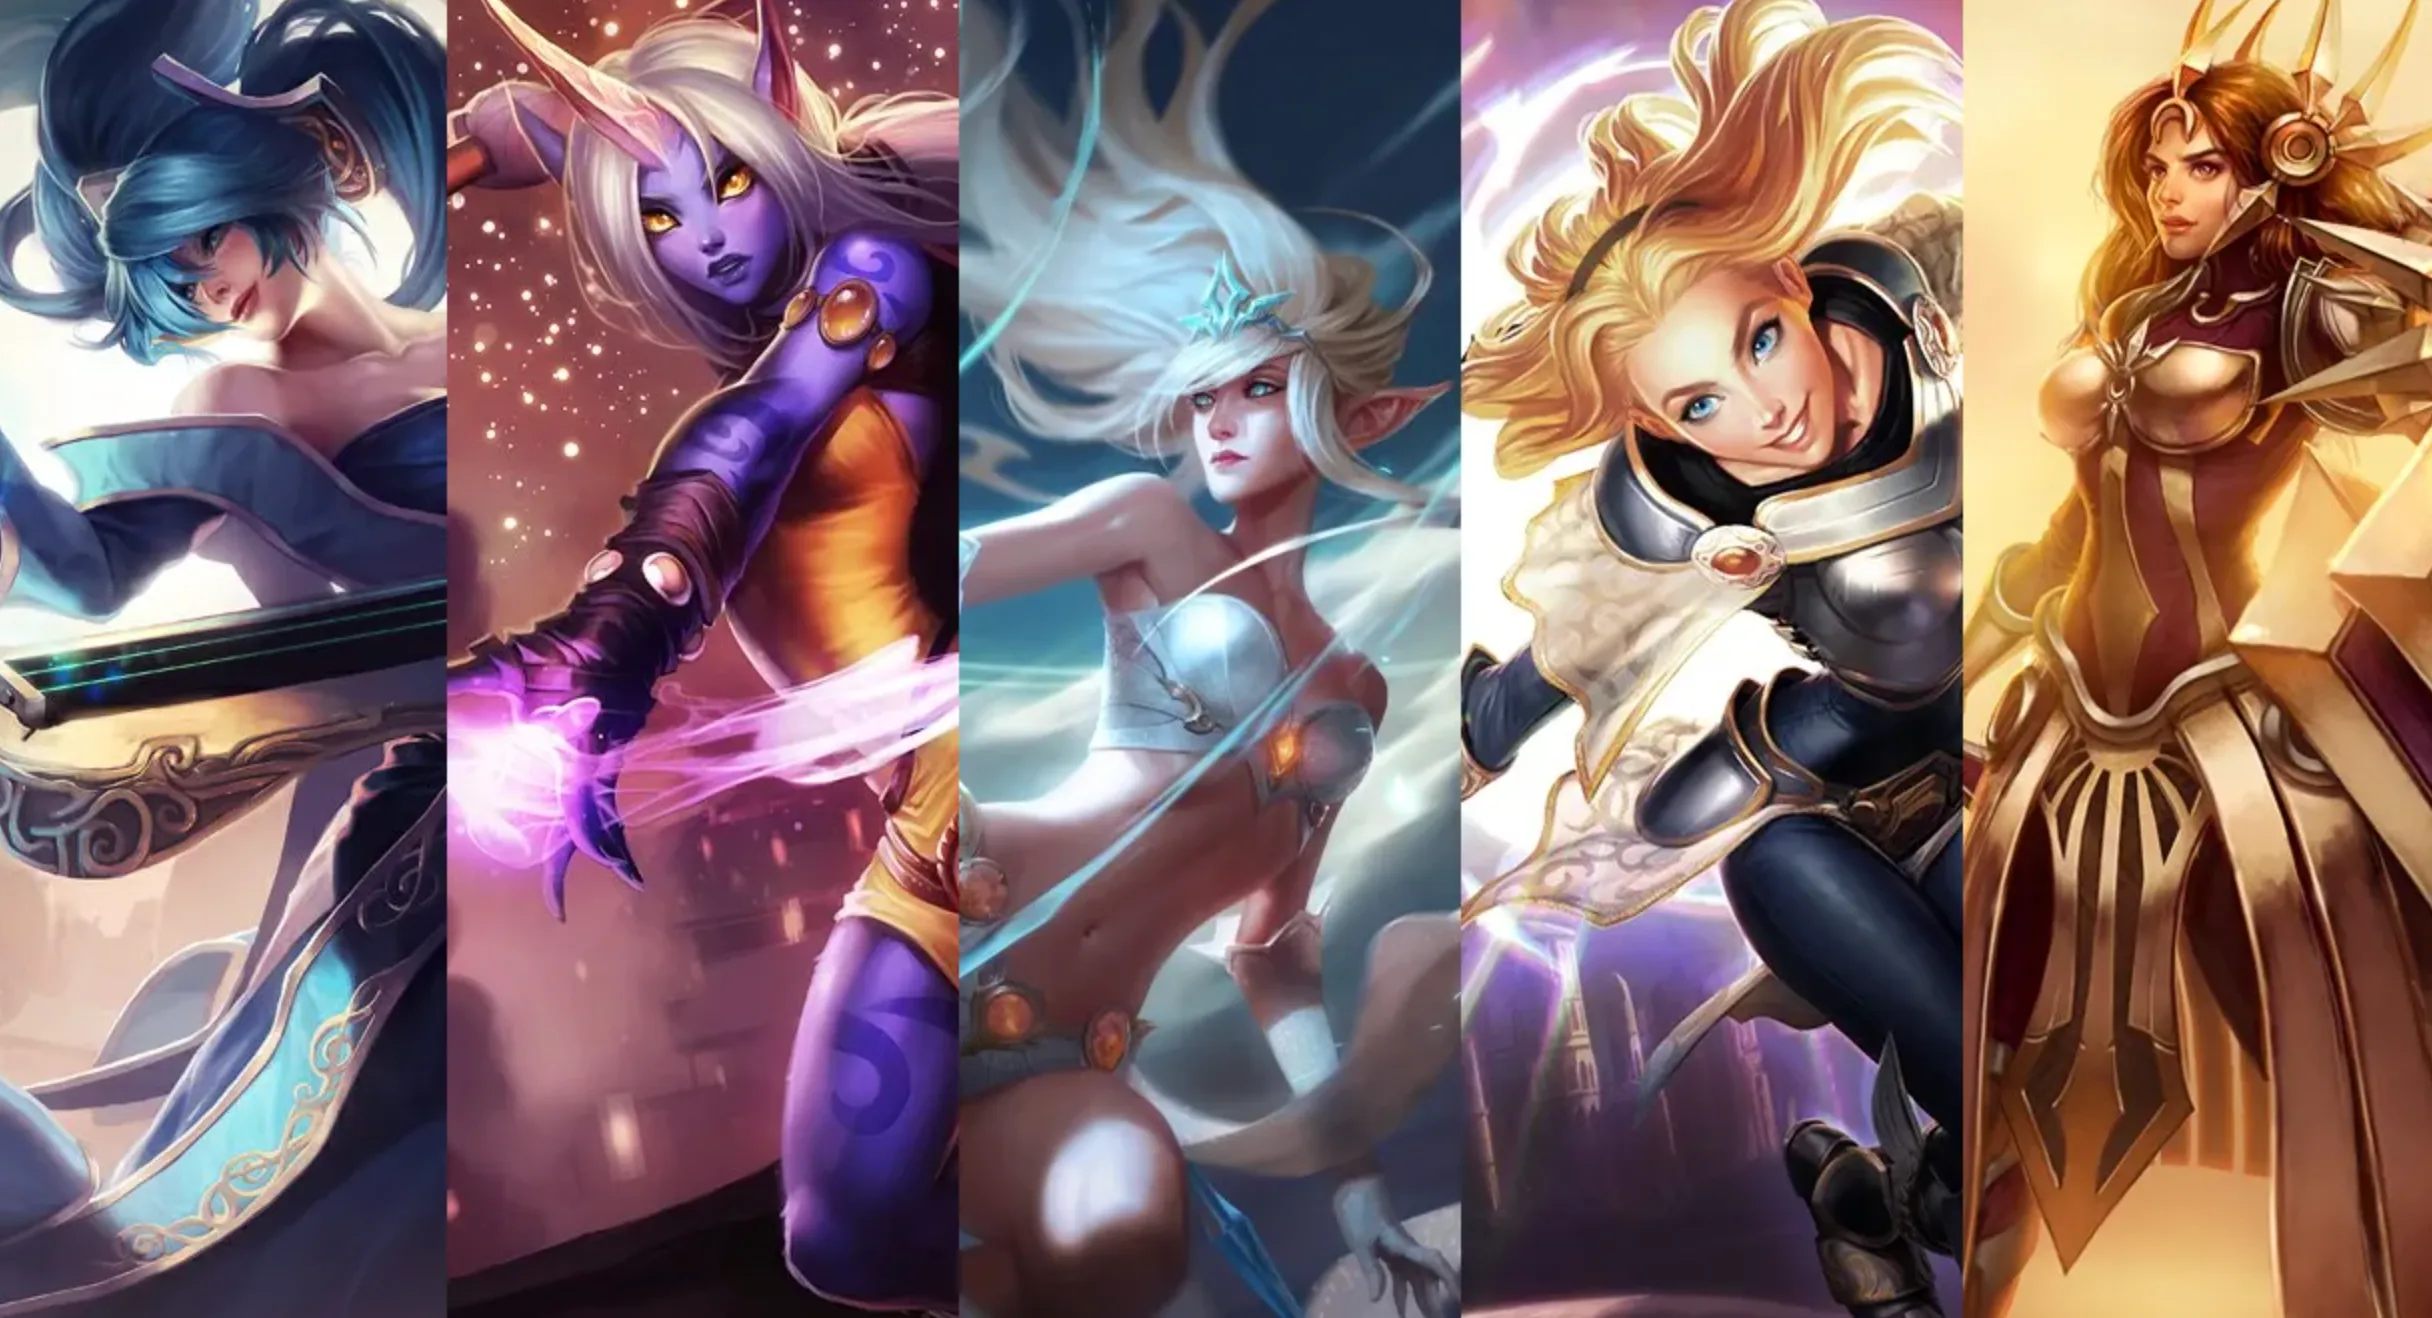
Examples: Janna, Soraka, Taric, Sona, Yuumi
Poke Supports
These champions thrive at long range. They constantly throw out spells to chip down enemies before fights even start, making lane pressure and objective setups much easier.
Examples: Karma, Seraphine, Vel’Koz, Xerath, Zyra
Damage Supports
Burst-heavy supports bring huge kill pressure. They’re risky because they rely on limited income, but when ahead, they can delete enemies instantly.
Examples: Brand, Lux, Swain, Veigar, Vex
Utility Supports
Utility supports don’t fit typical molds—they bring unique abilities that help the team in creative ways, whether through revives, extra stats, or map-wide tools.
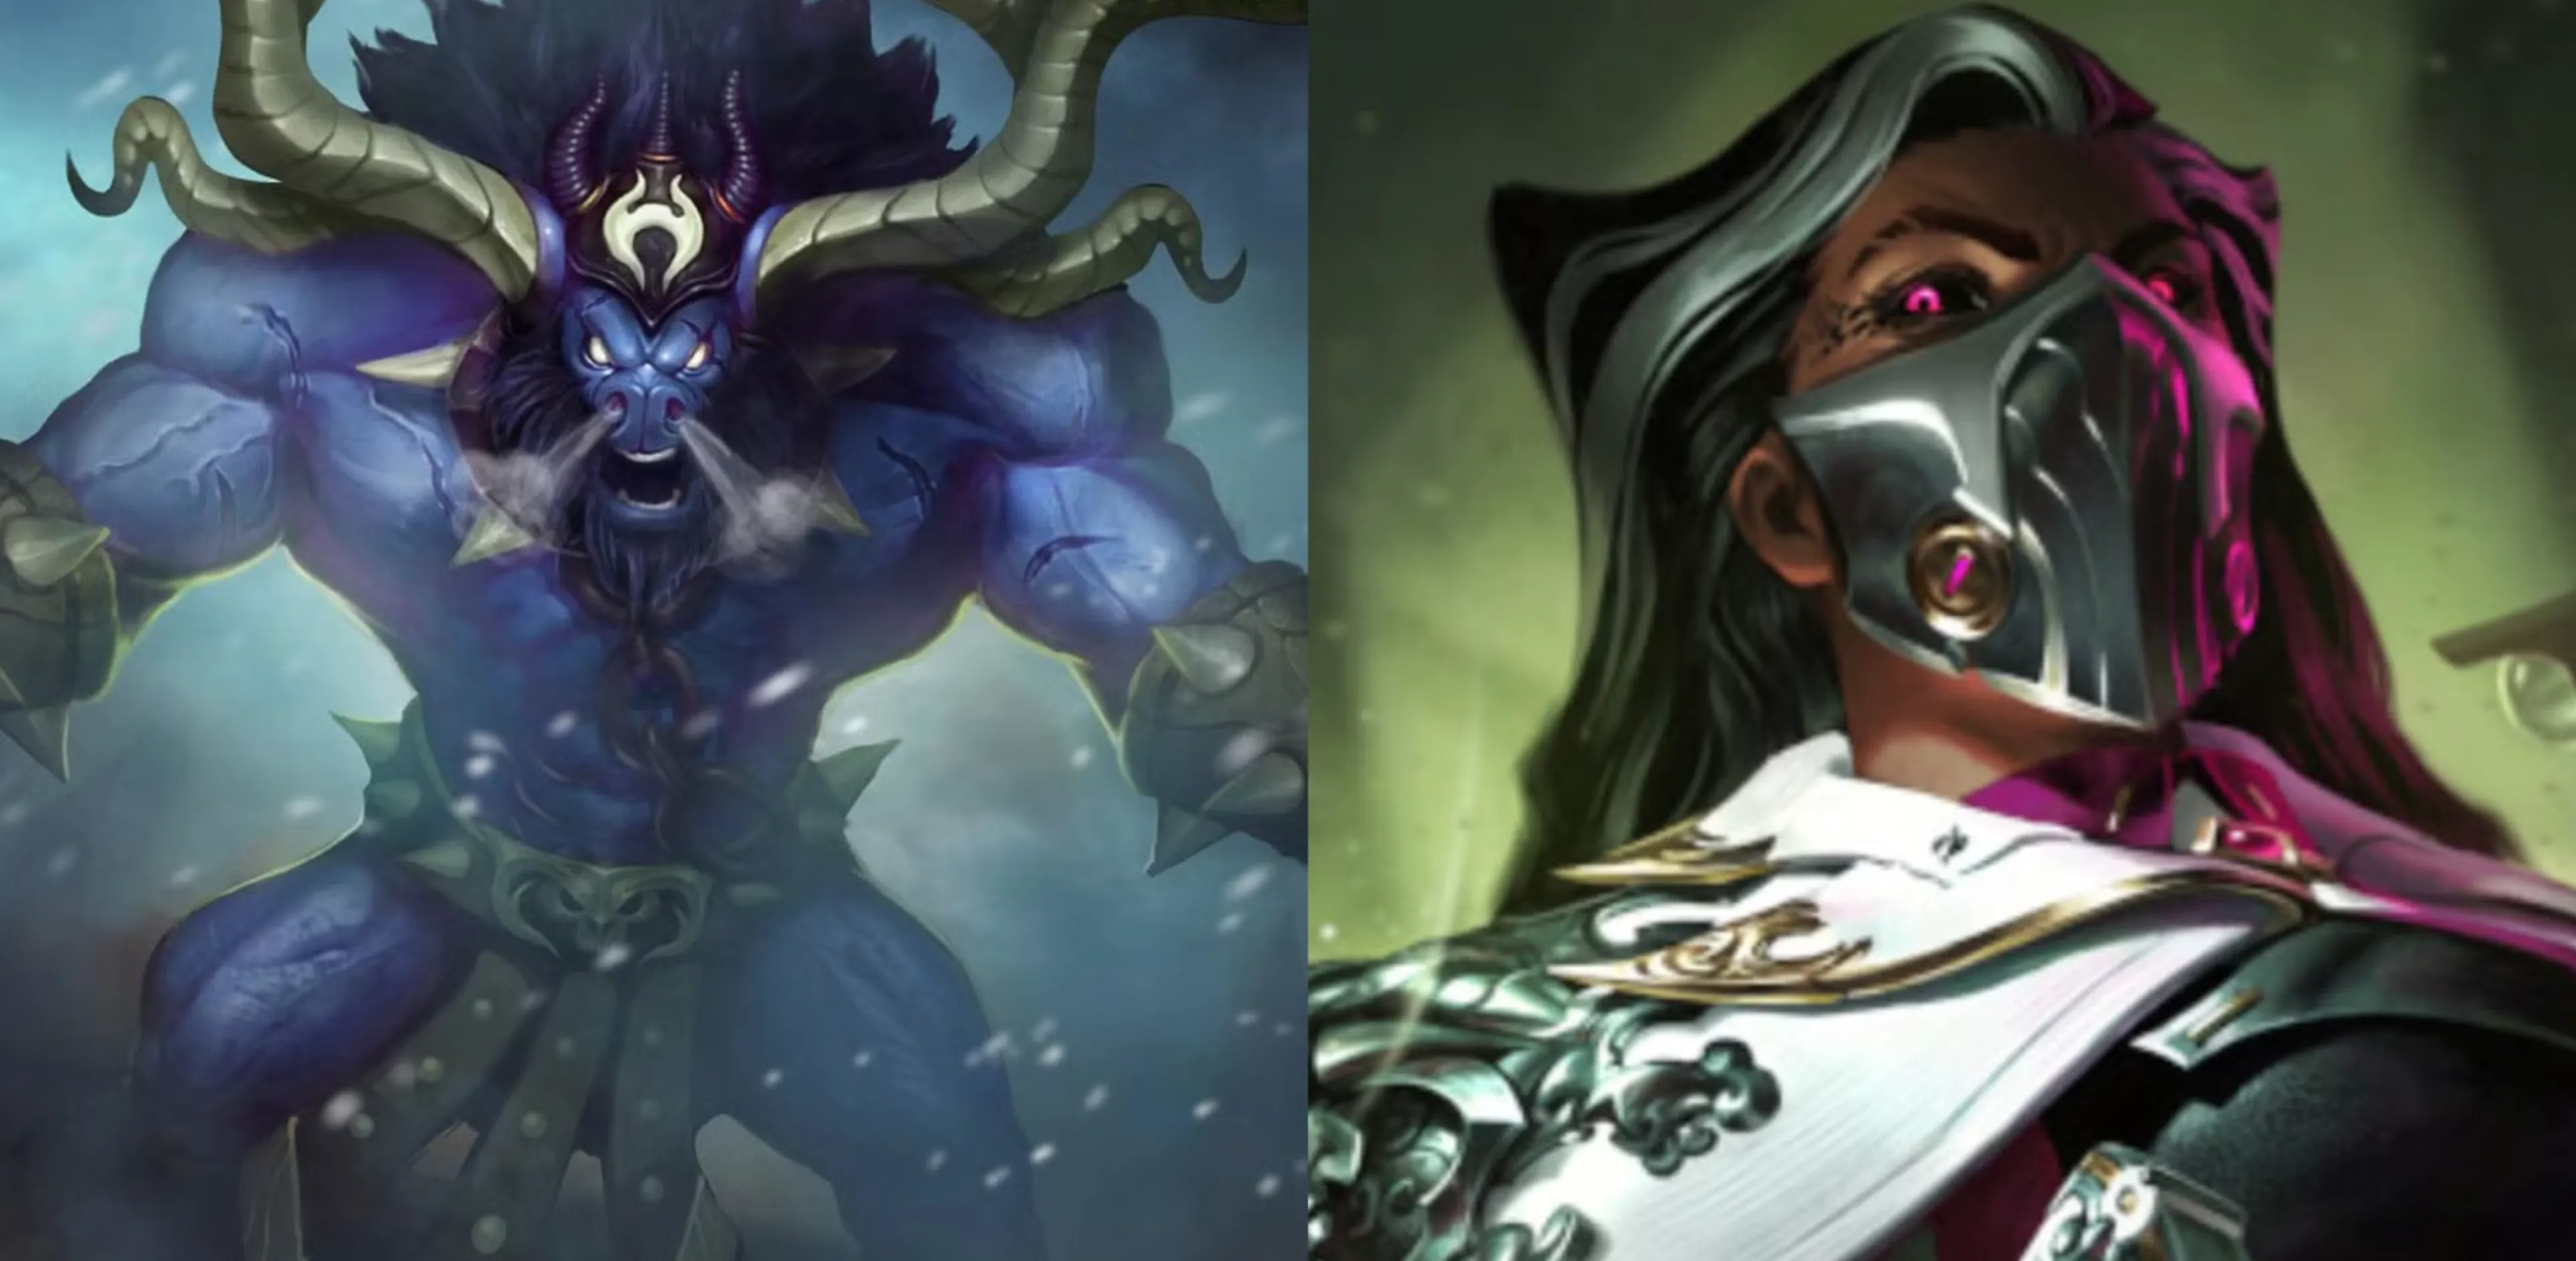
Examples: Bard, Ornn, Zilean
Pick Supports
Pick supports excel at catching isolated targets with hard engage tools like hooks or snares. One good pick can win an entire fight before it even begins.
Examples: Blitzcrank, Morgana, Nautilus, Pyke, Thresh
No matter what style you enjoy—aggression, healing, utility, or pure playmaking—there’s a support that matches your personality. Simpler champions like Yuumi or Sona are great for beginners, while high-skill picks like Thresh or Bard reward players who enjoy making clutch outplays. Once you find two or three champions that feel right, stick with them. Support rarely gets banned out, so mastering just a small champ pool can take you far and make your impact on the game feel consistent every match.
How To Play the Lane As Support
The laning phase is where Support players make their biggest impact early on, and how you handle the first few minutes can decide whether your ADC gets to scale or spends the game behind. Unlike solo lanes, bot lane is a chaotic 2v2 where every mistake is punished twice as hard, so understanding how your matchup works is the first step to controlling the lane. Your ADC’s main job is farming—your job is everything else: setting up trades, keeping vision, protecting them, and knowing when it’s safe or unsafe to fight.
Before the minions even spawn, your first responsibility is helping your jungler guard against invades or assisting with their first camp. After that quick leash, you follow your ADC to lane and the real game begins. The first levels are fragile, and the pace of the lane often depends on how well you handle positioning, cooldowns, and pressure.
Once the minions meet, focus on three fundamentals:
Trading:
This is where supports decide the tone of the lane. Good trades make your ADC’s life easier; bad trades force you both to play scared or burn summoner spells. Always consider cooldowns, health, and whether your ADC can follow up before committing. Forcing fights in losing matchups only hands the enemy free kills, while playing too passive in winning matchups wastes your early power.
Wave Control:
You may not last-hit, but you help shape the wave. Lightly trimming minions to push, or holding back to freeze the wave near your tower, can completely change how safe your ADC feels. Controlling the wave also makes trades easier and protects your lane from early jungle pressure.
Warding:
Vision is your biggest weapon. A single ward can prevent a jungle gank, stop a bot-side roam, or let your team contest early dragons safely. Placing and clearing wards is what keeps your lane alive and gives your team map control long before teamfights begin.
The early game doesn’t need to be flashy—consistent trades, smart wave control, and proper vision will win far more lanes than random all-ins. When you understand your matchup and play around your strengths instead of forcing plays, the bot lane becomes far easier to control, and your impact as a Support becomes obvious in every stage of the game.
Trading
Good trading in lane comes down to one simple idea: are you dealing more damage than you’re taking? If the answer is yes, you’re winning the exchange. Strong trades make the enemy play safer, give your ADC more room to farm, and let you control the tempo of the lane. When you consistently chip away at the enemy bot lane while keeping yourself healthy, you force them into defensive play, which naturally creates pressure for your team.
Ranged supports have the easiest time with safe trades because they can poke without committing. Champions like Vel’Koz, Karma, or Zyra can throw abilities from a distance and whittle enemies down long before they can retaliate. On the other hand, melee engage champions—like Leona or Alistar—can’t just “poke.” Their trades usually require going all-in, which means they’re riskier when the matchup or wave isn’t in their favor.
If you’re using a Spellthief’s support item, look for frequent, safe opportunities to poke. Every bit of harass earns you gold, and these tiny advantages add up quickly.
Here are a few simple trading rules to always keep in mind:
• Ranged vs. Melee Matters
If you’re ranged and they’re melee, you naturally have the upper hand. Keep your distance, use auto attacks when safe, and force them to lose health every time they try to walk up. If you let melee supports engage for free, you’re giving away your biggest advantage.
• Know the Lane State
Before trading, check items, cooldowns, and current momentum. If your lane is behind or the enemy just bought a strong early item, forcing trades is usually a losing play. Sometimes backing off and playing safe is the smarter call.
• Match Your Lane Identity
Not every lane is meant to fight constantly. If you’re playing a scaling or defensive duo, your job is to survive, protect your ADC, and avoid unnecessary damage. Trading aggressively when your comp isn’t designed for it only puts you at risk.
Great supports don’t just throw spells at random—they choose trades carefully, play around range advantages, and only commit when the situation actually benefits their lane. When you master this mindset, the bot lane becomes far easier to control, and your ADC will feel much more protected and empowered.
Wave Manipulation
Wave control is one of the most important—but most overlooked—parts of playing Support. It isn’t flashy like hitting a hook or landing a stun, but proper wave management can win lanes even when you’re behind in kills. A bot lane with smart minion control builds safer recalls, cleaner trades, and a steady gold lead that snowballs into mid-game.
Pushing a wave is simple: help your minions kill theirs faster. This makes your wave move forward, which is useful when you want to hit level two first, reset before the enemy, or rotate for an objective. Just be careful—not every lane benefits from pushing. If you shove mindlessly, you can hand the enemy an easy freeze or expose your lane to jungle ganks.
Freezing is the opposite. Instead of clearing minions quickly, you slow the wave down and hold it near your tower. Letting the enemy minions hit you or your minions before the tower range keeps the wave on your side, giving your ADC a safe spot to farm. This position is great for building steady gold, but be aware: freezing means you’re fighting inside a large enemy wave, so avoid skirmishes unless your jungler is nearby.
When a wave ends up under your tower, help your ADC secure CS. Remember the basics: melee minions survive three turret shots, ranged minions survive two. If you’re using Relic Shield or Steel Shoulderguards, your execute charges help secure cannon minions and share gold with your ADC—never waste those charges.
A few simple rules make wave management much easier:
• Farm is just as important as kills
Your ADC needs gold and experience more than anything. Even if you’re 0/2, you can still be ahead if your duo has better CS and wave control.
• Push with purpose
Push when you want to recall, rotate, hit level two first, or get out of a dangerous matchup. If none of those apply, there’s no reason to shove the wave.
• Freeze only when it’s safe
Freezing is strong, but pointless if the enemy can poke you out while your ADC tries to farm. If you’re getting harassed too much, let the wave reset.
• Sometimes doing nothing is best
If both teams are farming and neither side has a clear advantage, leaving the wave neutral is perfectly fine. Don’t panic and shove the lane “just because.” Stable waves lead to stable lanes.
Mastering wave manipulation turns your bot lane from coin-flip fights into controlled, predictable situations. When you understand when to push, when to freeze, and when to simply let the wave sit, your lane becomes safer, your ADC gets richer, and your overall impact skyrockets.
Warding
Good warding in lane is one of the biggest advantages a Support can bring, and since the bot lane area is small, even a few well-placed wards can completely control how safe or unsafe the lane feels. Proper vision lets you track the enemy support, spot incoming junglers, and avoid surprise engages long before they happen.
Here are the most important warding spots and how to use them:
• Bot Side Tri-Bush
This bush is one of the best defensive ward spots in lane. When you’re on Blue side, it protects you from junglers or roaming mids entering through your own jungle. When you’re on Red side, it helps you spot enemies coming from their jungle. It’s also one of the most common places to drop a Control Ward, so expect it to be contested often.
• Bot Side River Bush
This ward watches the river entrance into bot lane. It won’t give as much advance warning as a deep jungle ward, but it still helps you see when the enemy jungler is moving toward your lane. It’s especially helpful for early skirmishes around Scuttle or Dragon.
• Bot Lane Bushes (Any of the Three)
These bushes matter the most for direct lane control. They let you track the enemy support’s position, which is crucial because supports start most of the engages in bot lane. If you’re pushing, keeping one of these bushes warded protects you from lane ganks. If the enemy drops a Control Ward here, clear it when safe—or play carefully, because it often means they’re setting up a gank.
The purpose of warding is simple: keep your lane safe and give your team information they wouldn’t have otherwise. A ward only has value if you actually react to what it shows. Always keep an eye on your minimap—if the enemy jungler is seen topside, you can play more aggressively. If they disappear toward bot, tighten your vision and stop overextending.
And remember: never die for a ward. One safe, well-placed ward in a lane bush and a Control Ward in river or tri is usually all you need to maintain strong early-game vision without risking your life.
Mastering warding turns bot lane from a guessing League of Legends game into a controlled space where you decide when to fight, when to back off, and when to call for help.
How To Control Vision As Support
Once the laning phase ends, your vision duties as a Support expand far beyond the bot lane. You’re no longer just protecting your ADC — you’re helping your entire team control information across the whole map. That doesn’t mean you’re expected to ward everything alone, but you are the main player responsible for keeping vision flowing and making sure your team isn’t walking blind into fights.
By mid-game, you should have your upgraded support item, which lets you carry and place more Stealth Wards. You should also swap to Oracle Lens so you can sweep out enemy vision whenever you move around the map. At this point, it’s totally normal to leave your ADC farming safely while you step away to set up vision around important objectives or choke points.
From this stage onward, your two biggest priorities are always the same:
• Dragon
• Baron Nashor
These two objectives decide the pace of the game, and whoever controls the vision around them usually gets the upper hand in upcoming fights.
Dragon Control
Dragon is the first major objective you’ll fight for, so vision here is essential. The best setup is:
• A Control Ward inside the pit
• Stealth Wards in surrounding bushes and river entrances
• Clearing enemy wards with Oracle Lens before the fight starts
This setup lets your team safely prep for Dragon, catch enemies walking in, or force opponents to face‐check into you.
Keep an eye on spawn timers:
• Dragons spawn 5 minutes after the game starts, then every 5 minutes once killed
• Elder Dragon spawns after all four elemental dragons and has a 6-minute timer
Ideally, your team should start putting vision down at least one minute before Dragon comes up.
Baron Control
Later in the match, Baron becomes the biggest win-condition, and vision here is even more important than Dragon. Similar rules apply:
• Drop a Control Ward inside the pit
• Place Stealth Wards around entrances and flanking paths
• Use Oracle Lens to clear enemy setup
Remember: both Dragon and Baron can be safely warded over the wall, which keeps you from walking blindly into danger.
Baron spawns at 20 minutes, and then respawns every 7 minutes. When the timer is getting close, rotate to the top side of the map and prepare early. Whoever establishes vision control first has the advantage — the enemy will have to walk into darkness, which almost always leads to picks, fights, or objective steals.
General Vision Tips After Lane
• Keep placing wards around areas where your team fights most — usually mid lane and jungle entrances
• Control Ward hotspots: river bushes, tri-bushes, jungle choke points, and objective pits
• Always sweep when moving through dark jungle paths
• Recall if needed; your ward charges only refill in fountain
• Never face-check blindly — let your wards do the scouting
Vision wins games, especially in solo queue, and Supports who master map control are often the hidden MVPs of every match.
Supporting a Teamfight
Teamfights are where a Support can completely shift the momentum of a game, but how you play each fight depends heavily on the type of Support you picked. Enchanters thrive when they stay behind their frontline, peeling and protecting their carries. Tanks, on the other hand, belong in the middle of the chaos — starting fights, locking down priority targets, and absorbing pressure so your carries can deal damage safely.
No matter what type of Support you’re using, one simple rule always applies:
You’re usually the lowest-value champion on the map in terms of gold.
And that’s not an insult — it’s part of the job. Because Supports don’t farm the same way other roles do, your death is almost always worth far less than losing a fed ADC, mid laner, or jungler. This means you can afford to take risks others can’t. If you need to burn your cooldowns and even sacrifice yourself to keep your carry alive during a key fight, that trade is almost always worth it.
For engage-heavy Supports like Leona, Nautilus, or Rell, this mindset is even more important. A clean initiation that leads to your team winning a fight is far more valuable than you staying alive but contributing nothing. Just don’t throw yourself in without purpose — dying for no reason is still dying for no reason.
Things shift when you’re playing a Damage Support, like Brand, Zyra, or Swain. In these matchups, you’re no longer just a utility bot — you’re a major damage source. Your positioning becomes similar to that of a secondary carry, and staying alive long enough to unload your spells matters more than forcing a risky engage.
Every fight will look a little different depending on the enemy comp, your allies, and whether you’re ahead or behind, but knowing your role in the team’s structure makes decision-making much clearer. Sometimes you lead the charge, sometimes you play bodyguard, and sometimes your job is simply to buy enough time for your carries to take over.
The Support Economy
One of the biggest differences between Support and every other role in League of Legends is how you earn your gold. Since you’re not farming waves or taking jungle camps, your entire economy works differently, and understanding that system is key to staying useful as the game goes on.
Your Support item is your main source of income, especially during the first 15 minutes. Whether you’re poking enemies for Spellthief’s procs or executing minions with Relic Shield/Shoulderguards, these small chunks of gold add up quickly. As soon as the item upgrades, you’ll unlock the warding bonuses that define the Support role — extra Stealth Wards, stronger map control, and more vision pressure.
Because your gold flow is naturally lower than the rest of your team, you won’t be racing to complete big damage items like a mid laner or ADC. Instead, your money should always go toward items that provide immediate, team-wide value. Things like Locket, Shurelya’s, Knight’s Vow, or Zeke’s help your entire team win fights even if you’re not ahead individually.
Another important part of the Support economy is timing your recalls. Since you don’t need to stay in lane for last-hits, you can reset earlier and more often to restock wards, buy components, and return to refresh vision around objectives. Good Supports treat their gold as a resource to amplify the map — not just themselves.
And remember: because your item spikes come from cheap, high-impact components, even a small gold lead can make your next roam, dragon setup, or teamfight that much stronger. You don’t need kills to matter. You just need the right items at the right moments.
At the end of the day, mastering the Support economy is about making every coin count. Spend efficiently, buy for the team, and use your item spikes to shape the map in your favor.
Conclusion
Playing Support in League of Legends is more than just sitting behind your team — it’s about controlling the pace of the game, shaping fights before they happen, and giving your teammates the space they need to shine. Whether you prefer locking down enemies, protecting carries, or creating picks that swing the momentum, the role has something for every playstyle. Once you understand lane flow, vision control, teamfight positioning, and how to make the most out of the Support economy, the impact you can have becomes massive. With practice, smart decisions, and the right champs in your pool, you’ll quickly see why Support is one of the most influential roles on the Rift. Keep refining the fundamentals, stay consistent with your vision, and you’ll start winning games long before the teamfight even begins.
Posted On: November 19th, 2025
Recent Articles
💬 Need help?
Our 1v9 support team is available 24/7 to help you with any questions or issues you may have.
support@1v9.gg
Loading...
1v9.gg is not endorsed or affiliated by any game developers or publishers.
2025 1v9, All Rights Reserved, Created By NightDev


