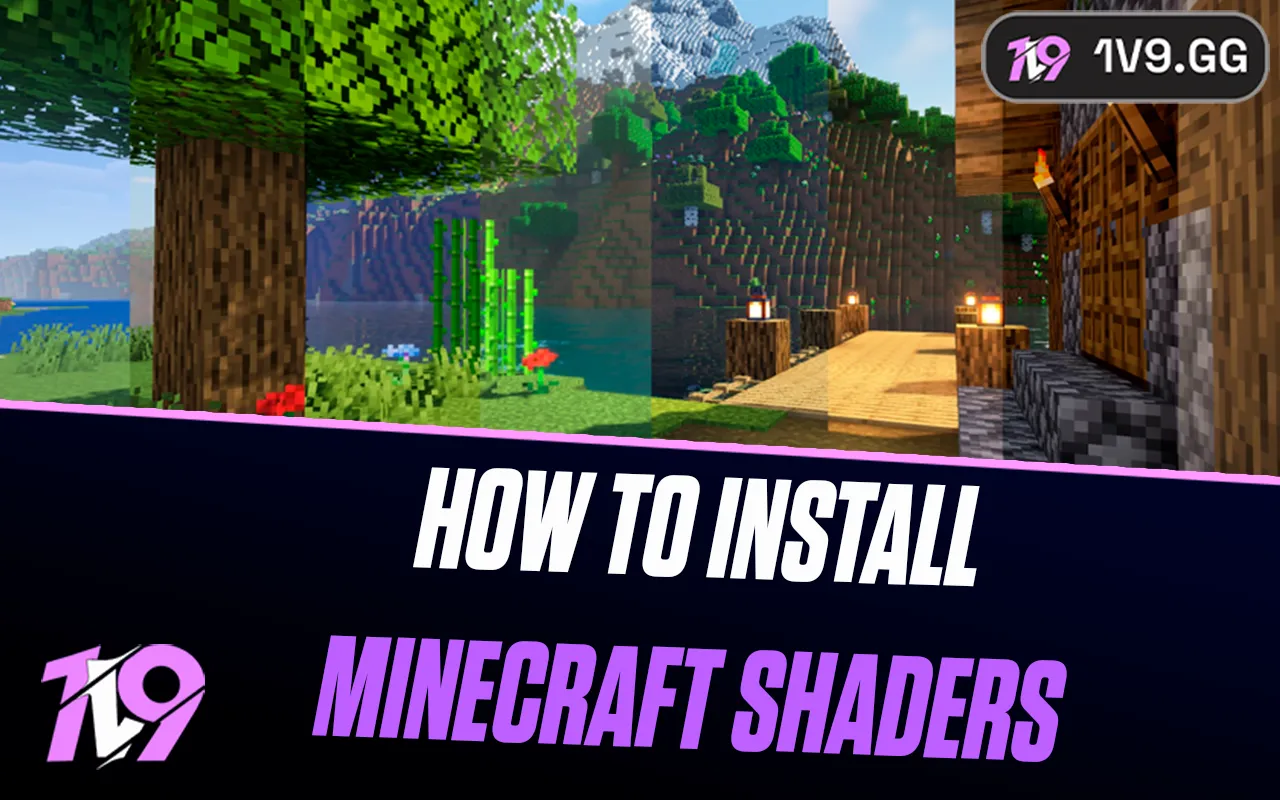


How To Install Minecraft Shaders: Complete Guide
Minecraft has always leaned into a simple, blocky art style, but that doesn’t mean it has to look basic. Shaders are one of the easiest ways to completely change how Minecraft feels, adding realistic lighting, soft shadows, glowing sunsets, flowing water, and detailed skies without touching your worlds or builds. A good shader pack can make forests feel alive, caves feel moody, and nights feel truly dark, all while keeping the core gameplay the same. If you’ve ever wanted Minecraft to look more cinematic or immersive, installing shaders is the way to do it. In this guide, we’ll walk you through exactly how to install Minecraft shaders step by step, so you can upgrade your visuals and start playing with a whole new atmosphere.
Requirements to Install Shaders in Minecraft
Before installing shaders in Minecraft, there are a couple of things you need to have ready. First, shaders only work on Minecraft Java Edition, so you must own the official PC version of the game. Shaders are not supported on Bedrock Edition, meaning consoles, mobile, and Windows Bedrock players won’t be able to use them. Second, vanilla Minecraft can’t run shaders on its own, so you’ll need a shader-compatible mod to make everything work properly. The two most popular and reliable options are OptiFine and Iris, both of which add shader support and extra performance settings. Once you’ve installed one of these mods on your system, you’ll be fully set up and ready to move on to installing and activating shaders in Minecraft.
How To Install Shaders in Minecraft
Once you’ve got everything ready, installing shaders in Minecraft is actually pretty straightforward. The full setup can be broken down into three simple parts: installing a shader-compatible mod, downloading a shader pack, and activating it inside the game. Here’s how to do it step by step without any hassle.
First, you’ll need to install a mod that allows Minecraft to run shaders. The two most commonly used options are OptiFine and Iris, and both work great. Start by visiting the official website of the mod you want to use and download the version that matches your Minecraft version. After the file finishes downloading, open the .jar file with Java and follow the installation prompt. The mod will automatically install itself into your .minecraft folder. Once that’s done, open the Minecraft Launcher and you’ll see a new profile for OptiFine or Iris ready to use.
Next, it’s time to choose a shader pack. There are tons of great options out there, so pick one that fits your style and your PC’s performance. Download your chosen shader pack from a trusted site like CurseForge or Modrinth, making sure it’s compatible with your Minecraft version and the mod you installed. The shader pack will download as a .zip file, and you don’t need to extract it. Just save it somewhere easy to find.
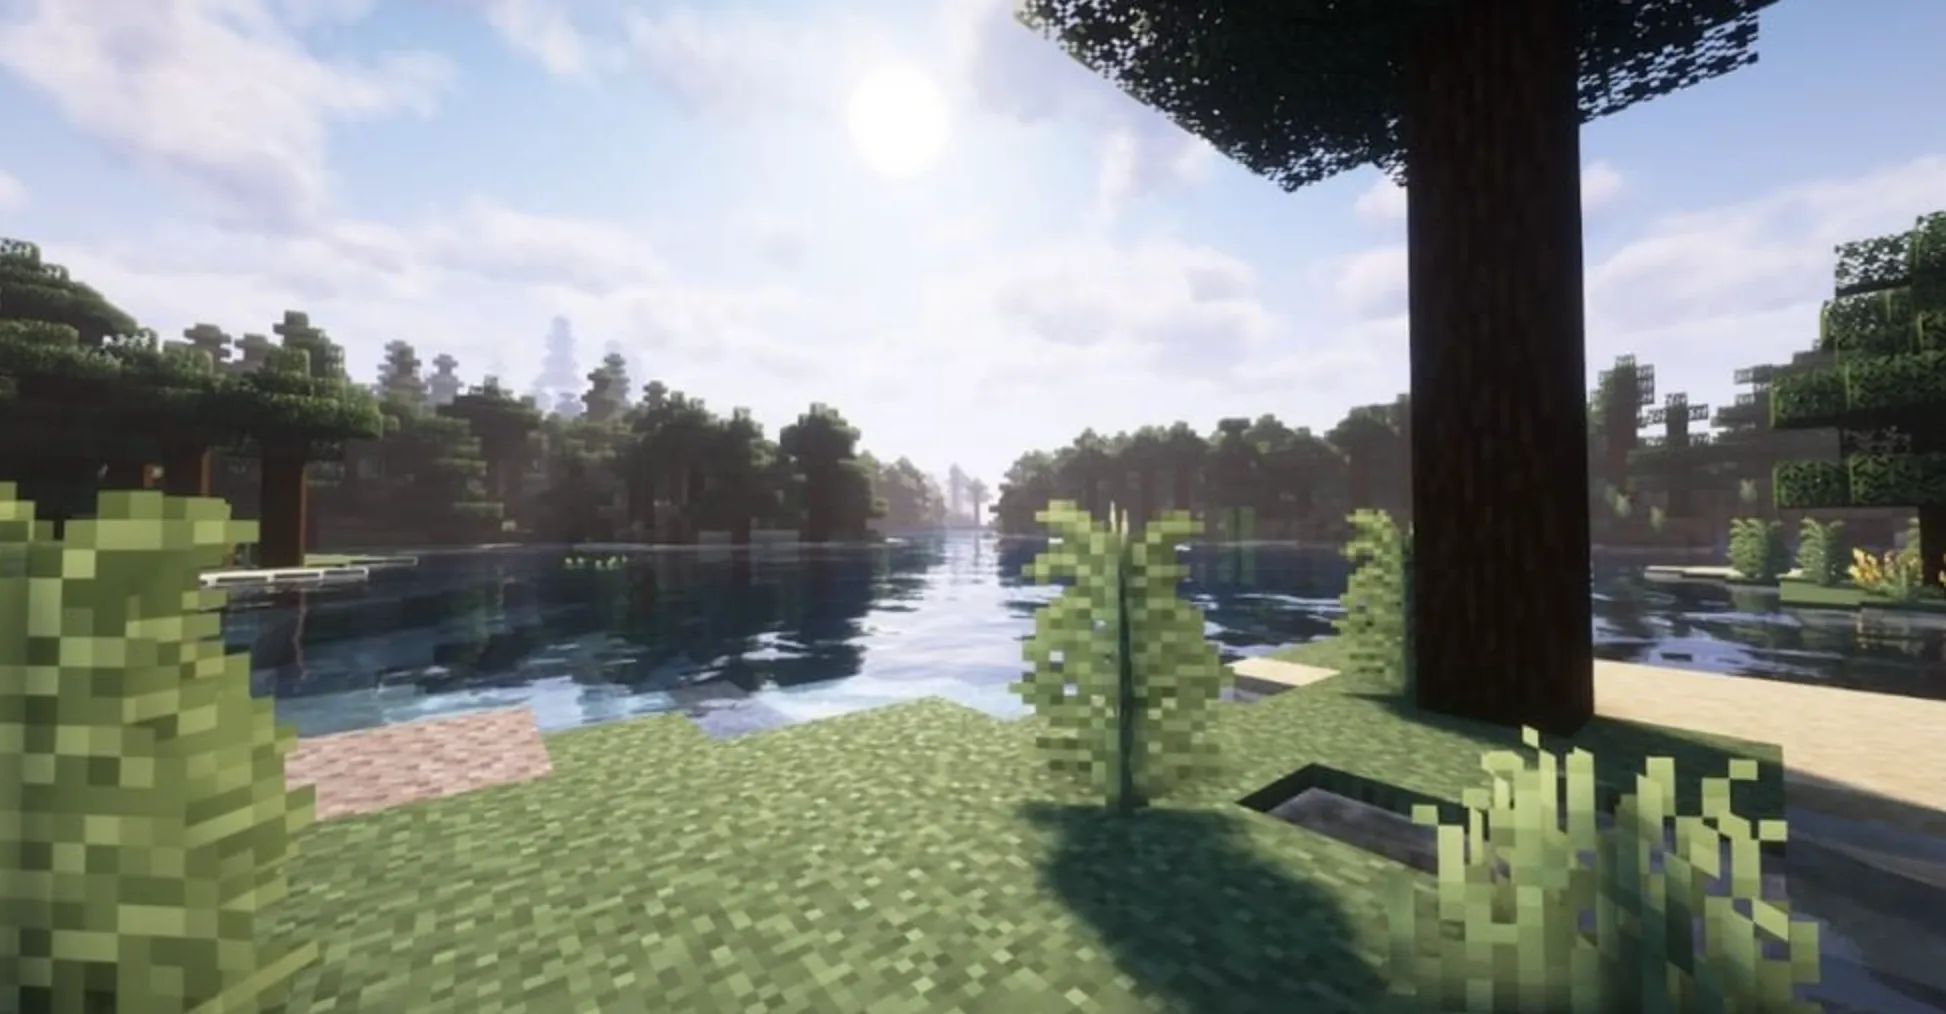
Finally, you can enable the shader in Minecraft. Launch the game using the OptiFine or Iris profile, then head to the main menu and open Options, followed by Video Settings. From there, click on the Shaders option and select Open Shaders Folder. This will open the folder where Minecraft looks for shader packs. Simply drag and drop the .zip file you downloaded into this folder, then close it. Back in the Shaders menu, select the shader pack you just added and click Apply or Done. After a short load, your world will instantly look different, with improved lighting, shadows, and effects.
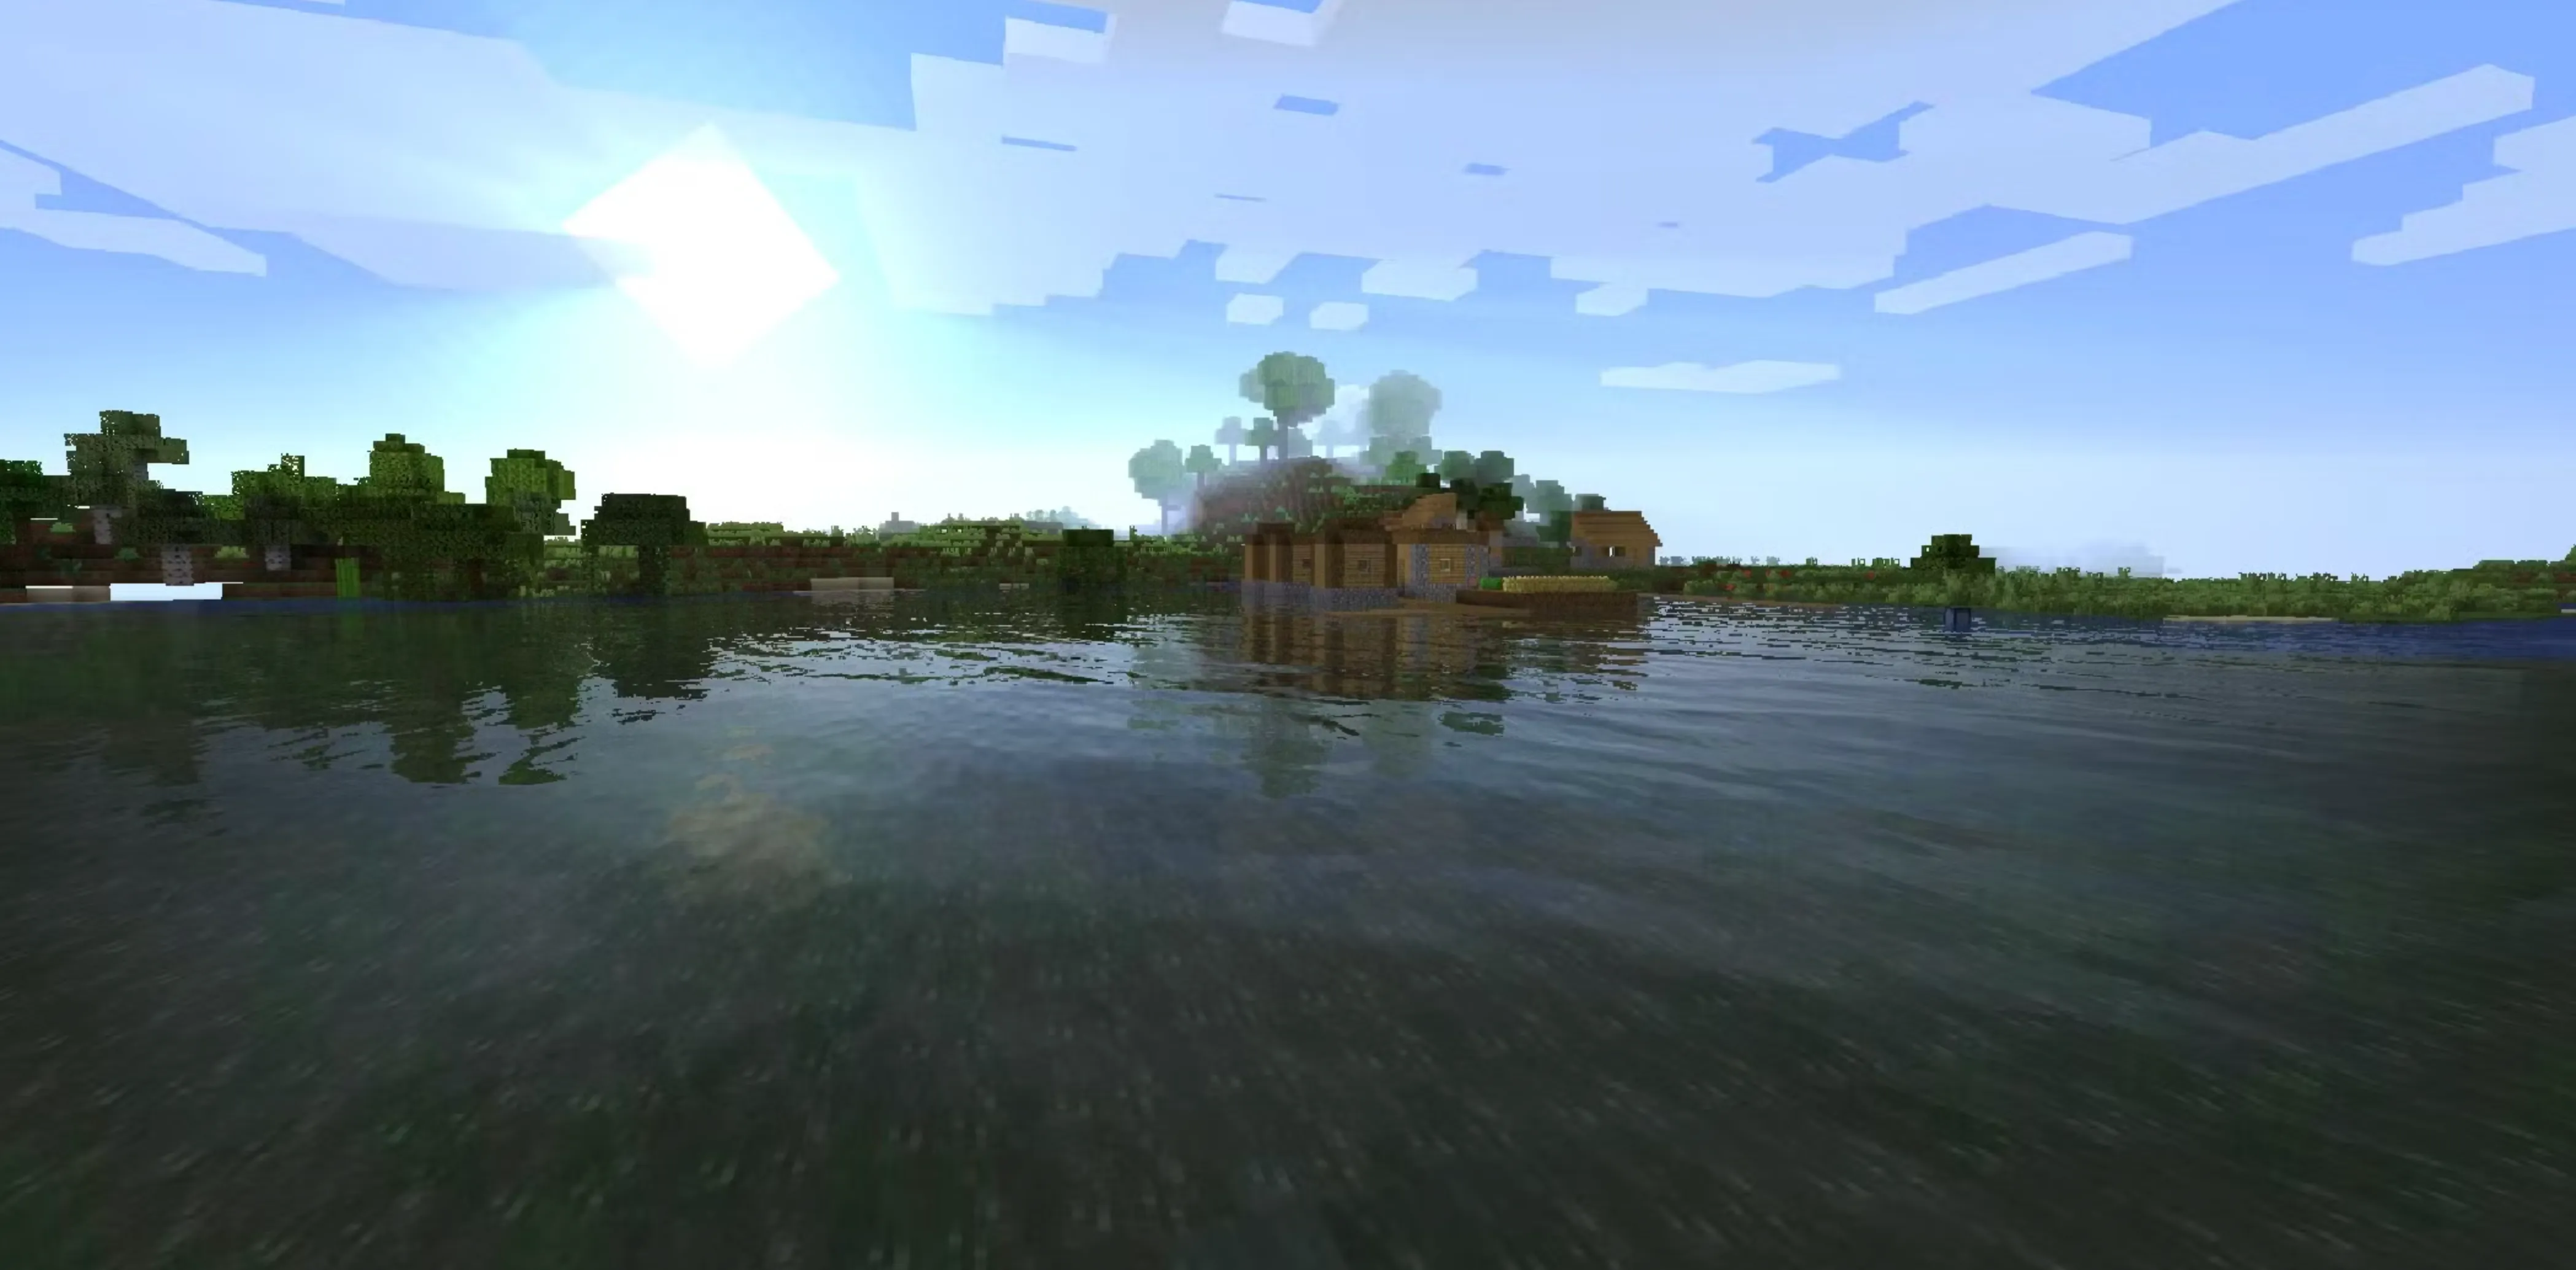
Once everything is active, jump into a world to see the difference. For the best experience, try creative mode and fly around with an Elytra to really appreciate how shaders transform Minecraft’s visuals.
FAQs
Where do you install shaders in Minecraft?
After downloading a shader pack, you just need to place the ZIP file into Minecraft’s shaders folder. You can open this folder directly in-game by going to Options → Video Settings → Shaders, then clicking Open Shaders Folder. Once the file is inside, it will appear in the list and can be enabled right away.
Do you need OptiFine to use shaders in Minecraft?
Yes, shaders don’t work on vanilla Minecraft by themselves. You’ll need a compatible mod to run them, with OptiFine and Iris being the two most popular choices. Either option works fine as long as it matches your Minecraft version.
Do shaders lower FPS in Minecraft?
Shaders can reduce your FPS since they add advanced lighting, shadows, and visual effects. That said, most shader packs come with performance settings you can tweak to find a smooth balance between visuals and gameplay, even on mid-range PCs.
Conclusion
Installing shaders is one of the best ways to completely transform how Minecraft looks and feels. With the right setup, you can turn the game’s simple blocky world into something cinematic, immersive, and visually stunning without changing the core gameplay you love. By installing a compatible mod, choosing a shader pack that fits your system, and applying it correctly in-game, you can upgrade your visuals in just a few minutes. Whether you want realistic lighting, smoother shadows, or vibrant water reflections, shaders let you customize Minecraft to match your style and hardware. Once everything is set up, you can fine-tune the settings and enjoy a more polished and atmospheric Minecraft experience every time you load into your world.
Learn how to install Minecraft shaders step by step, from required mods to applying shader packs, and upgrade your graphics with better lighting and visuals.
Posted On: January 7th, 2026
Recent Articles


💬 Need help?
Our 1v9 support team is available 24/7 to help you with any questions or issues you may have.
support@1v9.gg
Loading...
1v9.gg is not endorsed or affiliated by any game developers or publishers.
2025 1v9, All Rights Reserved, Created By NightDev