


7 Best Siege Machines In Clash of Clans
Siege Machines are some of the most powerful tools in Clash of Clans, designed to break through enemy defenses and deliver troops straight into the heart of a base. Each machine has its own unique role, whether it’s smashing walls, flying over defenses, or providing extra firepower. Choosing the right one can completely change the outcome of an attack, especially at higher Town Hall levels where defenses get tougher. In this article, we’ll go over the 7 best Siege Machines in Clash of Clans, explaining what makes each of them useful and when you should use them for the best results.
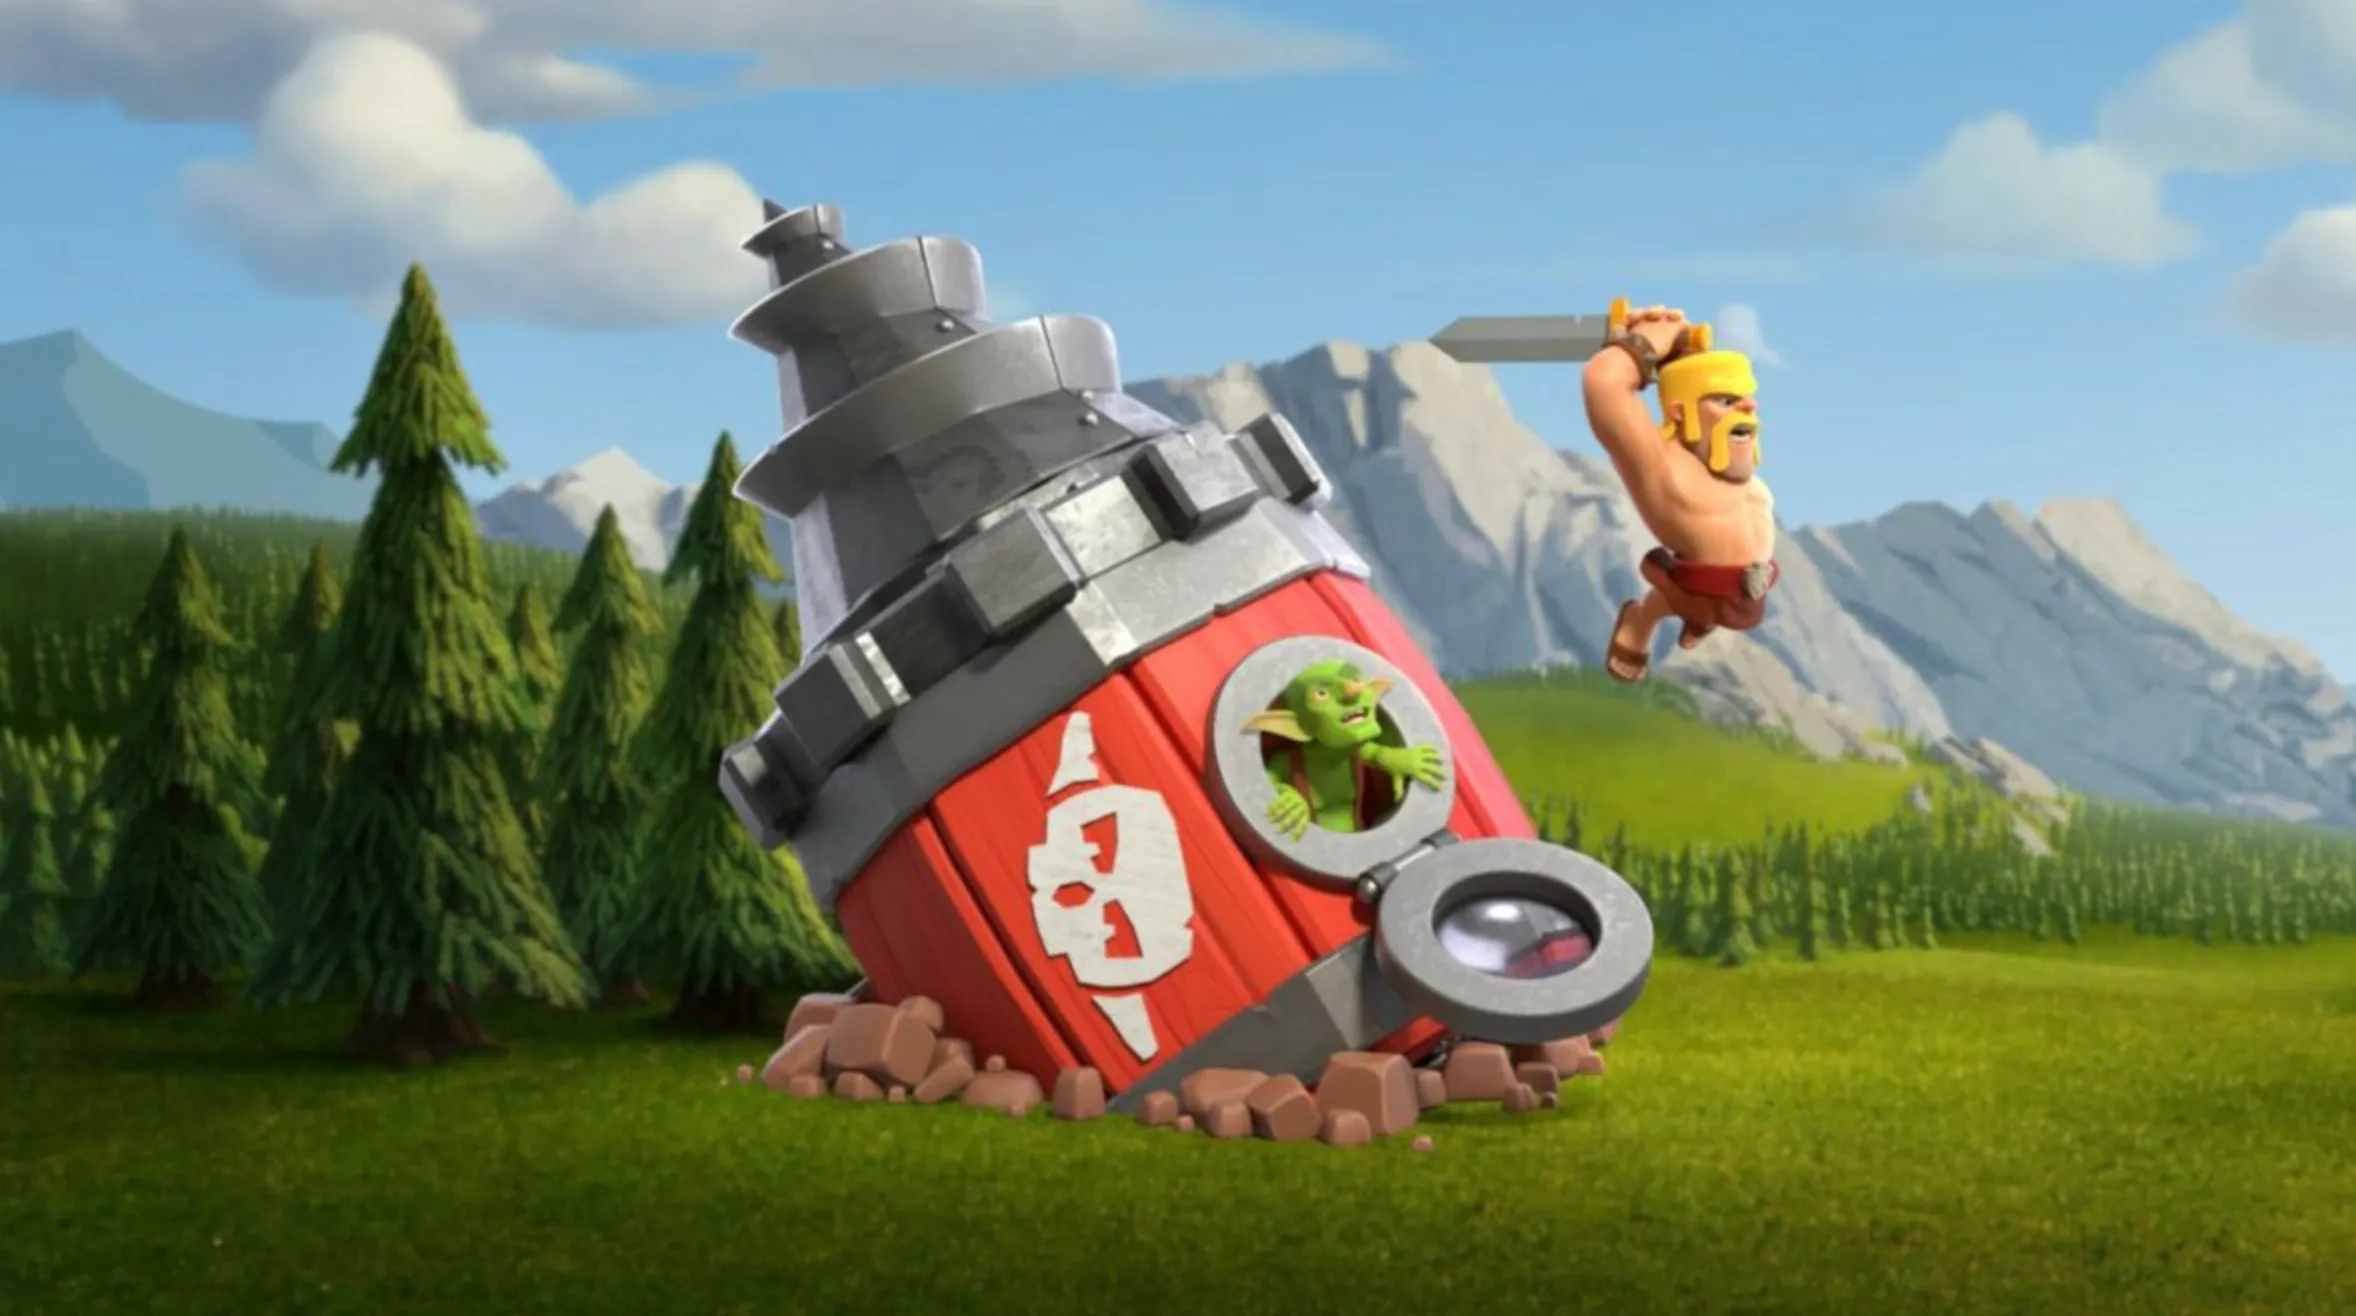
#7: Stone Slammer

• Workshop Level Required: 3 (Town Hall 12)
• Area Splash Radius: 3 tiles
• Attack Speed: 2.5 seconds
• Attack Range: 0.5 tiles
The Stone Slammer is a heavy hitter built for smashing defenses, especially when they’re packed closely together. By dropping massive boulders from the air, it deals devastating splash damage and inflicts 25x damage to walls, making it excellent for tearing open bases while helping ground troops push deeper. Despite its wall-breaking ability, the Stone Slammer is most commonly paired with air-focused strategies like LavaLoon or Electro Dragon attacks, where its destructive drops soften up defenses before the main army sweeps in.
Once destroyed, it releases the Clan Castle troops stored inside, usually high-damage units like Balloons or Dragons, ensuring even more pressure on the defending base. While it’s a strong option, especially at Town Hall 12, the Stone Slammer becomes less common at higher levels as newer Siege Machines offer more versatility.
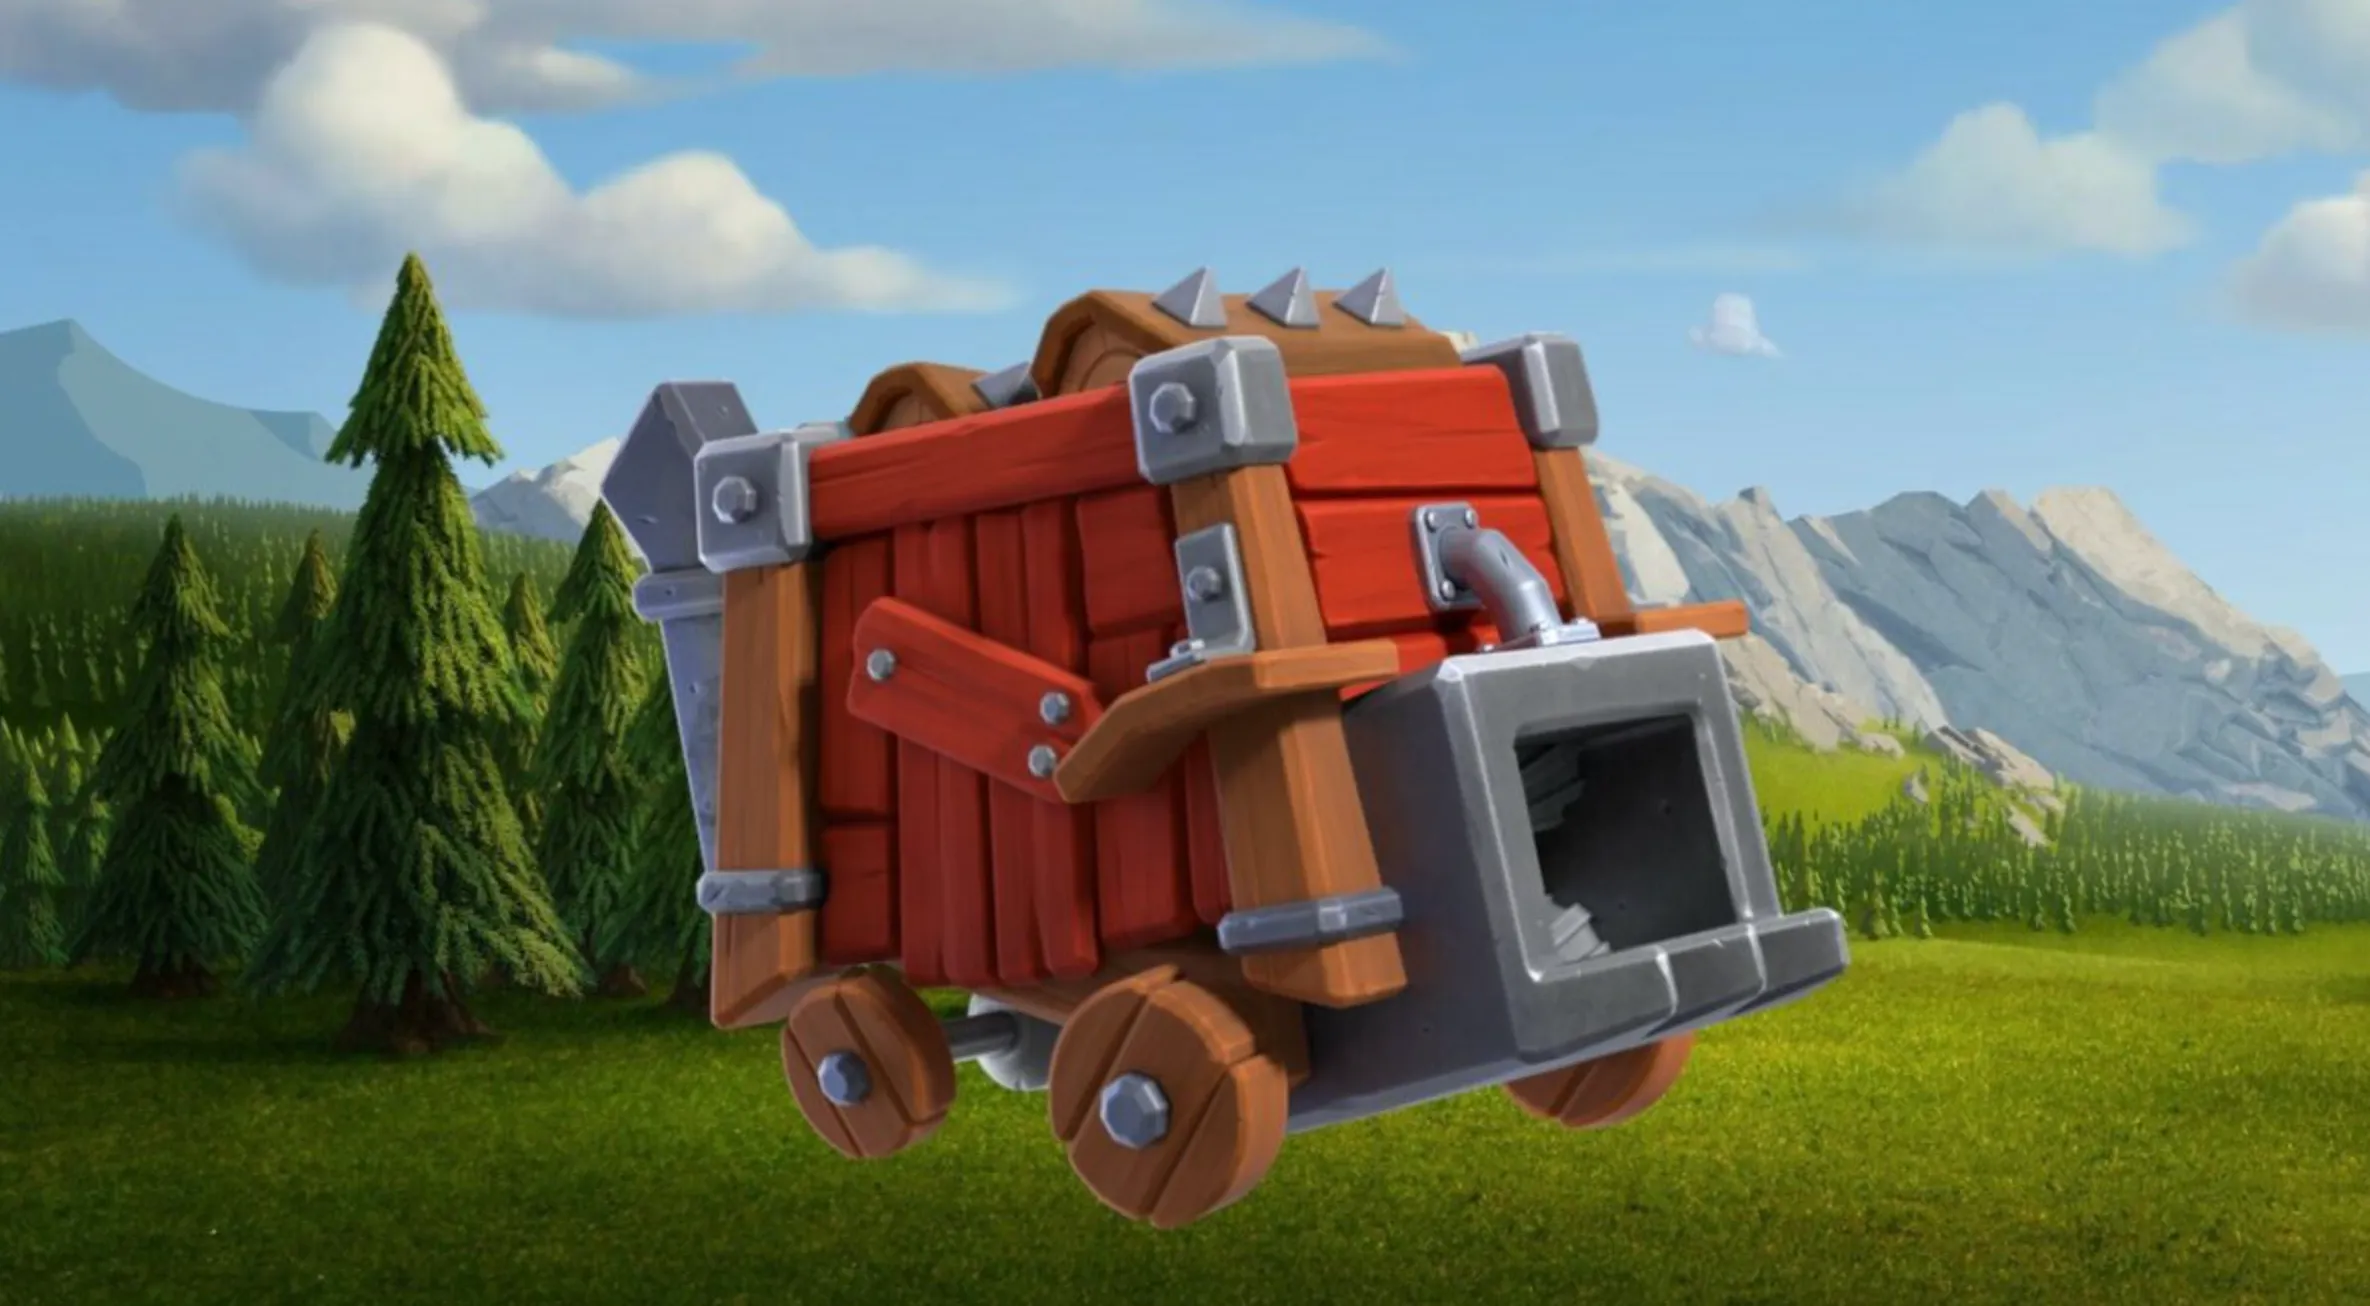
#6: Wall Wrecker

• Workshop Level Required: 1 (Town Hall 12)
• Attack Speed: 1.3 seconds
• Attack Range: 0.8 tiles
The Wall Wrecker lives up to its name, charging directly toward the enemy Town Hall while tearing through walls and defenses in its path. With its massive health pool, it acts as both a shield and a battering ram, opening a clear route for your army to follow. Its biggest drawback is that it can get bogged down by bulky structures like resource storages, slowing its advance and leaving it vulnerable, so it’s best to support it with additional troops or spells to keep it moving.
When it finally reaches its destination or gets destroyed, the Wall Wrecker unleashes the Clan Castle troops inside, making it an ideal delivery system for hard-hitting units like Yetis, Balloons, or P.E.K.K.As. While it shines the most between Town Hall 10–12, its impact at higher levels has decreased due to newer Siege Machines offering more versatility and strategic options. Still, it remains one of the most reliable choices for cracking into a base’s core.
#5: Siege Barracks

• Workshop Level Required: 4 (Town Hall 13)
The Siege Barracks is one of the most unique machines in Clash of Clans, as it doesn’t break walls or fly over defenses—instead, it steadily spawns extra troops before finally releasing the Clan Castle units inside. This makes it highly strategy-focused and particularly powerful at higher levels, especially once upgraded to level 5, where it deploys two P.E.K.K.As alongside a stream of Wizards. With the arrival of Root Riders, which already excel at smashing walls, the Siege Barracks has become even more valuable since it adds pure offensive firepower rather than duplicating wall-breaking roles.
Its utility isn’t limited to Root Rider strategies either. A common tactic is to use the Siege Barracks to create a funnel for a Queen Charge, ensuring the Archer Queen moves deep into the base without being distracted. It also works well when loaded with troops like Hog Riders, Valkyries, or Witches, since their delayed entry allows them to join the fight at just the right moment, providing backup for the main push. While it may not have the raw destructive power of other machines, its ability to reinforce your army at critical times makes it an essential tool in advanced attacks.
#4: Battle Drill

• Workshop Level Required: 7 (Town Hall 15)
• Attack Speed: 1.7 seconds
• Attack Range: 1 tile
The Battle Drill works much like a Miner, tunneling underground to slip past walls and surface directly beside its target. Once it emerges, it stuns defenses for a short moment, giving itself and nearby troops a crucial opening before the structure can fight back. While its damage output isn’t particularly high, its stun effect makes it extremely useful against dangerous defenses like Inferno Towers, Scattershots, and Monoliths.
This Siege Machine shines in Queen Charge Hybrid armies, where it pairs perfectly with Miners and Hog Riders. Its ability to interrupt defenses gives your main troops time to advance safely, and once the Battle Drill is destroyed, the Clan Castle troops it carries can join the attack for extra punch. Though it doesn’t fit into every strategy and can feel underwhelming compared to some of the more destructive Siege Machines, its utility in the right setup makes it a solid choice for players who value tactical disruption over raw power.
#3: Battle Blimp
• Workshop Level Required: 2 (Town Hall 12)
• Area Splash Radius: 1.2 tiles
• Attack Speed: 1.5 seconds
• Attack Range: 0.8 tiles
The Battle Blimp isn’t about dealing huge damage itself—it’s designed to punch through defenses and deliver your Clan Castle troops directly into the core of a base. When paired with Super Archers or Super Wizards and supported with Rage, Clone, and Invisibility Spells, it can wipe out critical defenses like the Eagle Artillery, Inferno Towers, or Scattershots, giving your main army a much easier path to victory.
The drawback is its fragility. With low HP, the Blimp can be shot down quickly by Air Defenses or Seeking Air Mines if left unprotected. To make the most of it, smart players often send in a Lava Hound to tank damage or activate the Grand Warden’s Eternal Tome ability to keep it safe long enough to reach its target. Because of how destructive Blimp drops can be, many base designs in Clan Wars have evolved specifically to counter this strategy, hiding traps and bombs in the center. While tricky to master, a well-executed Battle Blimp drop can completely dismantle a base and turn the tide of an attack.
#2: Log Launcher
• Workshop Level Required: 5 (Town Hall 13)
• Attack Speed: 3 seconds
• Attack Range: 1–20 tiles
The Log Launcher takes the concept of the Wall Wrecker and upgrades it with devastating long-range potential. Every few seconds, it fires massive logs that roll forward up to 20 tiles, damaging anything in their path and dealing quadruple damage to walls. This makes it one of the most effective tools for opening up a base and carving a straight route to the Town Hall.
Because of its slow speed and relatively low durability, the Log Launcher performs best when shielded by tanks like Golems, Ice Golems, or even Heroes soaking up defensive fire. Once it eventually breaks apart, it releases the Clan Castle troops inside, but unlike other Siege Machines, it often deploys them earlier, behind your army instead of deep into the core. This flexibility allows you to load it with support units like Bowlers, Witches, or heavy hitters like Yetis and Electro Titans, depending on your strategy. Whether you’re running a Queen Charge Hybrid, a Bowler Smash, or even a Yeti push, the Log Launcher adds massive value by shredding walls and softening defenses while setting up the rest of your attack.
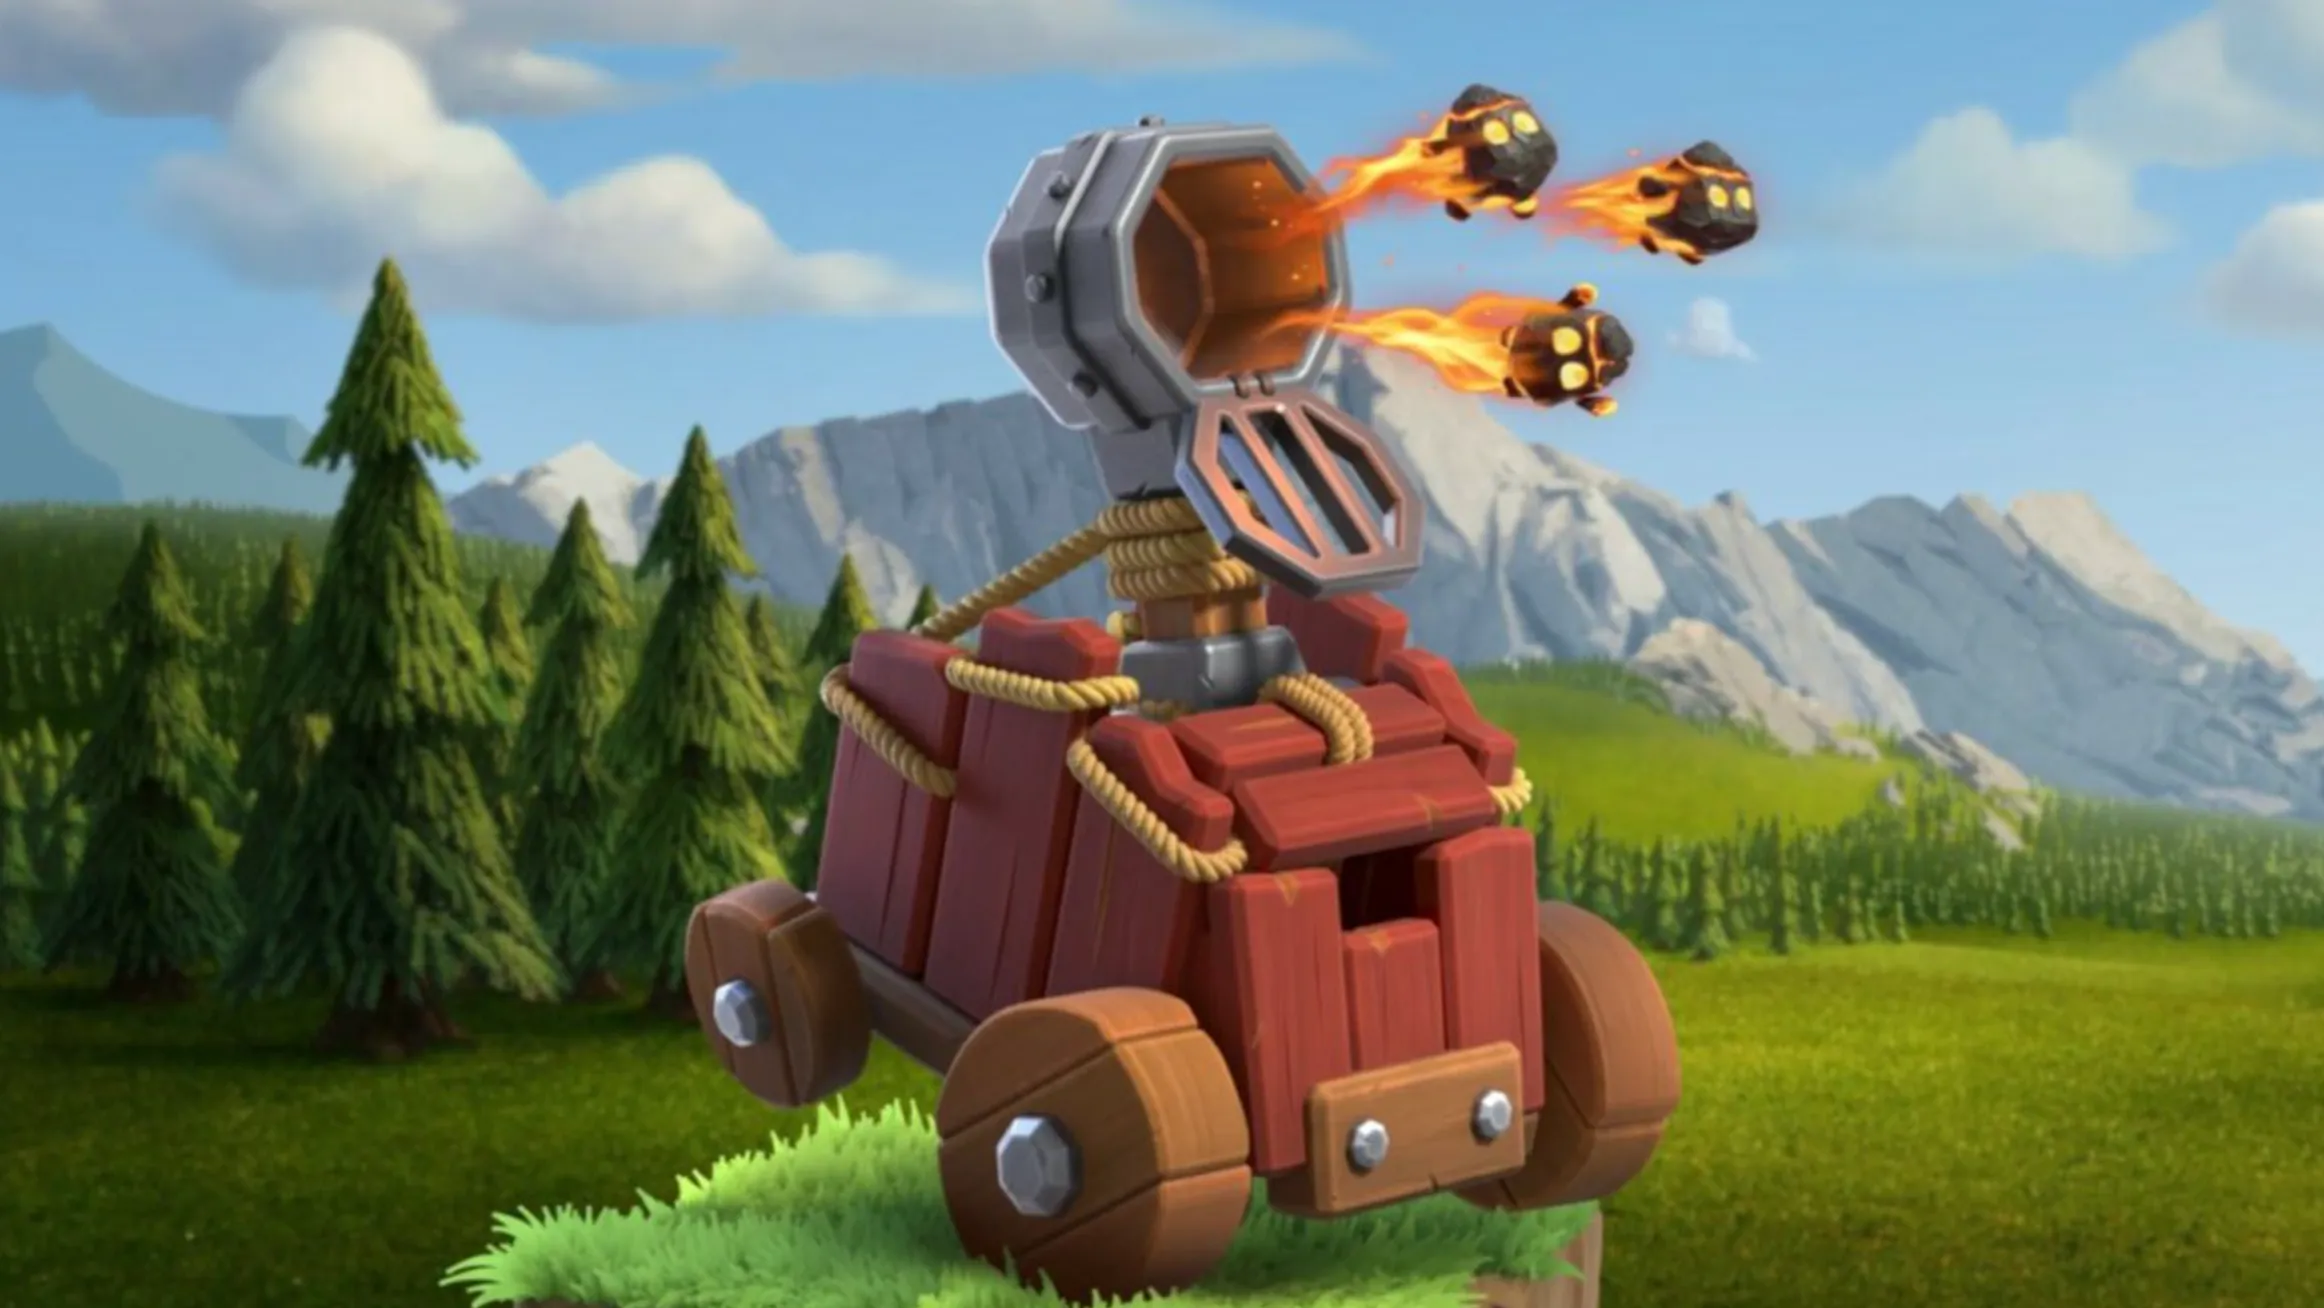
#1: Flame Flinger
• Workshop Level Required: 6 (Town Hall 14)
• Attack Speed: 5 seconds
• Attack Range: 11 tiles
The Flame Flinger is one of the most unique and devastating Siege Machines in Clash of Clans, built to burn down bases from a safe distance. Launching fiery projectiles that ignite an area and deal continuous burn damage, it can slowly dismantle powerful defenses like Inferno Towers, Scattershots, and even the Town Hall itself if activated with an Earthquake Spell. Its 11-tile range makes it untouchable by most defenses, but it must be carefully positioned out of reach of Mortars, X-Bows, the Monolith, and an active Eagle Artillery.
Base designers have adapted to counter it by placing long-range defenses in more strategic positions, but when left unchecked, the Flame Flinger can clear huge portions of a base on its own. Hidden Teslas are one of its biggest threats, so scouting placement is essential. When the Flinger eventually breaks apart or runs out of time, it releases the Clan Castle troops inside, making it even more versatile. Filling it with Hog Riders or Valkyries works perfectly, as they can immediately dive into the attack and finish off what’s left. With the right setup, the Flame Flinger doesn’t just support an attack — it can completely reshape a battle.
Conclusion
To wrap it up, Siege Machines have completely changed how battles are fought in Clash of Clans, giving players powerful tools to break bases and support their armies in creative ways. From the wall-crushing strength of the Wall Wrecker to the long-range firepower of the Flame Flinger, each machine brings something unique to the table depending on your strategy and Town Hall level. Knowing when and how to use them can be the difference between a failed raid and a three-star victory, making them an essential part of any serious player’s toolkit.
Posted On: October 3rd, 2025
Recent Articles


💬 Need help?
Our 1v9 support team is available 24/7 to help you with any questions or issues you may have.
support@1v9.gg
Loading...
1v9.gg is not endorsed or affiliated by any game developers or publishers.
2025 1v9, All Rights Reserved, Created By NightDev